¶ SEPA debit orders
- Overview
- Installation
- Configuration
- Charge invoices and balances
- Check invoices
- SEPA - process the return file from the bank with non-payers
¶ Overview
SEPA is a European standard for bank payments. You can install the SEPA add-on and charge your customer via Direct debit orders.
The add-on can be installed in two methods, via the CLI or the Web UI of your Splynx server.
¶ Installation
To install the SEPA add-on via CLI, the following commands can be used:
apt-get update
apt-get install splynx-sepa
To install it via the Web UI:
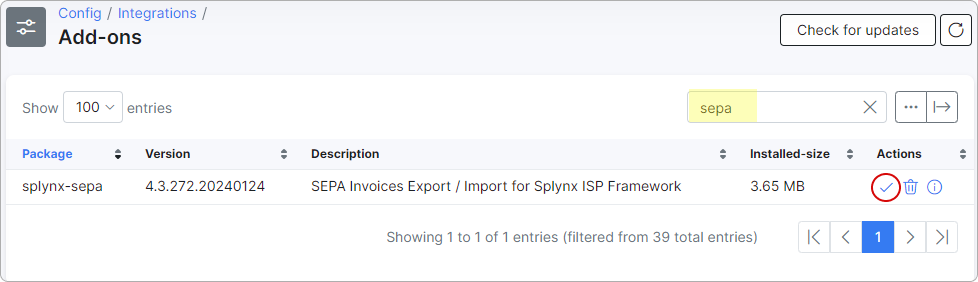
Navigate to Config → Integrations → Add-ons:

Locate or search for the splynx-sepa add-on and click the Install icon in the Actions column:
You will be presented with a window to confirm or cancel the installation. Click the Ok, confirm button to begin the installation process.
After the installation process has completed, you have to configure the add-on.
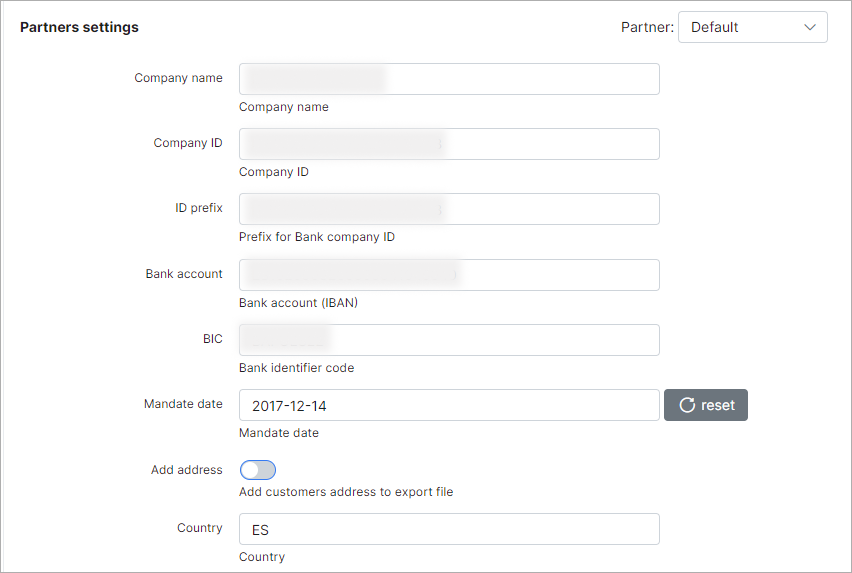
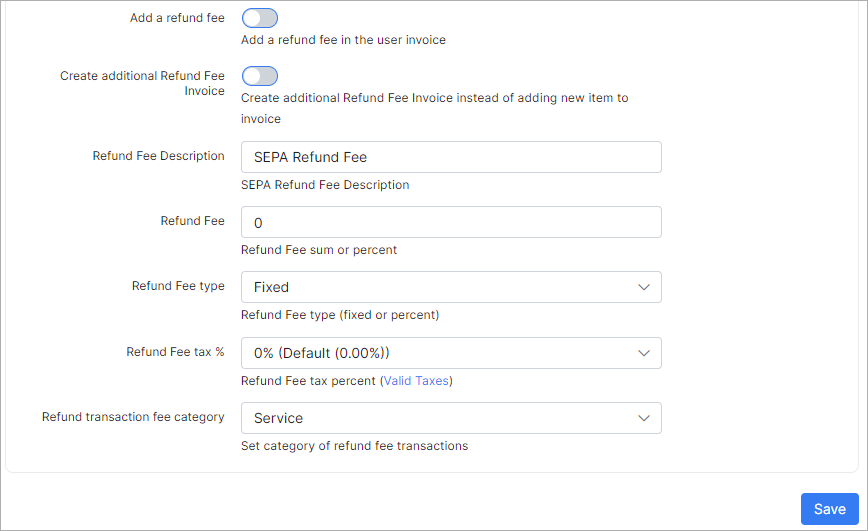
¶ Configuration
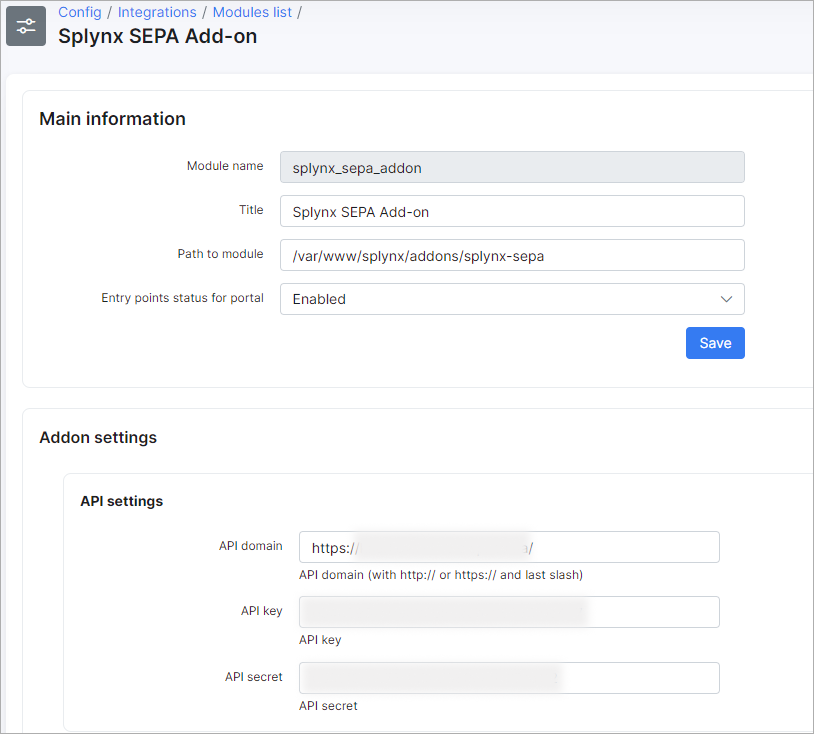
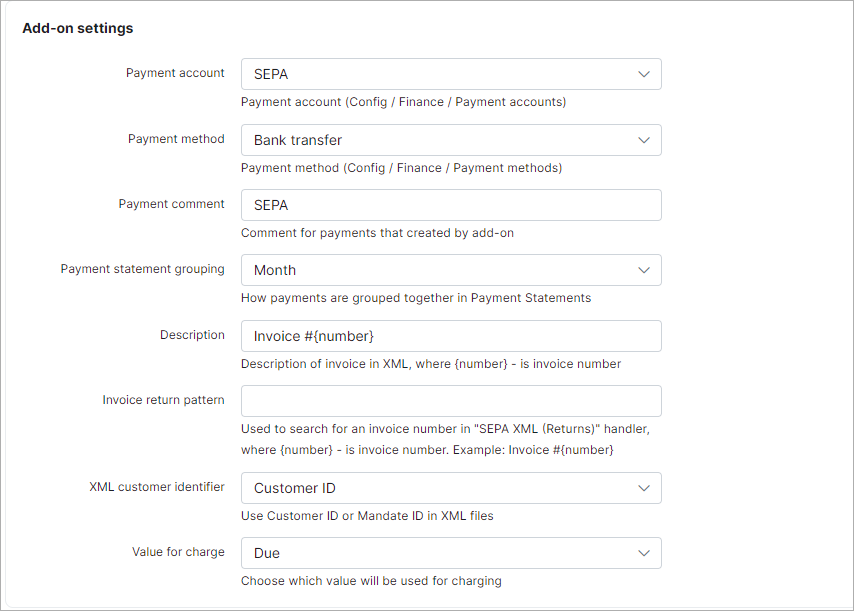
Navigate to Config → Integrations → Modules list:

Locate or search for the "splynx_sepa_addon" and click on the Edit  icon in the Actions column. Then fill in the provided fields:
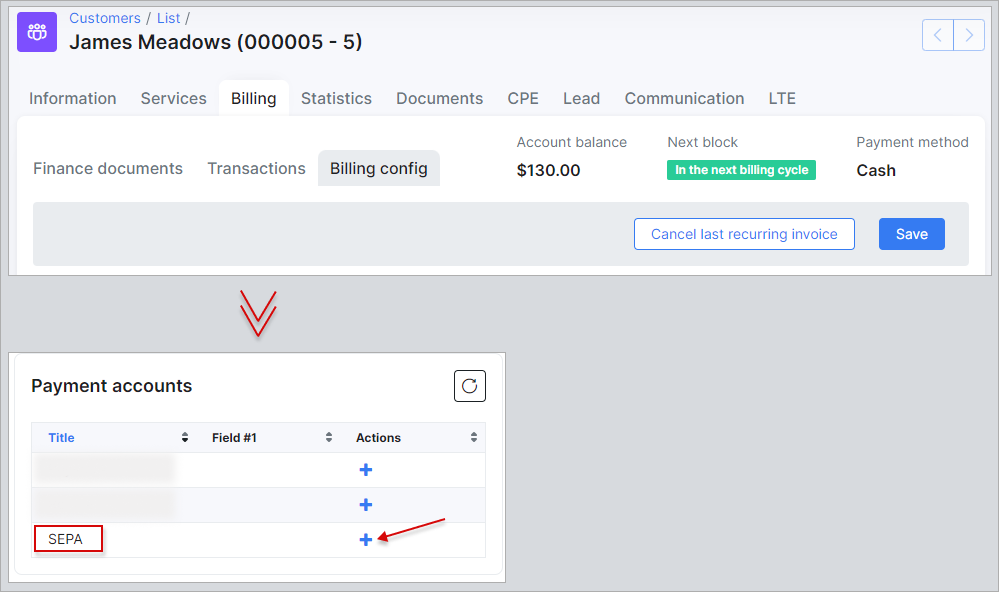
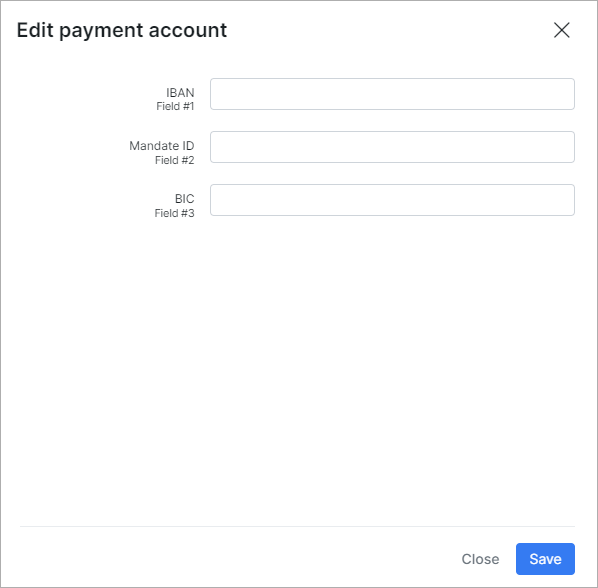
Customer’s IBAN, Mandate ID, and BIC number can be set in the customer profile (see below):
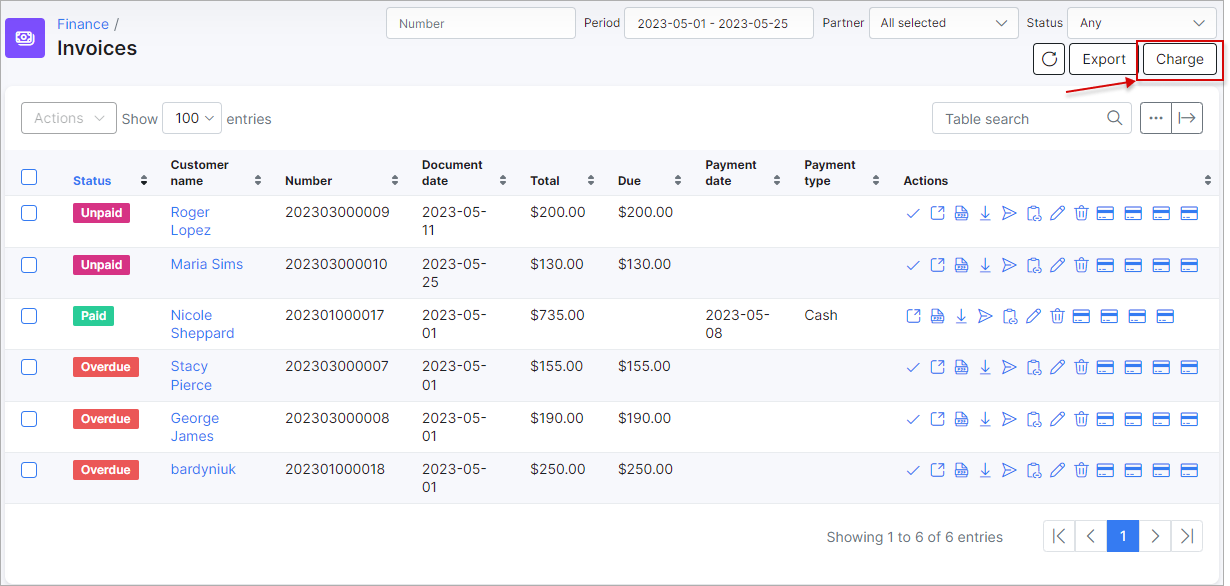
¶ Charge invoices and balances
Navigate to Finance → Invoices and click the Charge button:
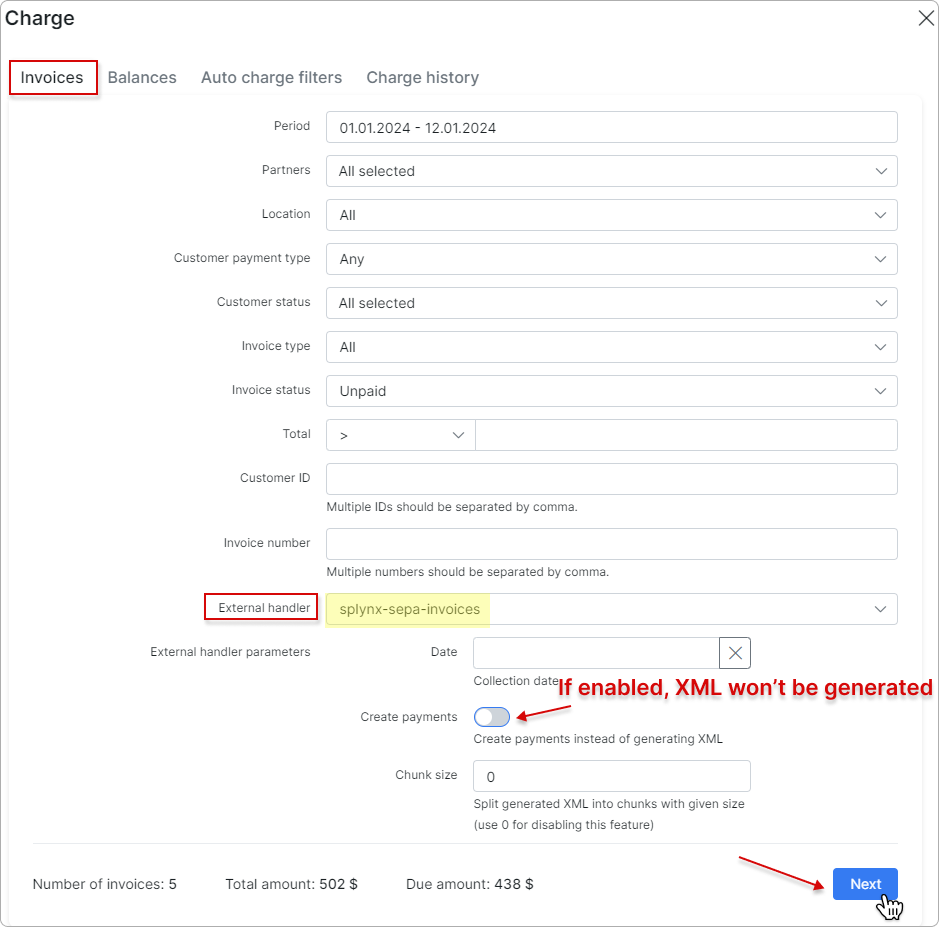
¶ Charge invoices
To charge invoices, select splynx-sepa-invoices as the External handler in the Invoices tab, and then click the Next button:
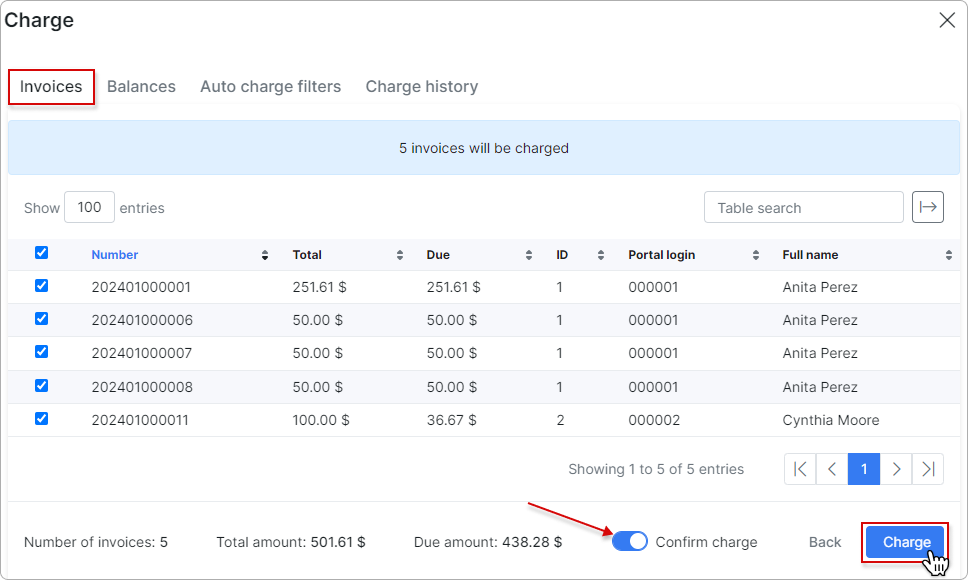
In the new window, toggle the Confirm charge switch to enable it, and then click the Charge button to complete the charging process:
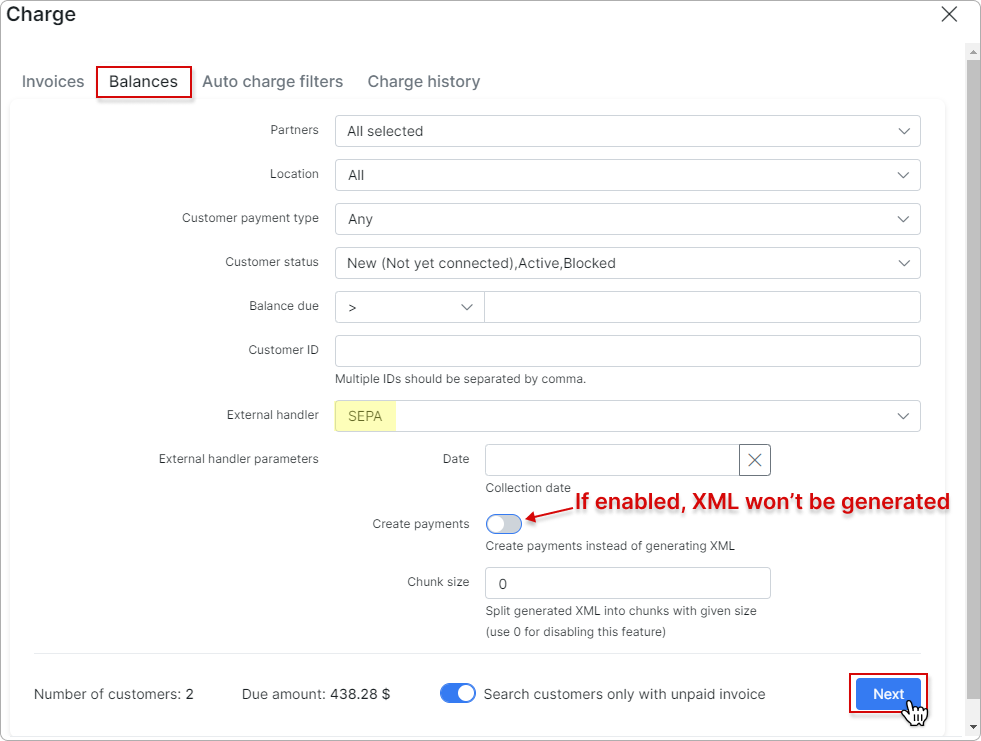
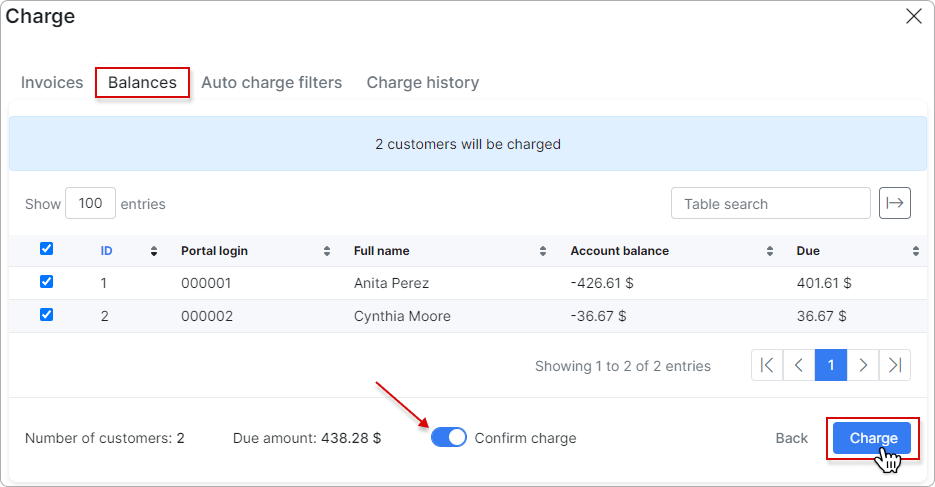
¶ Charge balances
To charge balances, select SEPA as the External handler in the Balances tab, and then click the Next button:
In the new window, toggle the Confirm charge switch to enable it, and then click the Charge button to complete the charging process:
To learn more details about how to charge invoices and balances, please read Invoices

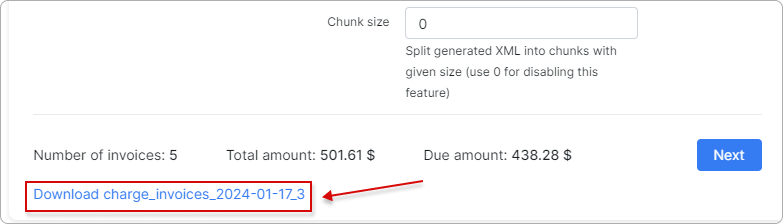
¶ Generate the XML file for the bank
After clicking on Charge, a link to download the XML document will be displayed:
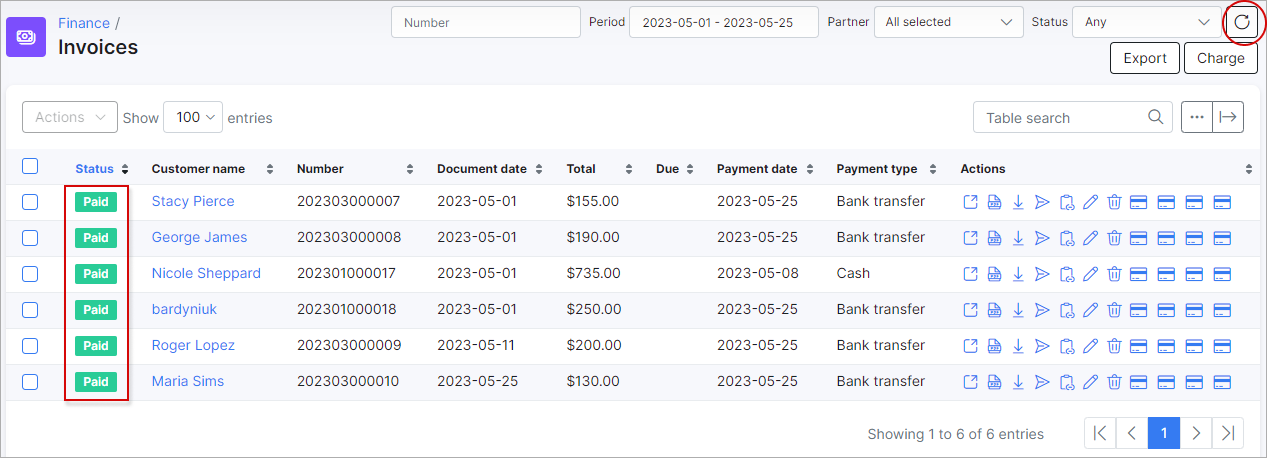
¶ Check invoices
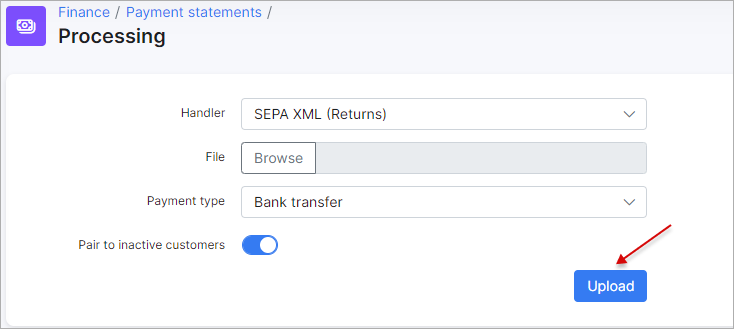
¶ SEPA - process the return file from the bank with non-payers
Sometimes customers does not have funds on their bank accounts. In that case, the Bank sends you an XML file back with returns. It will contain data about customers which the Bank was not able to charge. You can import this file to Splynx as well, and then paid invoices of non-payers will become unpaid again, so you can charge them next month and include the fee for a failed charge.
The handler to choose is SEPA XML (Returns):