¶ Speedtest
- Overview
- Installation
- Configuration
- Speedtest interface on the Customer portal
- Speedtest statistics
- Deleting statistics results
¶ Overview
The Splynx Speedtest add-on is used to show administrators and customers, Customer's Download and Upload internet speeds, their Ping, Jitter, IP address, and Latency.
¶ Installation
The add-on can be installed in two methods, via CLI or the Web UI.
To install the splynx-speedtest add-on via CLI, the following commands can be used:
apt-get update

apt-get install splynx-speedtest
To install it via the Web UI:
Navigate to Config → Integrations → Add-ons:
Locate or search for the splynx-speedtest add-on and click on the install icon in the Actions column

Click the OK, confirm button to begin the installation process.
After the installation process has been completed, customers will see a new function on their Dashboard as depicted below:
¶ Configuration
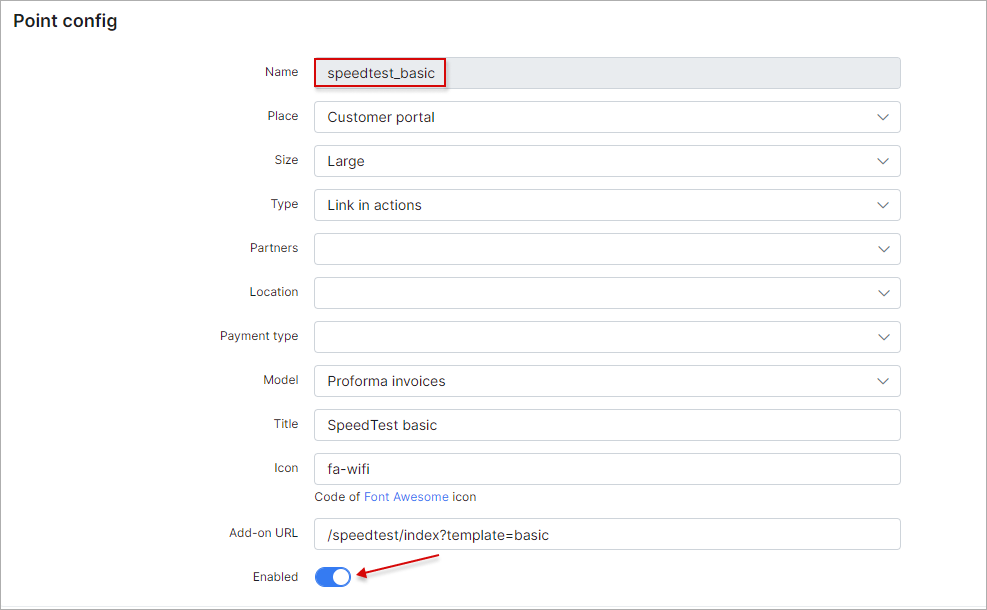
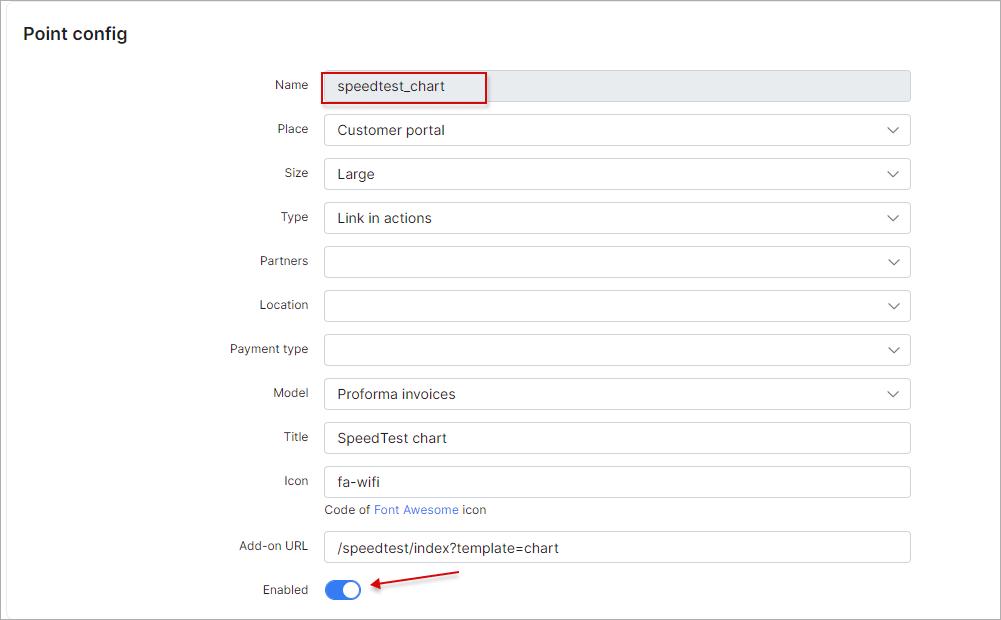
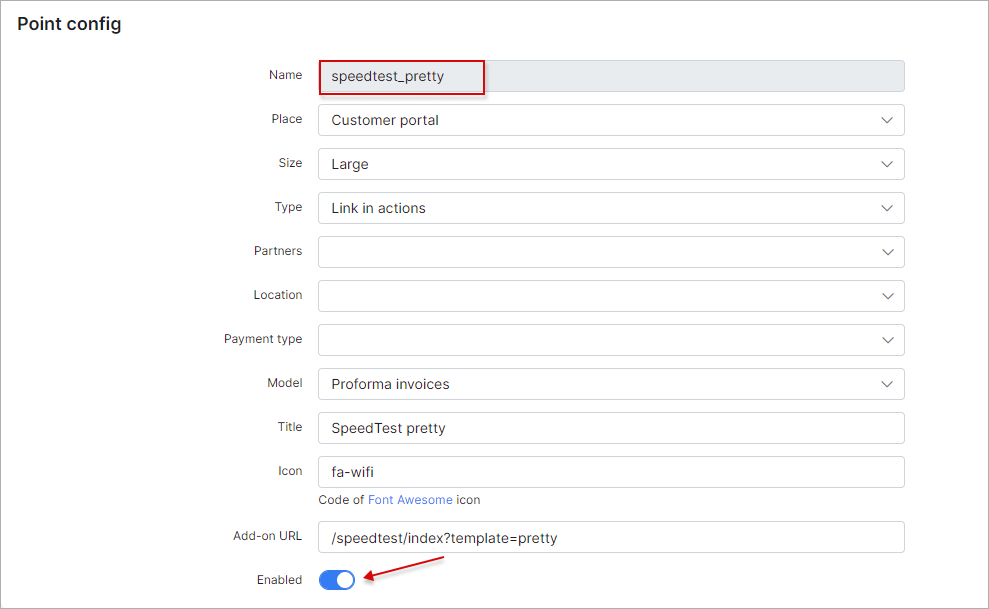
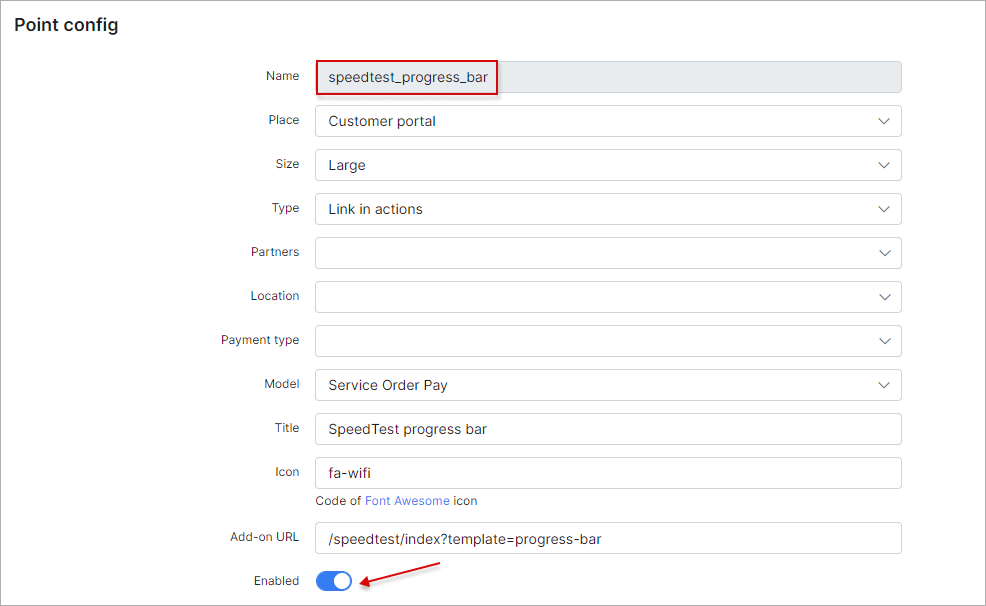
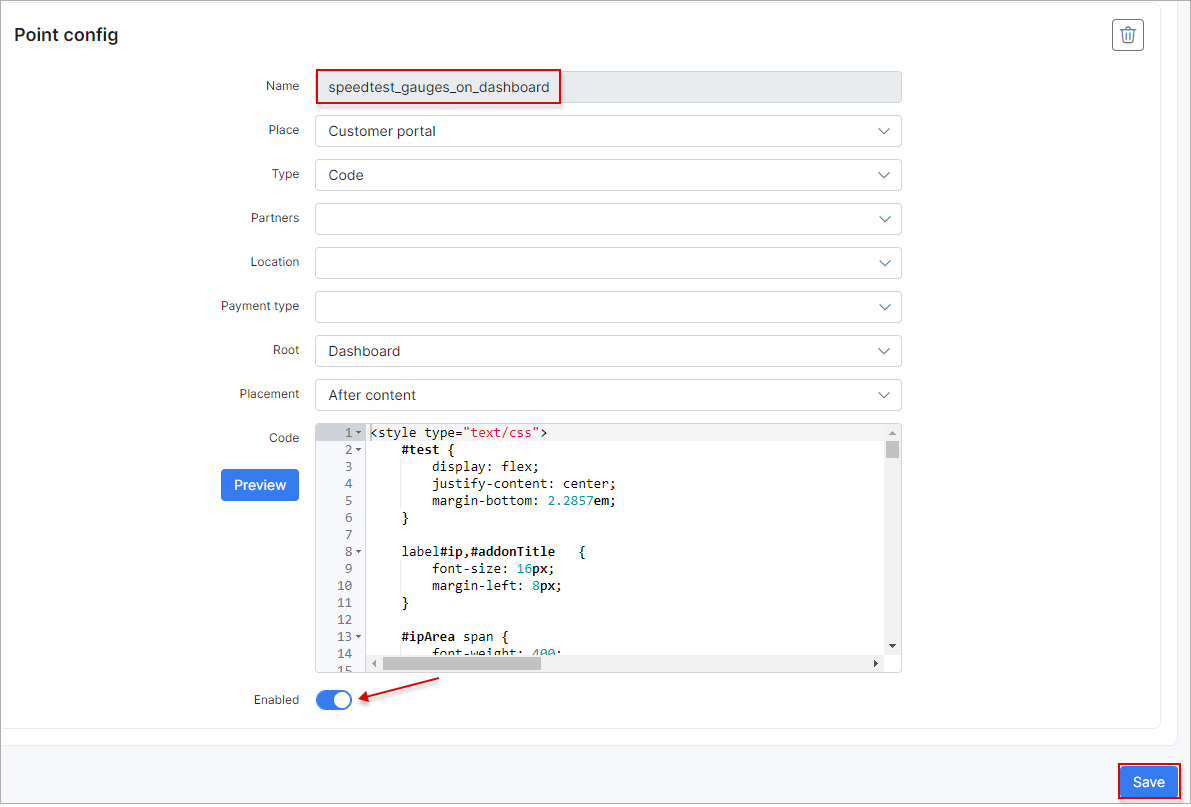
You can enable speed tests to be available in other sections of Splynx in the Config → Integrations → Modules list → Splynx Speedtest → Entry points:
¶ Speedtest interface on the Customer portal
SpeedTest gauges:
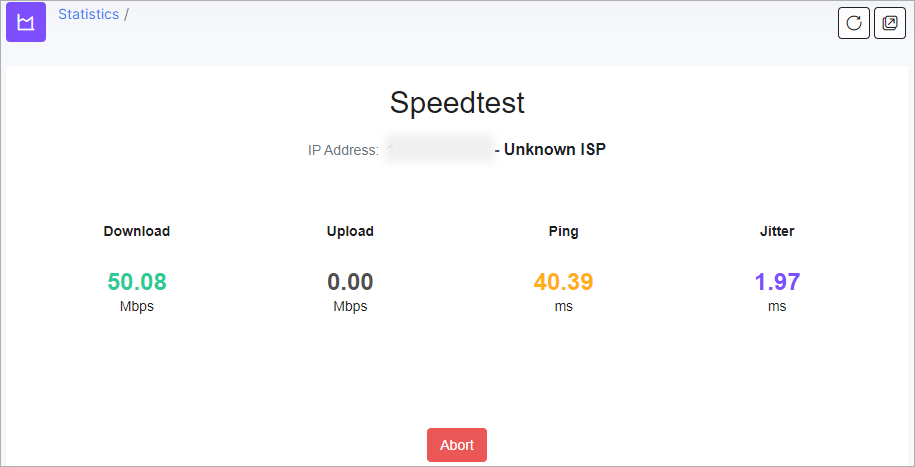
SpeedTest basic:
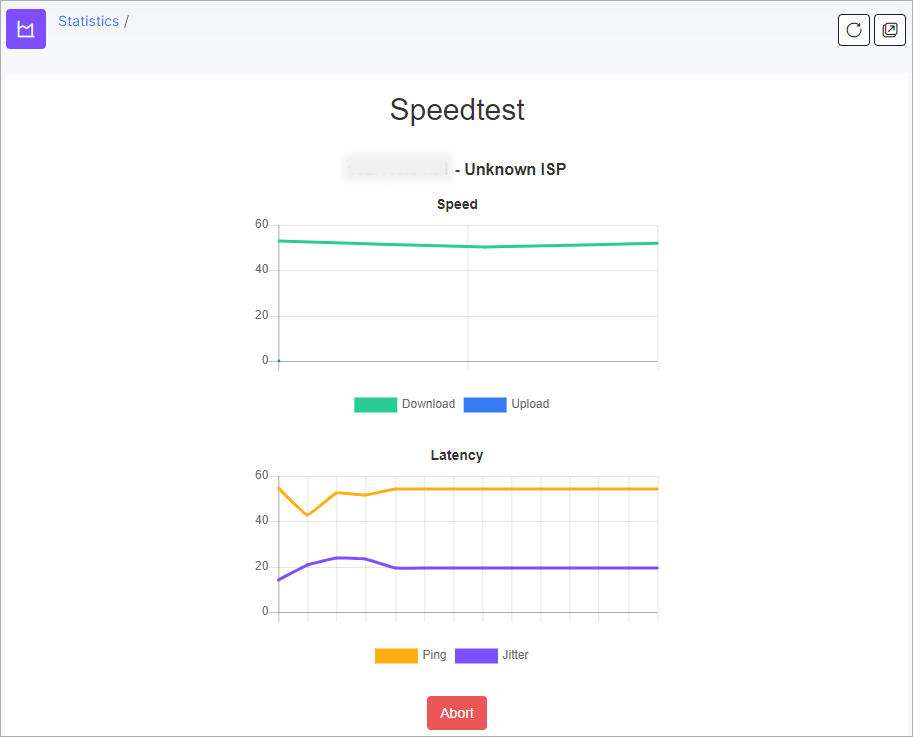
SpeedTest chart:
SpeedTest pretty:
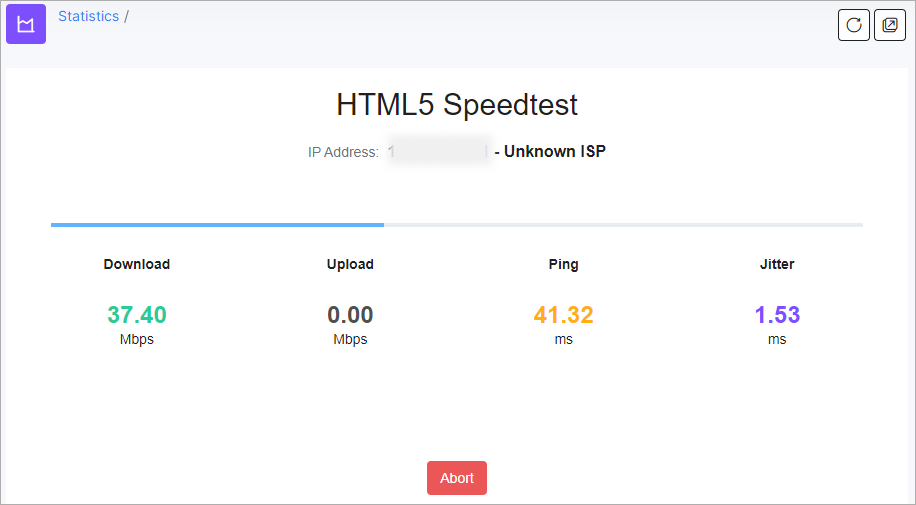
Speed Test progress bar:
¶ Speedtest statistics
After customers have run Speed tests, admins can see the results in the Networking → SpeedTest result, the admin can then print, copy or save it in a few available formats such as Excel, CSV, and PDF:
¶ Deleting statistics results
You can either selectively remove Speedtest results or remove everything in one click.
To remove specific results, navigate to Networking → SpeedTest result, and click on the delete icon next to the record you wish to remove from the list:

Alternatively, for your convenience, you can use the Remove all Speedtest results button in Config → Tools → Speedtest empty history to delete all Speedtest records in a single click:

 This action will remove all Speedtest records in Splynx.


