¶ DNS Blocking
¶ Overview
Navigate to Config → Networking → DNS Blocking to configure DNS blocking for customers whose services are suspended.
It ensures that blocked customers are redirected to a custom landing page where they can see their suspension reason and access payment options.
¶ DNS server settings
This section allows you to enable or disable DNS-based redirection for blocked customers:

- Enable DNS blocking - toggle this option to activate or deactivate DNS redirection. When enabled, DNS requests from blocked customers are redirected to a custom landing page.
SSL must be enabled on the system. Without SSL, blocking pages will not be created automatically.
- Allow list (networks) - enter a list of IP networks that should be included to DNS blocking.
Each network must be entered on a new line.
If a DNS request comes from an IP address that is not on this list, the DNS server will not respond.
Use only your exact networks and avoid public networks to mitigate the risk of DDoS attacks.
- Load from IPAM - click this button to automatically populate the allow list using entries from the IP Address Management (IPAM) system.
¶ DNS tools

- Restart DNS - use this button to manually restart the DNS service and apply recent changes.
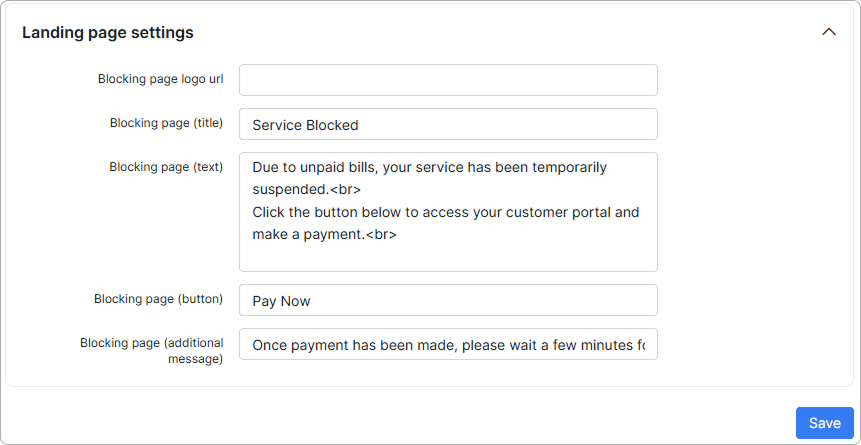
¶ Landing page settings
This section defines the appearance and messaging of the redirection page shown to blocked customers:
-
Logo URL - link to the image displayed at the top of the landing page.
-
Title - the main heading displayed on the landing page (e.g., “Service Blocked”).
-
Text - the main message shown to customers, such as the reason for the block and next steps.
-
Button - the label for the call-to-action button (e.g., “Pay Now”).
-
Additional message - optional text shown after the main message, e.g., instructions after payment.
Then click the Save button to apply the changes.
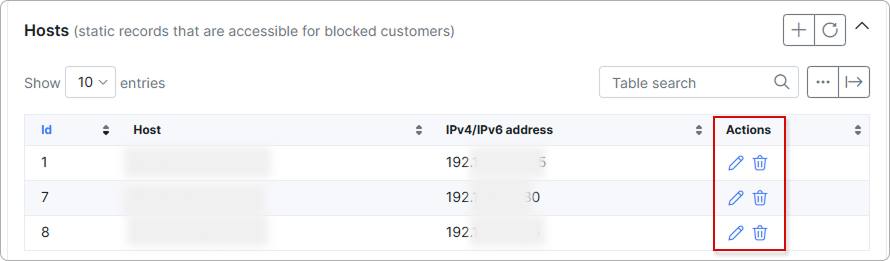
¶ Hosts
This section manages static DNS records that should remain accessible even for blocked customers (e.g., payment gateways).
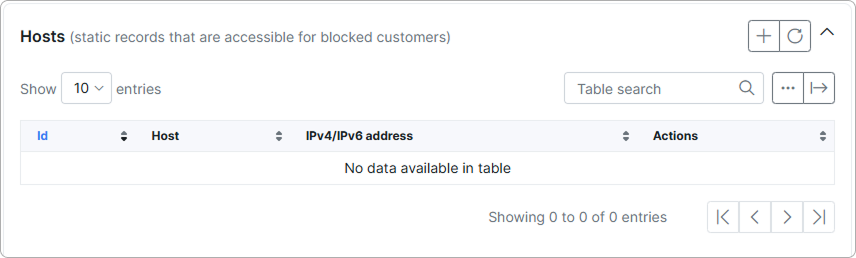
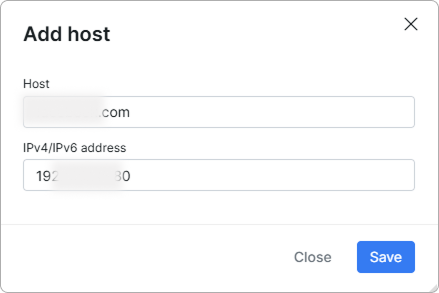
Click the + button to add a new hostname and IP address. These records will bypass DNS blocking:
Edit or delete entries using the action buttons in the table:
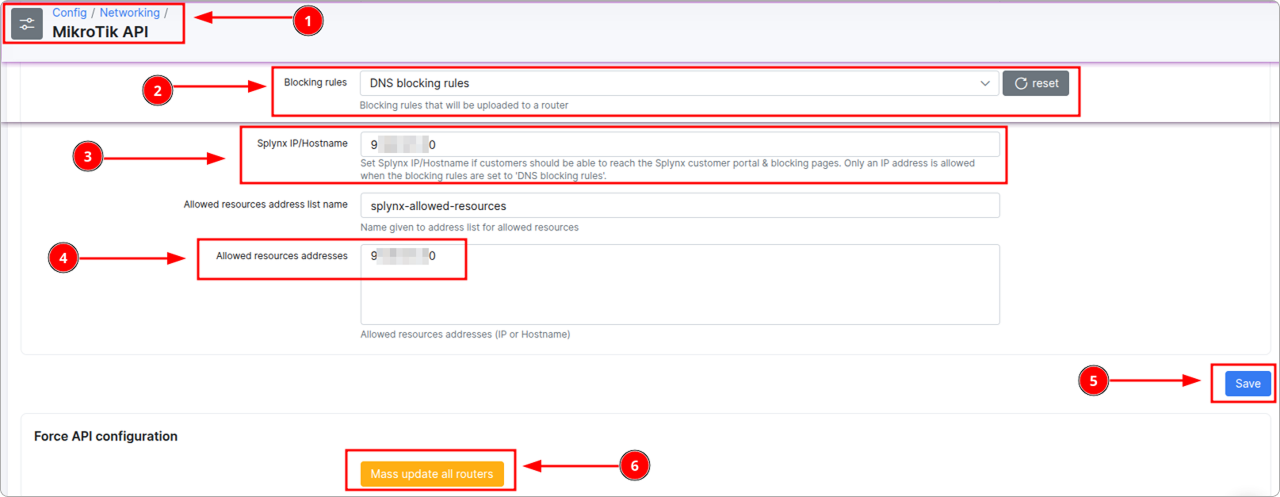
¶ DNS blocking on MikroTik router
For DNS blocking to work for blocked customers, you need to add DST NAT rules to the router to redirect DNS requests from blocked customers to the DNS server of the Splynx instance.
For MikroTik routers, the system can add this automatically via the MikroTik API.
To do this, you need to enable DNS blocking rules in the MikroTik API settings (number 2 in the screenshot), enter the IPv4 address of the DNS server in the Splynx IP/Hostname field (number 3), where DNS requests will be redirected (usually the public IPv4 address of the Splynx instance), and in the Allowed resources address field, set the public IPv4 address (number 4) so that blocked clients can connect to the Splynx instance:
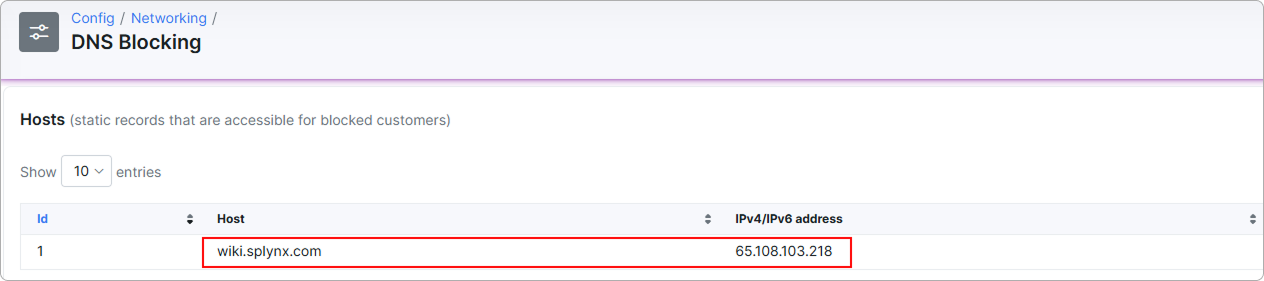
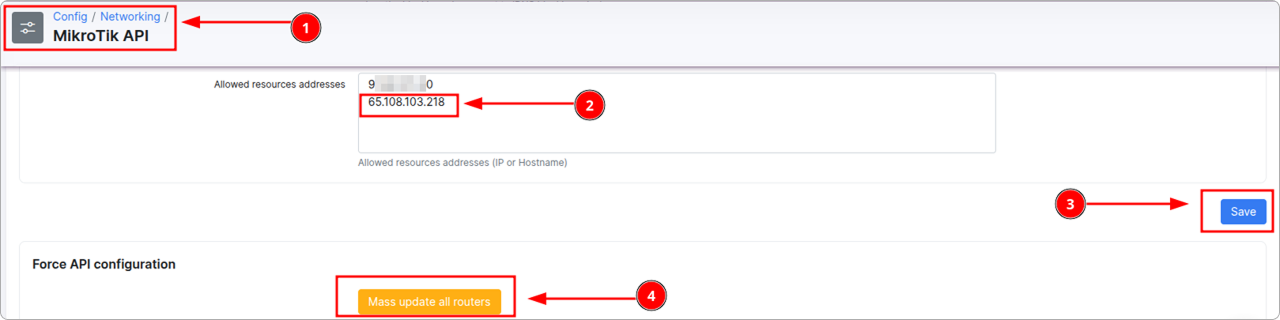
To allow clients access to certain hosts when using DNS blocking, in addition to specifying them in the DNS blocking settings, their IPv4 addresses need to be specified in the Allowed resources addresses list:
¶ General South African Financial Institution DNS Host list
Any hosts can be imported using the DNS import tool under Config -> Tools -> Import -> New Import (from v5.1 8443)
Typical SA hosts file
fnb.co.za - 196.11.125.167
www.fnb.co.za - 66.22.96.160
absa.co.za - 178.79.178.218
www.absa.co.za - 3.164.53.3
standardbank.co.za - 104.17.172.38
standardbank.co.za - 104.17.173.38
www.standardbank.co.za - 104.17.173.38
nedbank.co.za - 168.142.204.15
www.nedbank.co.za - 168.142.204.15
capitecbank.co.za - 217.114.85.70
www.capitecbank.co.za - 104.18.43.213
investec.com -104.16.204.57
www.investec.com -104.16.204.57
tymebank.co.za - 18.160.46.29
tymebank.co.za - 18.160.46.35
tymebank.co.za - 18.160.46.49
tymebank.co.za - 18.160.46.57
www.tymebank.co.za - 18.67.65.24
www.tymebank.co.za - 18.67.65.50
www.tymebank.co.za - 18.67.65.87
www.tymebank.co.za - 18.67.65.101

africanbank.co.za - 162.159.133.89
africanbank.co.za - 162.159.134.89
www.africanbank.co.za - 162.159.133.89
www.africanbank.co.za - 162.159.134.89
discovery.bank - 45.60.87.28
Discovery.bank - 45.60.113.28
www.discovery.bank - 45.60.87.28
bankzero.co.za - 192.124.249.152
www.bankzero.co.za - 192.124.249.152
bidvestbank.co.za - 20.87.217.143
www.bidvestbank.co.za - 20.87.217.143
sasfin.com - 41.198.128.2
www.sasfin.com - 41.198.128.2
ubank.co.za - 102.37.126.39
www.ubank.co.za - 172.67.146.2
paynow.netcash.co.za - 102.133.165.8
cde.netcash.co.za - 13.107.246.55
pay.ozow.com - 75.2.62.89
checkout.payflex.co.za - 102.133.218.33
3d.dpopayments.io - 52.85.216.127
authentication.cardinalcommerce.com - 198.217.251.250
authentication.cardinalcommerce.com - 198.217.251.251