¶ Prepaid Billing
¶ Setup
Prepaid billing is used when ISPs charge customers in advance for services and only provide them with access for certain periods of time. When the time period has been reached and the customer's account balances are not sufficient to pay for the continuation of services, the customer is disconnected until payments are made to continue services.
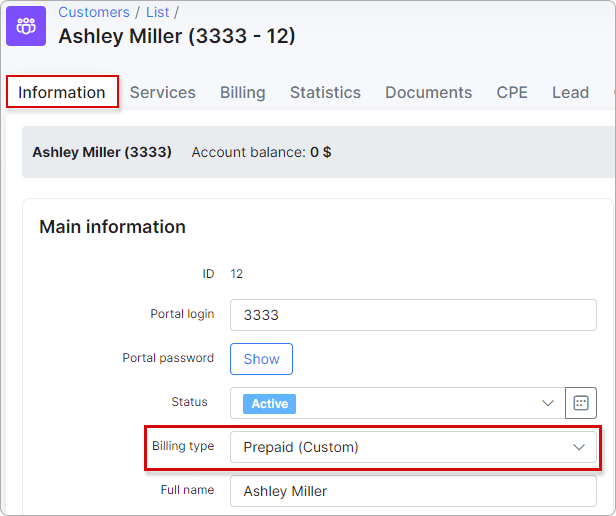
To configure Prepaid type of billing, change first Billing type of the customer to Prepaid (Custom).
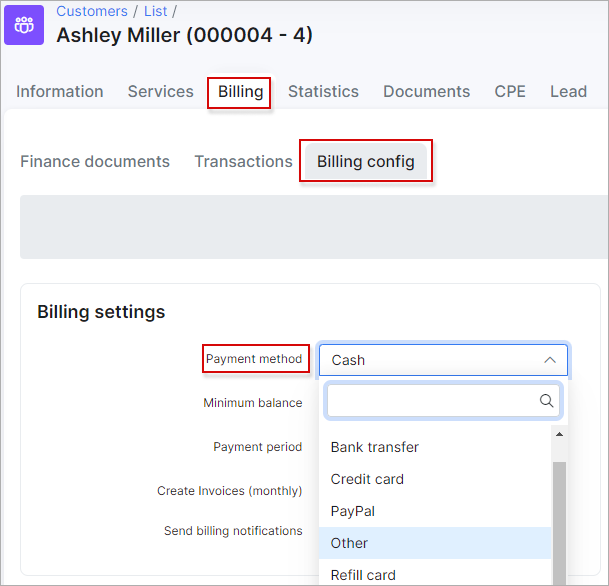
The next step is to choose Payment method. Options are Cash, Bank Transfer, Credit Card, PayPal, Refill Card and others when additional methods are installed.
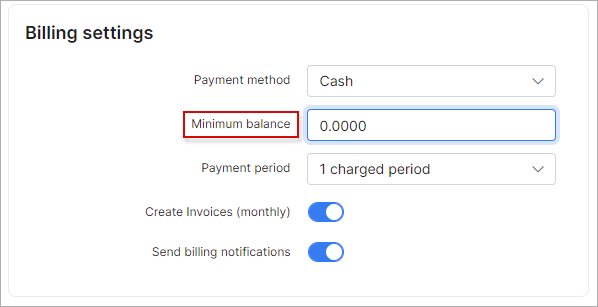
Then define Minimum balance of funds to be available in the customer's account after service charges to avoid being blocked. This field is 0.0000 by default.
Example 1.
If the total cost of all active services is $10, for example, then to prevent the customer from being blocked when the next charge is applied (if their balance is $0), you can set the minimum balance to -$10.
In this case, the system will apply a 'virtual' charge of $10, which the customer does not actually owe.Example 2.
If the total cost of all active services is $10, for example, then to prevent the customer from being blocked when the next charge is applied (if their balance is $5), you can set the minimum balance to -$5.
In this case, the sum of the balance and the minimum balance will be $10, which is the amount the customer needs when being charged.
¶ Charging customers
Customers can be charged monthly or by any custom periods, (for example, one week), with the use of prepaid tariff custom periods.
By default, all prepaid tariffs are set to charge customers monthly.
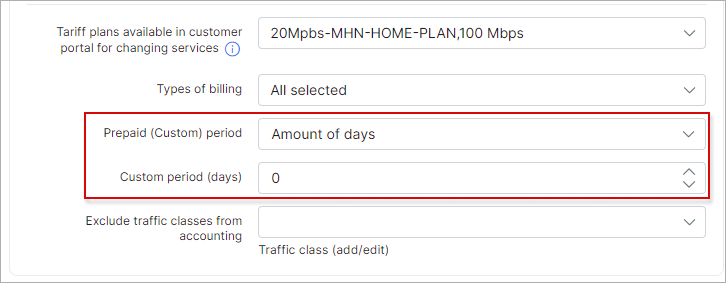
However, it is possible to set any desirable period. Simply change Prepaid (Custom) period of the service to Amount of days and select the desired amount of days.
¶ Setting the payment period
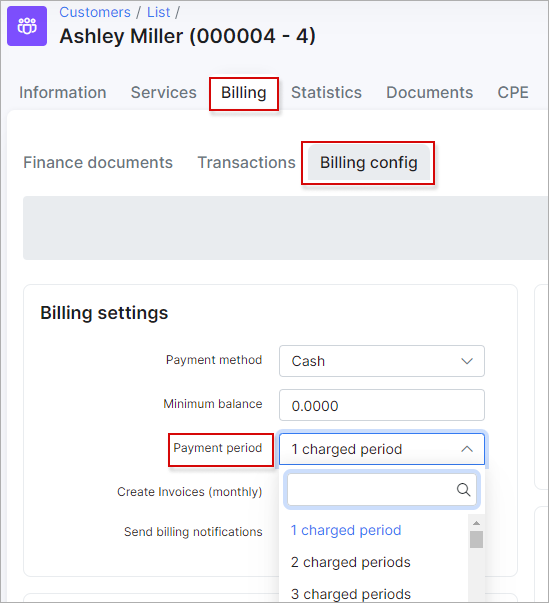
The next step is to set Payment period in the customer's billing settings Customer → Billing → Billing config. Any desired charged period can be set, to suit the unique needs of customers and every ISP.
¶ Adding the first payment
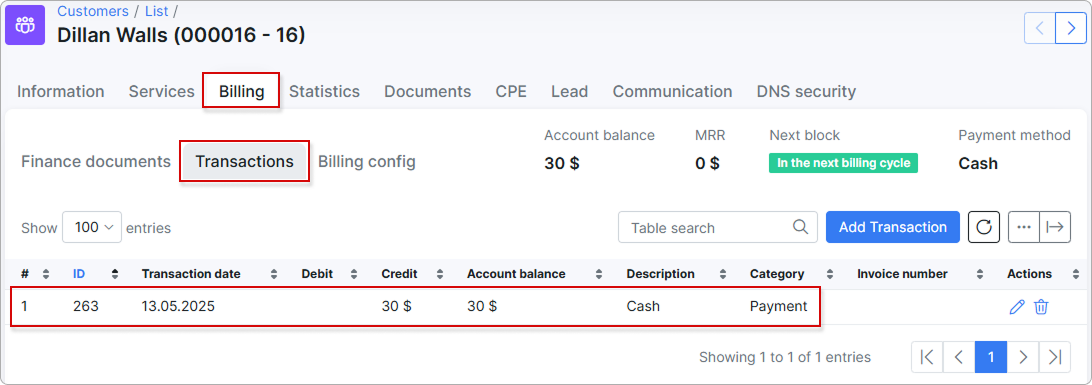
After configuring the customer's prepaid billing parameters, we need to add a payment to the customer’s account by clicking on Add document button and selecting Payment from the drop-down list in Billing → Finance documents. For example, 30$ has been added, to activate their services.

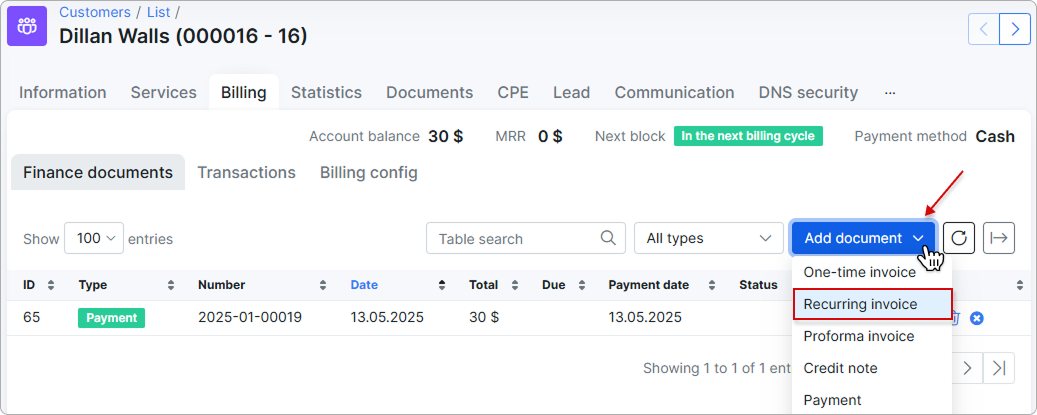
After the deposit has been made we then proceed to activate the customer's services by charging the customer with Add document button and selecting Recurring invoice from the drop-down list in Billing → Finance documents.
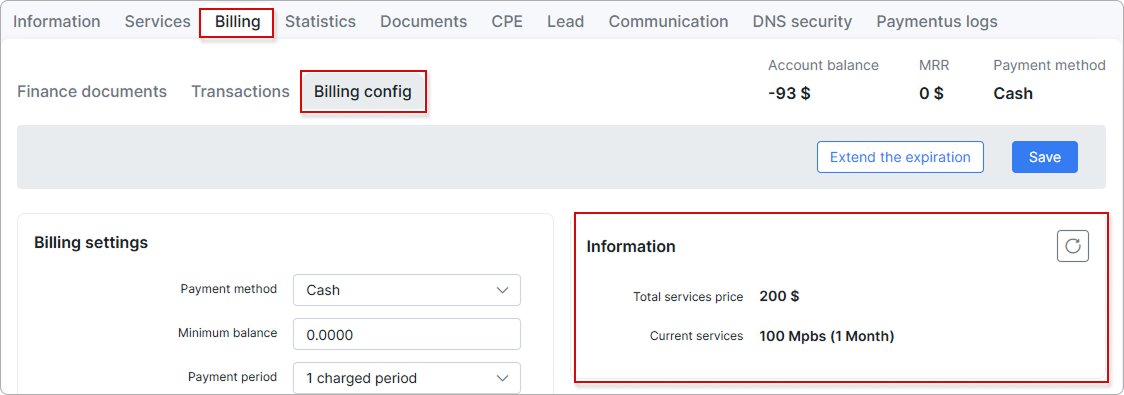
After charging the customer 30$, the customer is provided with access to the service, and we find this information here:
¶ Service expiration date
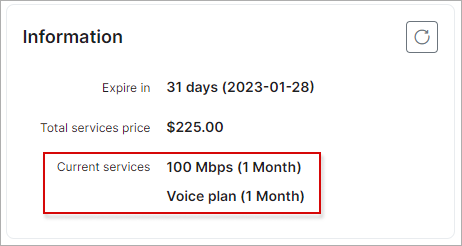
Here you can find the date of service expiration and the number of days before the expiration (Expire in), Total services price and the name of the current service and its duration (Current services).
If there is more than one service added to the customer's account, such services will be shown in the list:
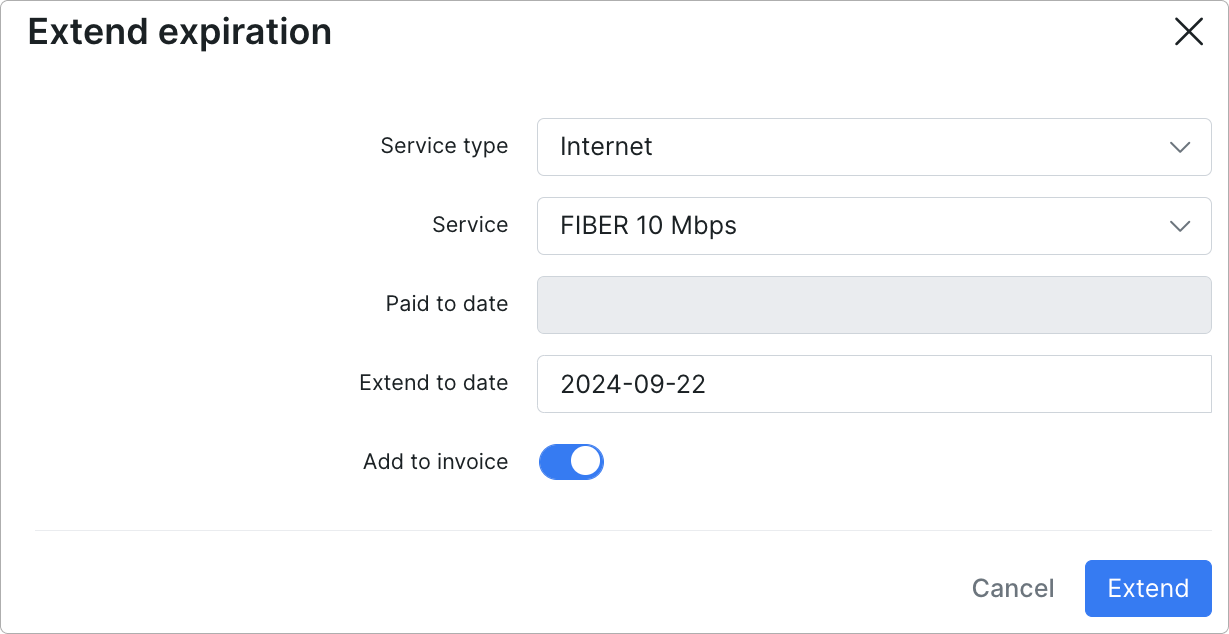
When you click the Extend the expiration button, a pop-up window appears, allowing you to choose a new expiration date for extending the service. This extended period is offered to the customer as a free bonus, with no charges applied. If the customer does not add funds to their balance by the new expiration date, the service(s) will be automatically suspended.
If the "Add to invoice" toggle is enabled, a zero-cost transaction will be created and included in the next generated invoice.
¶ Deactivation and Activation process
In the prepaid billing process, if a client’s services are blocked and subsequently deactivated, they still have the option to make a payment on the same day as the deactivation. If they complete the payment on this day, their services will automatically reactivate.
However, if the payment is made after the deactivation day, the system will not automatically restore the services. In this case, an administrator will need to manually reactivate the client’s services.
¶ Finance settings
If the option to Auto create invoices (after charging) is enabled in finance settings under Config → Finance → Settings, Splynx will generate an invoice for consumed services on the first day of the next month.
Please note that Deactivation period for prepaid customers can be configured in Config → Finance → Settings:
Please remember to start your deactivation period, it is necessary to enable the processing of deactivation period under Config → Finance → Automation:
