¶ Mikrotik discover and export
- Overview
- Installation
- Add-on menu
- Network
- Attributes settings
- Export history
- Actions
- Importing inventory items
¶ Overview
A large number of Mikrotik devices and no prior inventory system can seem like a mammoth task to undertake in order to import all such devices into the inventory system.
The Mikrotik discover and export add-on solves this problem and greatly reduces this labour-intensive task by collecting all the necessary info in one spreadsheet.
¶ Installation
Under Config → Integrations → Add-ons locate or search for the splynx-mikrotik-discover-and-export package and click the Install button:

Confirm the installation by clicking the Ok, confirm button:
¶ Add-on menu
After installation, navigate to Networking → Mikrotik discover and export:
You will be presented with the home screen of Mikrotik discover and export where you can configure network and attribute parameters.
 For the convenience of working with the networking data, click on the
 Open in new window button.
¶ Network
- IP (network) - specify a subnet range or IP address from which to gather data;
- Username/Password (SSH/API) - enter the username and password that Splynx will use to attempt to log into the MikroTik router via SSH/API;
- Port SSH - the SSH port (indicated by default);
- Port API - the API port (indicated by default);
- Connection timeout (seconds) - if a device does not answer after the specified timeout (in seconds), its data will not be included for the export;
- Type - specify the type of connection ('API', 'SSH' or 'API or SSH').
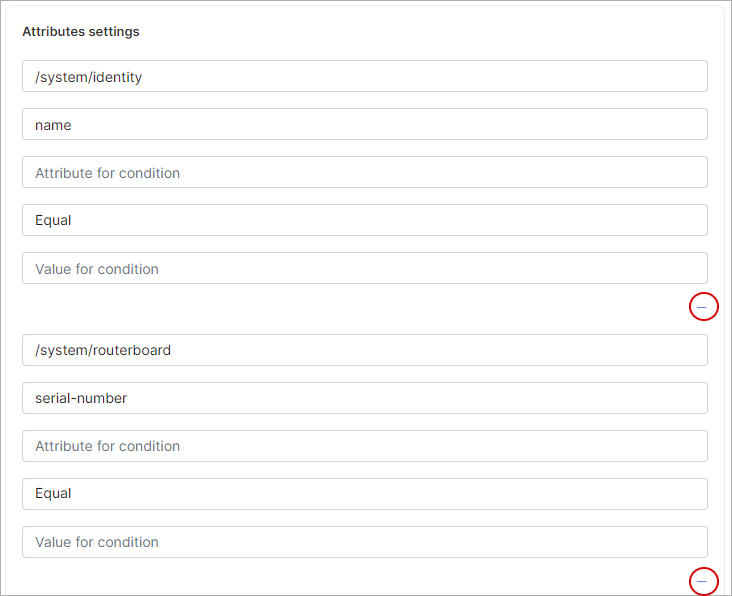
¶ Attributes settings
In this section, you should specify attributes as conditions for a customized export.
For each group of attributes, you should specify the following:
- Path - the path to the necessary parameter or attribute;
- Search value - value to be obtained;
- Attribute for condition - specify an attribute for the export condition;
- Equal or LIKE - whether the Value for condition (see below) should be completely equal (Equal) or only the first value should be used as an export condition;
- Value for condition - specify a value for the export condition.
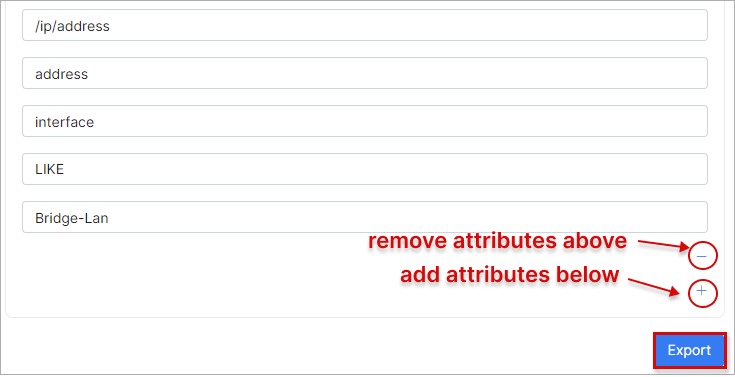
You can remove or add an attribute group by clicking the - or + button:
When all the necessary data is added, click the Export button to start the network data export.
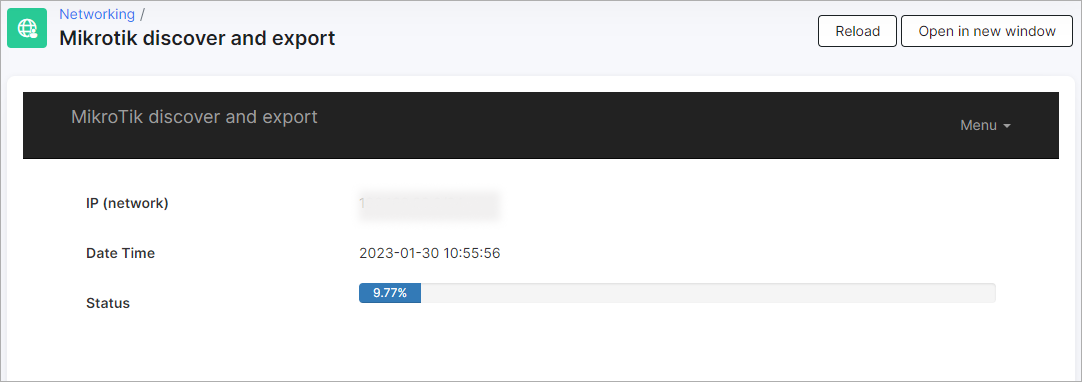
The export process will start:
Once the export is finished, you will be able to download the specified network data in CSV format:
¶ Export history
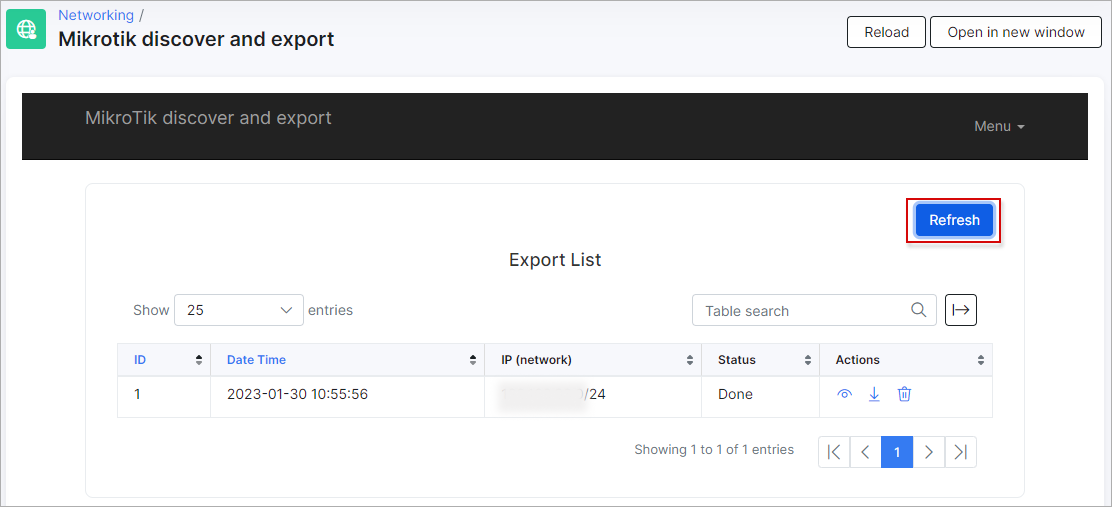
All export history can be found in the Export list:
 You may need to click on
 Refresh to update the data in the table.
The ID of the export entry, the Date and Time of the export, its *IP (subnet), and its Status are all displayed here.
¶ Actions
 - Examine the export information, which includes the IP (network), Date and Time of the export, and Status. The data can be downloaded in CSV format:
 - Download the network data in CSV format.
 - Remove the export entry.
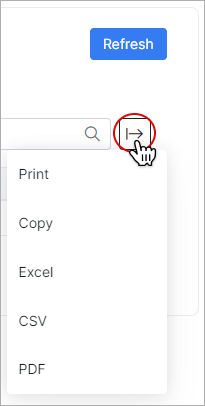
 The table can be exported in any of the specified formats and ways:
Click on Home to go back to the home screen:
¶ Importing inventory items
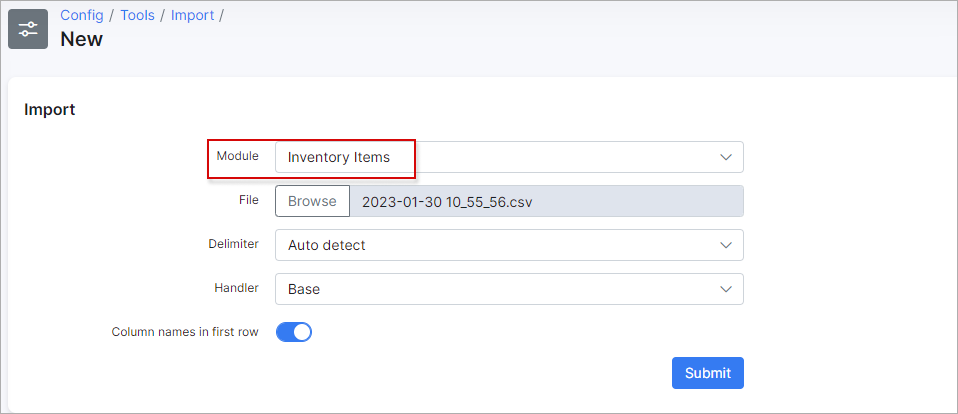
With some modifications like modifying the product ID, the CSV can be used to import Inventory items by using the upload tool. Config → Tools → Import:


