¶ Customers
¶ Overview
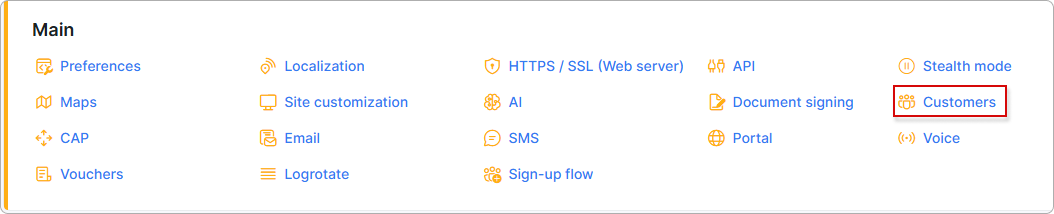
Customer settings such as login settings, customers limits in search, statistics graphs settings, etc. can be configured in Config → Main → Customers:
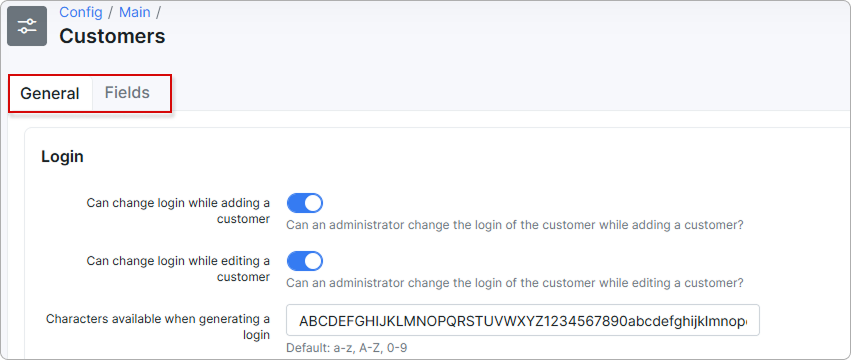
The page is split into two tabs. The General tab holds the customer settings (login, password, notifications, and more). The Fields tab holds only a note: the form field layout is now configured in your administrator profile.
¶ General tab
The General tab contains the customer configuration settings below.
¶ Login
Control how customer logins are generated and changed, and enable two-factor authentication for the Customer portal.
-
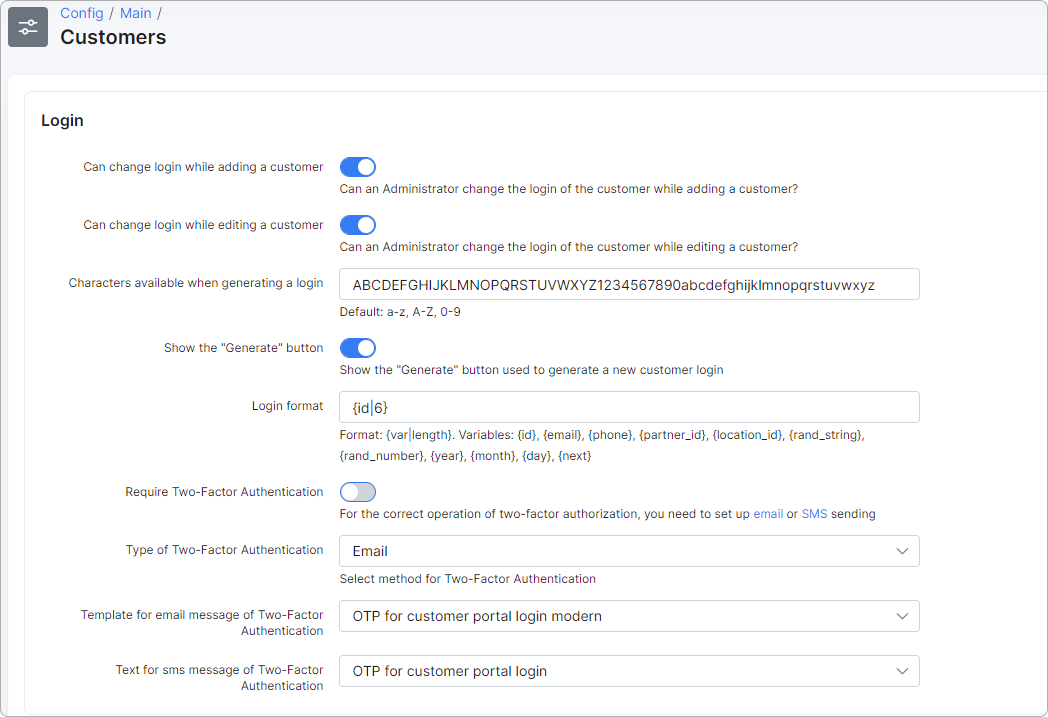
Can change login while adding a customer - when this option is enabled, it will be possible to change the login while adding a new customer. When this option is disabled, the login will be generated automatically when adding a new customer.
-
Can change login while editing a customer - enables/disables the ability to change the login of a customer while editing the customers profile.
-
Characters available when generating a login - add characters which will be used for generating a login (e.g. capital, small letters, numbers).
-
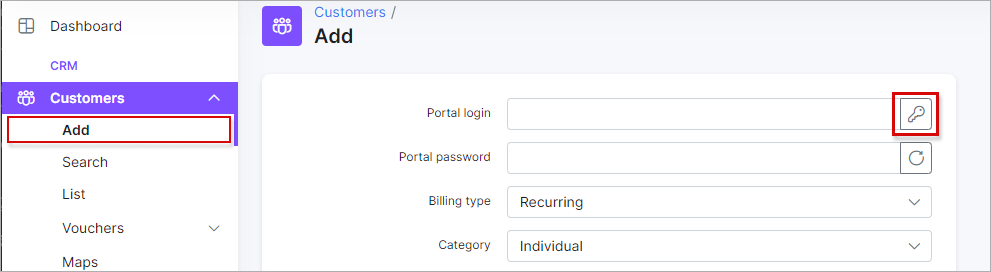
Show the "Generate" button - enables/disables the option to show the button for generating the customer's login in
Customers → Add.
-
Login format - create a login format. Could be: {id}, {email}, {phone}, {partner_id}, {location_id}, {rand_string}, {rand_number}, {year}, {month}, {day}, etc.
-
Require two-factor authentication - enable this toggle for two-factor authentication for customers when they log in to the Customer portal.
If the option is enabled, when the customer enters the correct login and password, they will receive a code via email and/or SMS, depending on their system configuration:
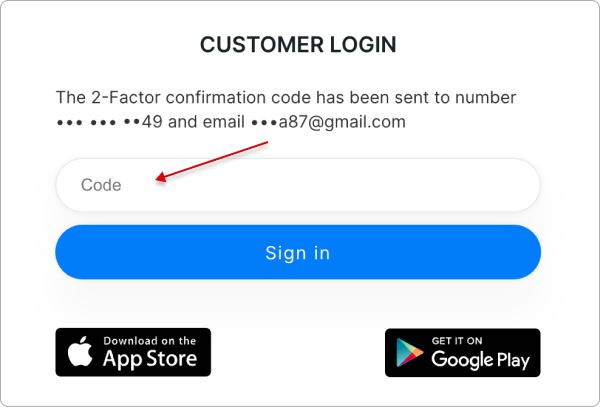
For the correct operation of two-factor authentication, you need to configure email and/or SMS sending.
-
Type of two-factor authentication (2FA) - choose a two-factor authentication method: Email, SMS, or Email + SMS.
-
Template for email message of two-factor authentication (2FA) - choose an email message template for two-factor authentication.
-
Text for SMS message of two-factor authentication (2FA) - choose an SMS text template for two-factor authentication.
¶ Password
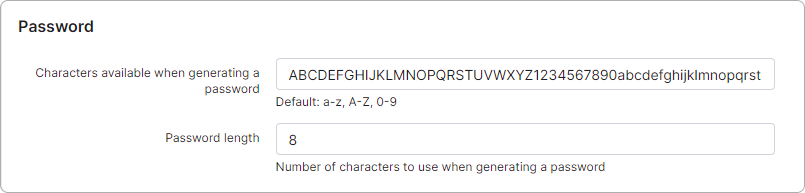
Define the characters and length used when generating customer passwords.
-
Characters available when generating a password - add characters which will be used for generating a password (e.g., capital, small letters, numbers);
-
Password length - specify the number of characters to use when generating a password.
¶ Miscellaneous configs
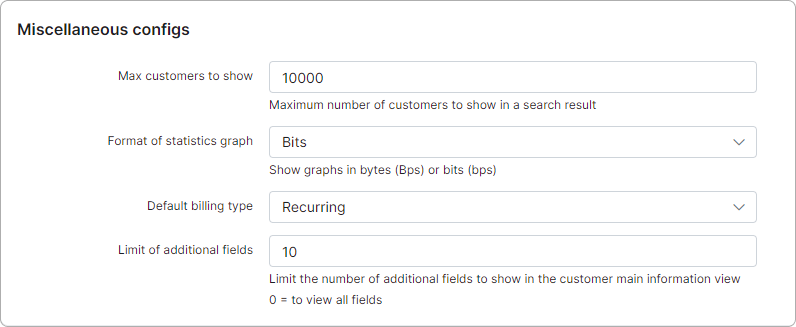
Configure general display limits and default options for customers.
-
Max customers to show - specify the maximum number of customers to show in the list when searching for customers.
-
Format of statistics graph - specify the desired format for the value presented in the statistics graphs of customers.
-
Default billing type - specify the default billing type of new customers created.
-
Limit of additional fields - specify the limit of additional fields to show in the customer main information view. Leaving this field on 0 will display all additional fields.
-
Release IP/MAC when customer is disabled - when enabled, changing a customer's status to Disabled returns the assigned IPv4/IPv6 addresses to the network and clears the MAC bindings on their internet services. Services that take an IP from a pool (From pool) receive a fresh IP automatically on the next RADIUS authentication after reactivation. Services configured with a specific IP from a network (Need IP) reactivate with an empty IP, which an administrator must re-assign. Customer-entered static IPs are preserved.
¶ Welcome message
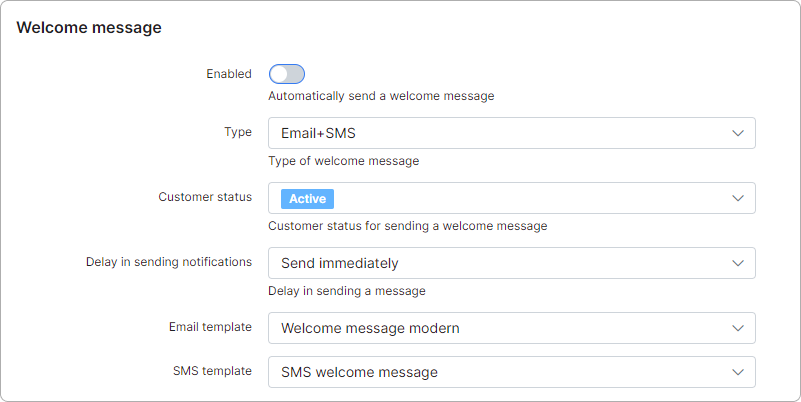
Set up automatic welcome messages sent to customers by email or SMS.
-
Enabled - enables/disables automatic sending of welcome messages to customers;
-
Type - select the type of message to send the welcome message (email, SMS or email + SMS);
-
Customer status - select the customer status for sending a welcome message;
-
Delay in sending notifications - specify the delay in sending the welcome messages;
-
Email template - select the template to use for email welcome messages;
-
SMS template - select the template to use for the SMS welcome messages.
¶ Birthday notifications
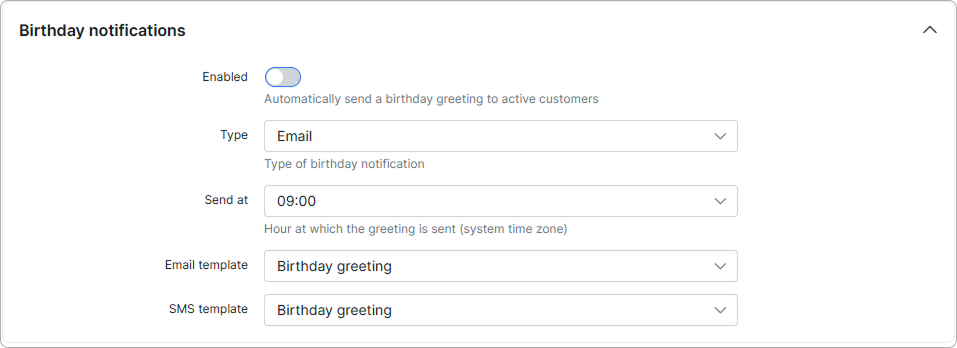
Birthday notifications send automated birthday greetings to your customers by email or SMS to help improve loyalty and retention.
-
Enabled - enables/disables automatic sending of birthday greetings to active customers.
-
Type - select the type of message to send (email, SMS or email + SMS).
-
Send at - select the hour of the day at which the greeting is sent (system time zone).
-
Email template - select the template to use for email birthday greetings.
-
SMS template - select the template to use for SMS birthday greetings.
Greetings are sent only to active customers who have a date of birth set. Default Birthday greeting email and SMS templates are created automatically during migration to 6.0.
¶ Reminder notifications
Choose the template used for Comments/To-Dos reminder notifications in the customer profile.

- Template - select the template for notification messages related to Comments/To-Dos section in the customer's Information tab.
¶ Fields tab
The customer form field layout is no longer configured here. The Fields tab now shows only a note pointing to the new location:
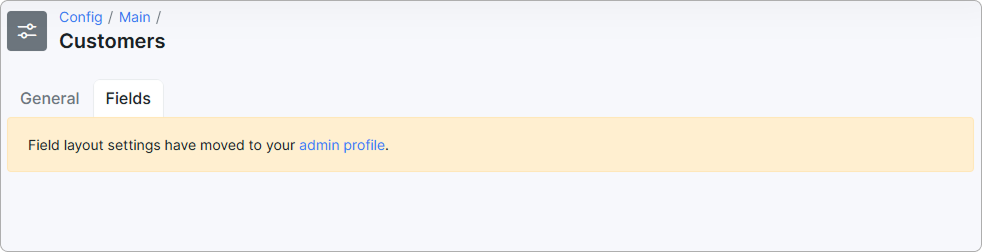
The layout is a personal setting, so it now belongs to each administrator's own profile. Open My Profile → Customer fields to set the field order and the number of field rows for your customer form — see Customer fields.