¶ Network sites (Config)
¶ Overview
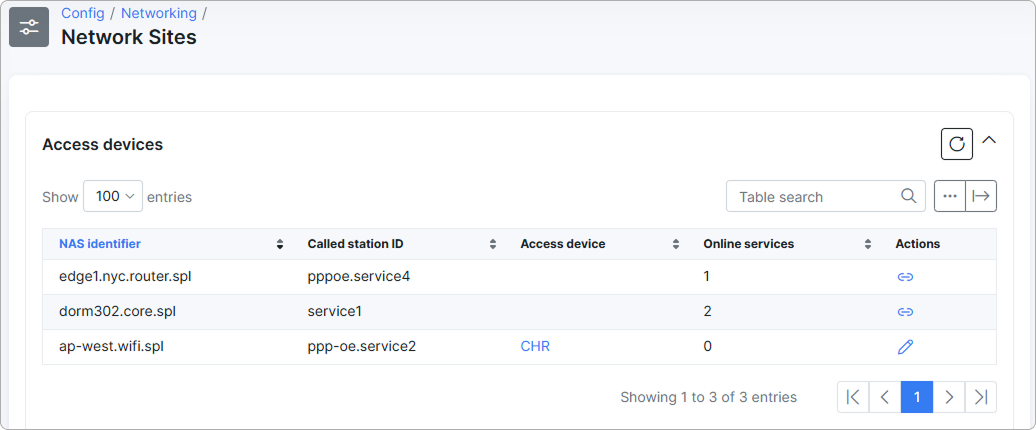
This configuration section allows administrators to map NAS identifiers and called station IDs to a specific access device, which in turn is associated with a network site.
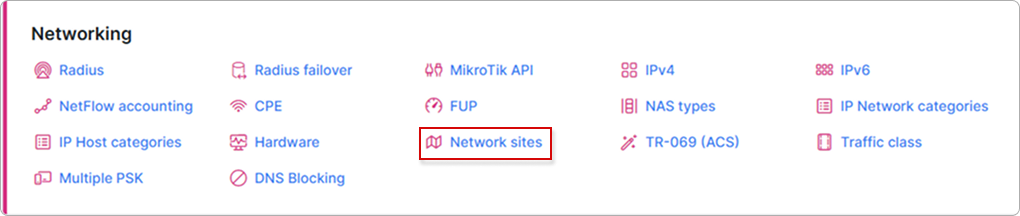
When users connect to the network and authenticate through RADIUS (e.g., via PPPoE or DHCP), the system uses a combination of:
-
NAS identifier (e.g., dorm302.core.spl)
-
Called station ID (e.g., service1)
to automatically identify the access device and associate it with the appropriate network site.
¶ How it works
-
When a service becomes active (online) and its
NAS identifierandcalled station IDmatch an entry in this table, the system checks if an access device is already assigned. -
If an access device is set in the table, the system automatically applies it to any current or future services with the same
NAS identifier+called station ID. -
The access device then determines the network site grouping for that service.
¶ Actions
In this table, you can link, change, or delete the access device mapping for each NAS identifier + Called Station ID pair. The available actions depend on whether a mapping already exists:
 — with the Link icon, you can link an access device when none is currently set for the entry:
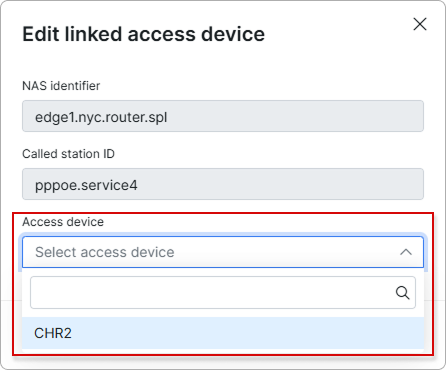
 — with the Edit icon, you can change the currently linked access device to a different one:
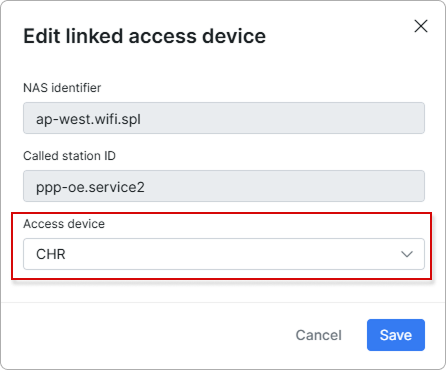
 — with the Delete icon, you can remove an existing mapping. A confirmation window appears:
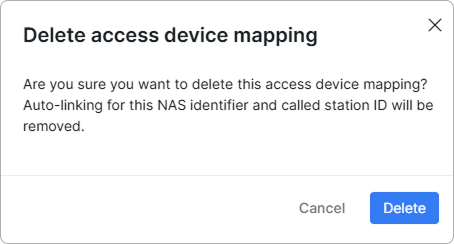
Deleting a mapping removes auto-linking for that NAS identifier + Called Station ID pair. The next time a service authenticates with the same pair, it will not be automatically assigned to any access device until you link one again.
For more information, please read Network sites

¶ Example
Currently, two online services are using the same NAS identifier and called station ID:
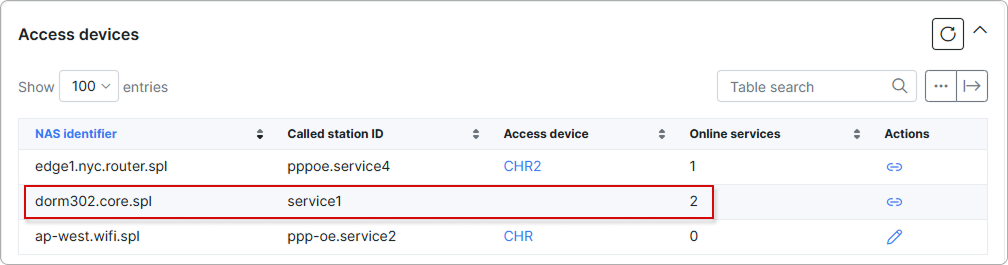
If you assign an access device (e.g., CHR) to this row, the next time those two services reconnect, the system will:
-
Automatically assign
CHRas their access device. -
Map them to the network site associated with
CHR.
This eliminates the need to manually assign access devices per session.
¶ Export and table management
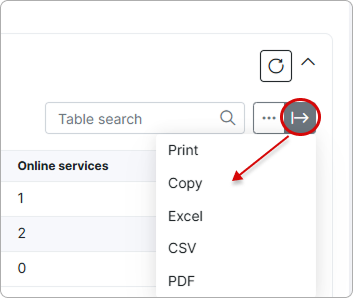
With the help of the export  icon at the top right corner of the table you can print, copy the list of the information, or save it in PDF or CSV file.
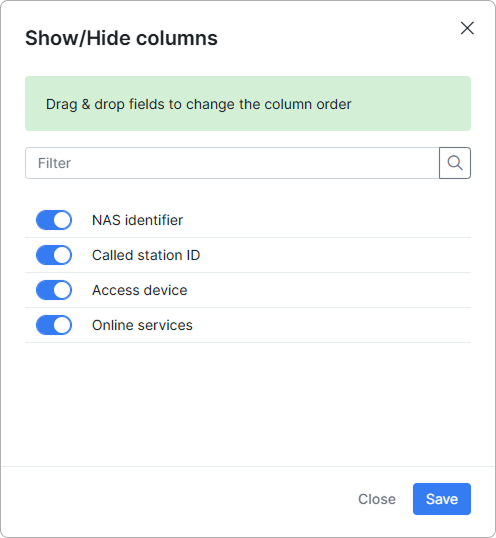
By clicking on the breadcrumbs  icon, you can choose columns to be displayed by enabling or disabling toggles or by dragging & dropping items to change the order of the information displayed.