¶ Information (Leads)
- Overview
- Top bar
- Information
- Contact book
- Map
- Inventory
- Updates
- Converting leads into customers
- Related pages
¶ Overview
The lead profile page is where you manage everything about a single lead — contact details, source, location, sales pipeline stage, activity history, and to-dos. Open it from CRM → Leads by clicking a lead in the list.
The page has four tabs: Information, Documents, Quotes, and Communication. This page describes the Information tab.
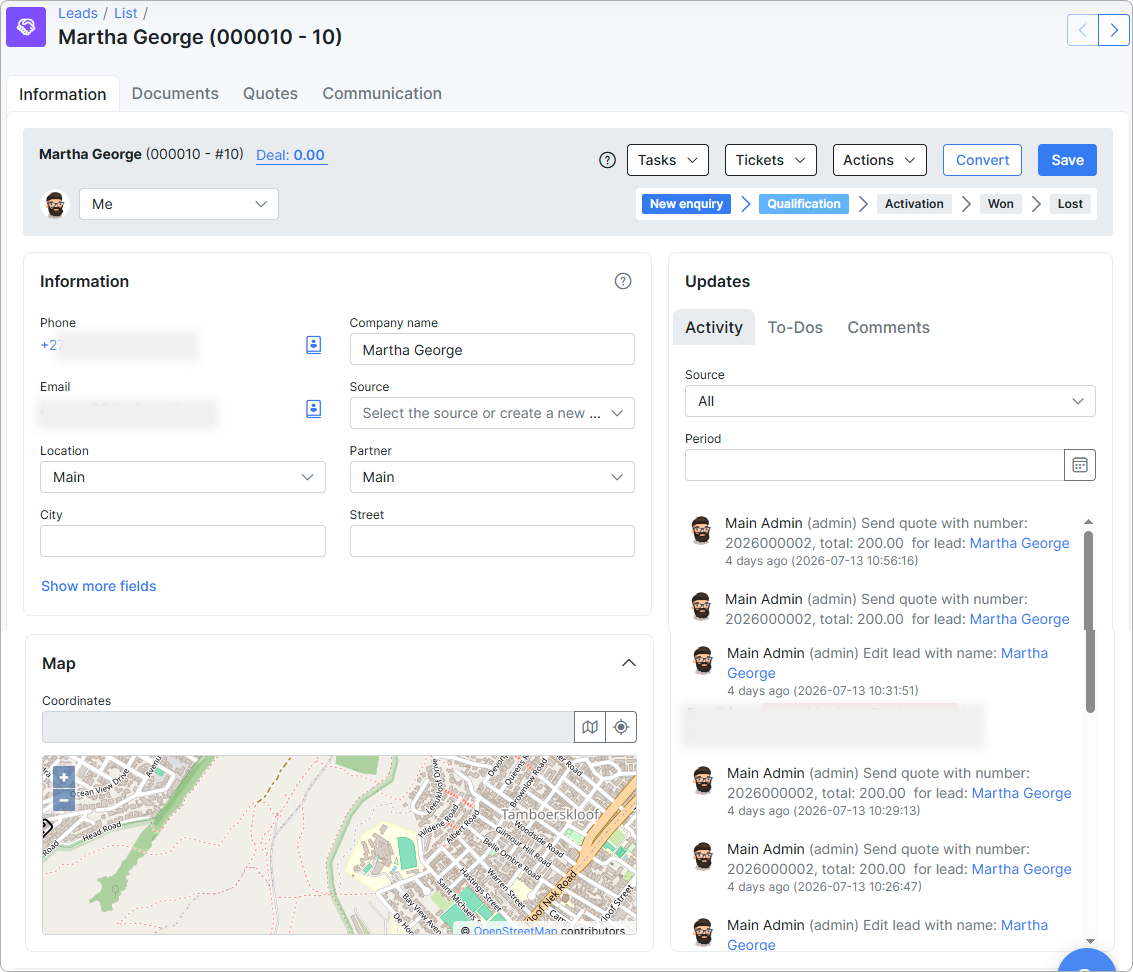
The order of fields and the number of rows are personal to each administrator, so the same lead may look different to your colleagues. Click the options icon next to the fields, then 'Configure', to open My Profile → Leads fields and arrange the form — see Leads fields. The icon is dark and shows the 'Configure' text until you open the settings for the first time, then it turns gray and the text disappears.
¶ Top bar
The top bar shows the lead name, ID, and deal value, plus the main actions:
- Manager dropdown — the admin the lead is assigned to (e.g. Me).
- Pipeline stages — the lead's position in the sales funnel: New enquiry → Qualification → Activation → Won → Lost. Click a stage to move the lead.

Tasks/Tickets— create and view scheduling tasks and support tickets for the lead.Actions— additional operations for the lead: Send message and Delete.Convert— turn the lead into a customer (see Converting leads into customers).Save— save changes made on the page.
¶ Information
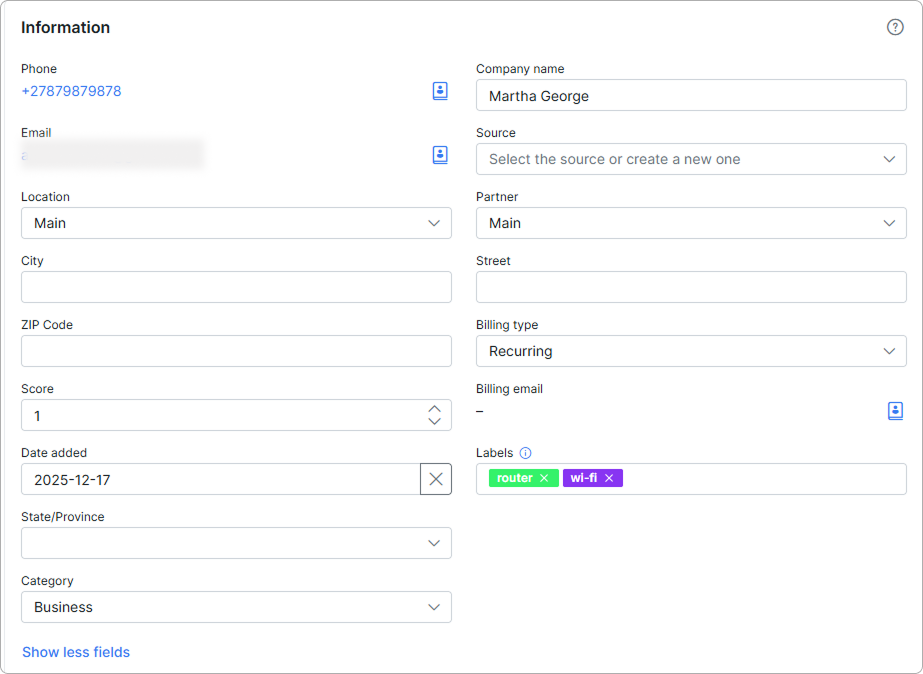
The Information block holds the lead's core details:
- Phone and Email — primary contact details. The contact book icon beside each field opens the Contact book.
- Company name
- Source — where the lead came from. Select an existing source or type to create a new one.
- Location and Partner
- City and Street
Click Show more fields to reveal additional fields.
¶ Contact book
The Contact book stores all people associated with the lead — the primary contact plus any additional contacts. Click the contact book icon next to Phone or Email to open it.
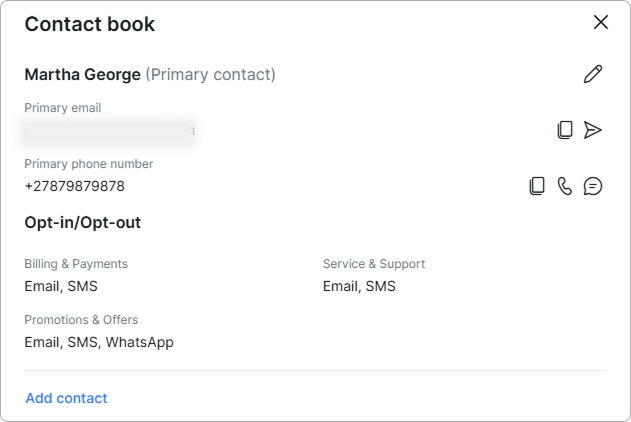
Each contact shows:
- Role — Primary contact (whose email and phone populate the Information fields) or Other. Click the pencil icon to edit.
- Primary email and Primary phone number, with icons to copy the value, send an email, start a call, or send a message. When the contact has no primary email but does have a billing one, the billing address is shown instead.
- Opt-in/Opt-out — the channels the contact agreed to per purpose: Billing & Payments, Service & Support, and Promotions & Offers (e.g. Email, SMS, WhatsApp).
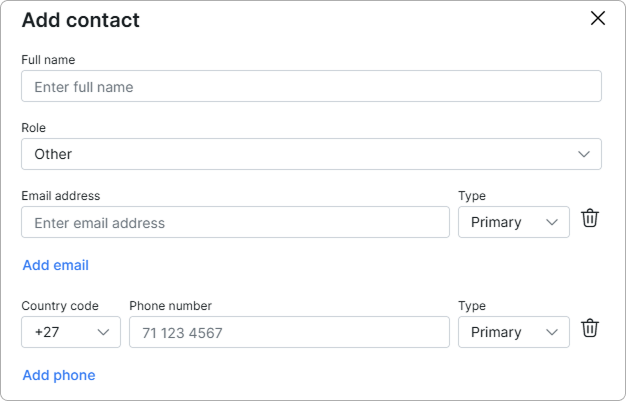
Adding a contact: click Add contact, then enter the Full name, choose a Role, and add one or more Email address and Phone number rows (each with a Type). Use Add email / Add phone to add rows and the trash icon to remove them. Email types are independent of each other — a contact can have a Primary email, a Billing email, both, or neither.
For more details, read Contact book (Customers)

¶ Map
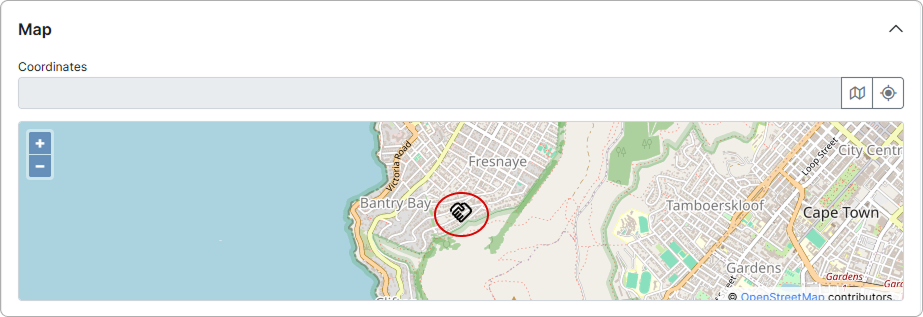
The Map block shows the lead's geographic location. Enter or paste Coordinates, use the locate icon to set the position, and view the pin on the map view.
¶ Inventory
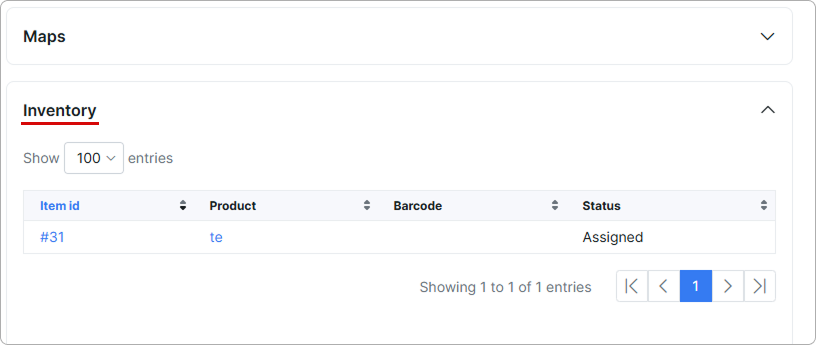
The Inventory block lists inventory items assigned to the lead. Each row shows Item id, Product, Barcode, and Status (e.g. Assigned):
¶ Updates
The Updates panel on the right tracks all activity on the lead across three tabs:
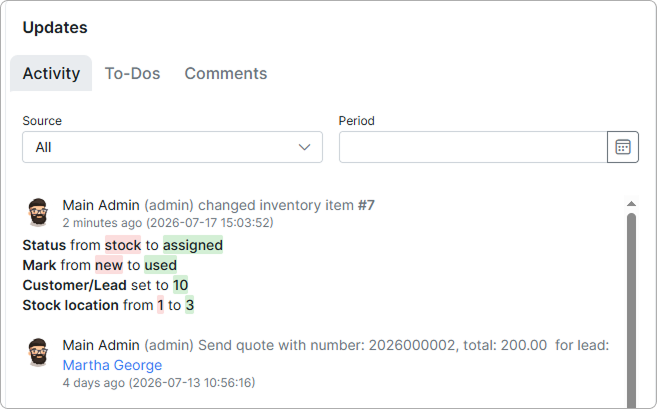
- Activity — a chronological feed of actions (quotes sent, edits, status changes). Filter by Source and Period.
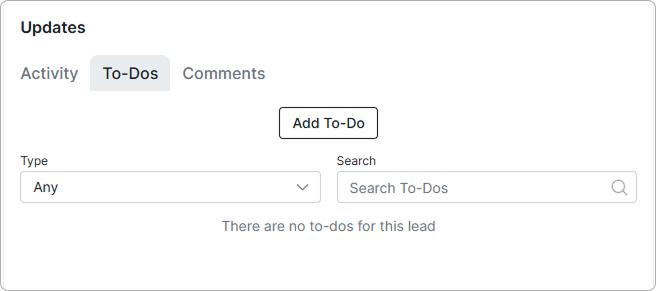
- To-Dos — tasks for the lead. Click
Add To-Doto create one; filter by Type or search.
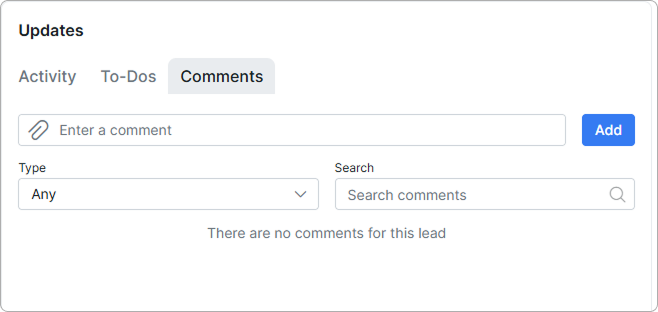
- Comments — internal notes. Type a comment (attachments supported) and click
Add; filter by Type or search.
¶ Converting leads into customers
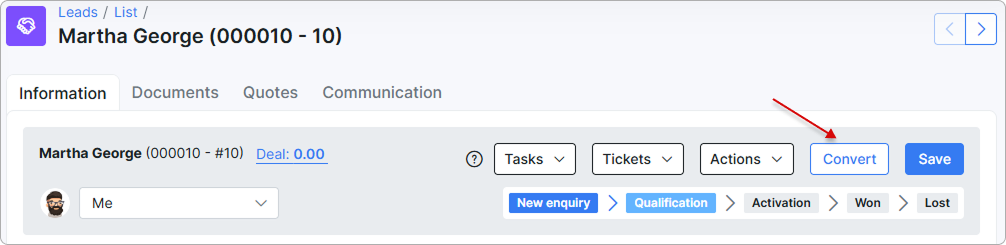
When a lead is ready to become a paying customer, click Convert in the top bar. Splynx carries the lead's information, contacts, and history over to a new customer record, where you can add services and set up billing.
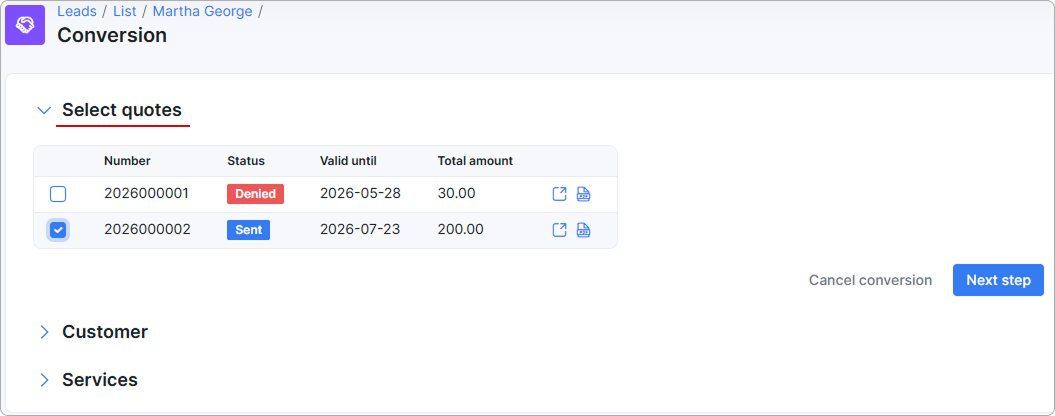
- Choose which of the lead's quotes to carry over to the new customer. The table lists each quote's Number, Status (e.g. Sent, Denied), Valid until date, and Total amount. Tick the quotes to include, then click
Next step. Use the icons on each row to open the quote or view its document.
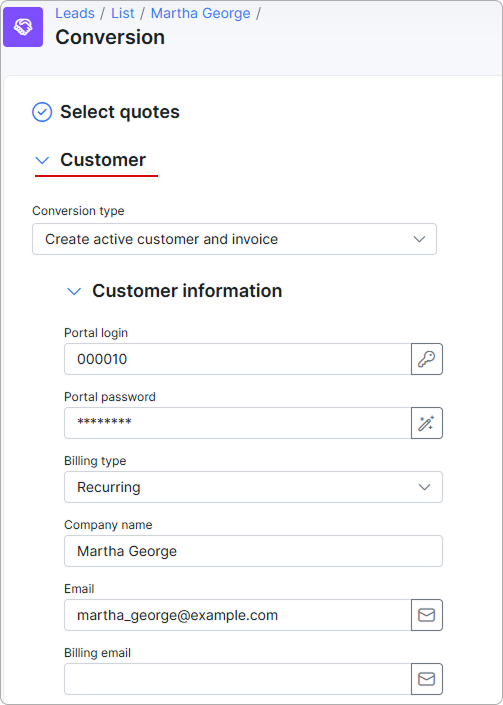
- Set how the customer record is created and check the details carried from the lead:
- Conversion type — what Splynx creates on conversion (e.g. Create active customer and invoice).
- Customer information — Portal login and Portal password (use the key and wand icons to generate values), Billing type, Company name, Email and Billing email, Labels, Category, Contact person, Company ID, VAT ID, and GPON ONT. Fields are pre-filled from the lead where available — edit them as needed.
Click Finish to finish the conversion process.