¶ Localization
- Overview
- Language
- Localization settings
- Finance format settings
- Networking settings
- PDF files names patterns
- Holiday list
- States and provinces
¶ Overview
Here, you can configure the system language, choose date formats, set currency and other financial details, and manage settings related to networking, file names, holidays, and administrative regions.
¶ Language

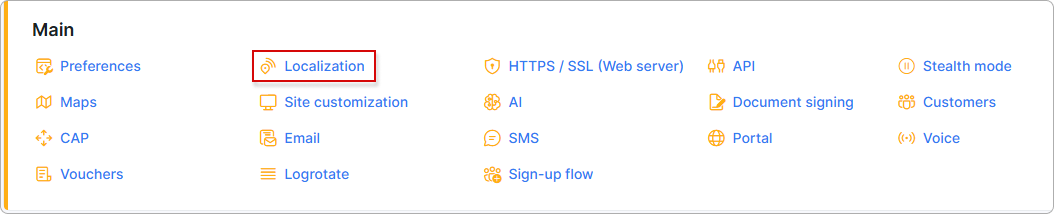
- System language - select the system language.
¶ Localization settings
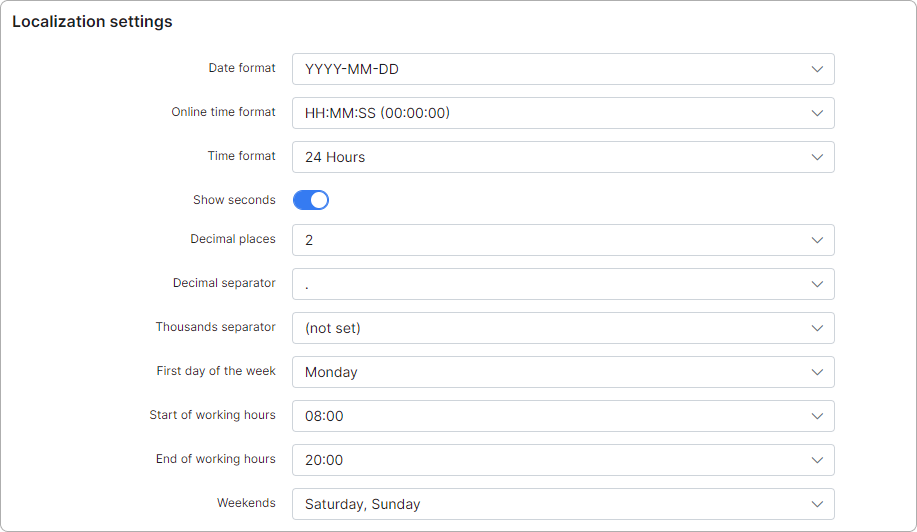
- Date format - select the date format which will be used in the system;
- Online time format - select the online time format;
- Time format - select the type time format (12 or 24 hours);
- Show seconds - enables/disables displaying of seconds;
- Decimal places - specify the number of digits to display after the separator;
- Decimal separator - select a separator;
- Thousands separator - select a separator for thousands (if needed);
- First day of the week - select the first day of the week;
- Start of working hours - specify the start of your working hours;
- End of working hours - specify the end of your working hours;
- Weekends - select the weekends.
¶ Finance format settings
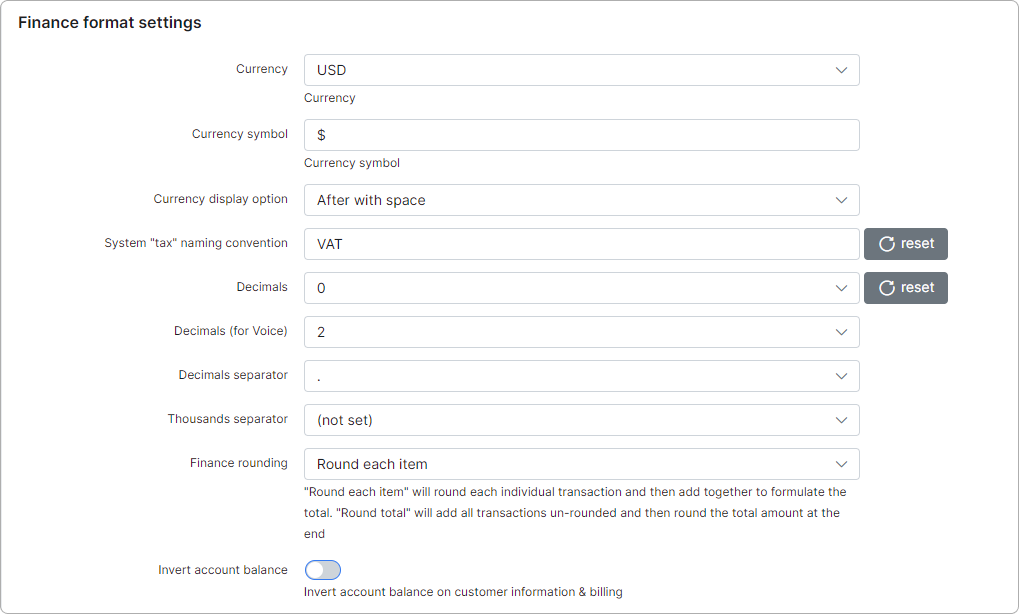
- Currency - select a preferred currency;
- Currency symbol - specify the currency symbol;
- Currency display option - specify where to display the currency symbol;
- System "tax" naming convention - specify the tax name relevant to your country;
- Decimal places - select decimal places if needed from 0 to 4;
- Decimal places (for Voice) - select decimal places for voice plans if needed;
- Decimal separator - select a decimal separator (. , );
- Thousands separator - select a separator for thousands if needed (, . ');
- Finance rounding -"Round each item" will round each individual transaction and then add them together to formulate the total. "Round total" will add all transactions unrounded and then round the total amount at the end.
- Tax calculation method - defines how rounding is applied. "Each item" calculates tax for each row individually, while "On total" sums all rows first and then applies tax to the result.
 For more details and examples, see Tax calculation method.
- Invert account balance - enable/disable displaying the inverted customer's account balance in customer's information & billing sections.
¶ Networking settings
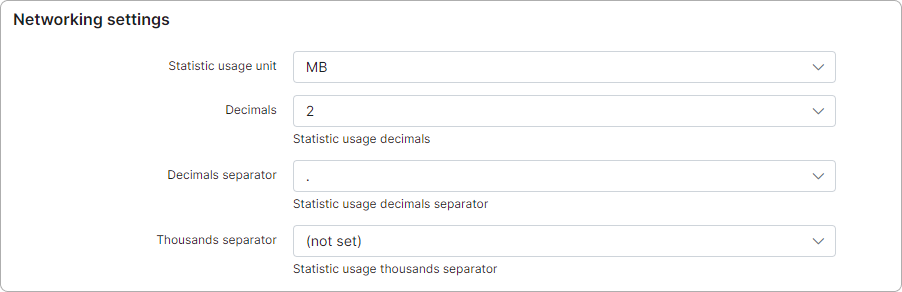
- Data unit size - sets how many bytes Splynx counts in 1 KB: 1000 or 1024. This is a global, system-wide setting that affects every data-size display (traffic statistics, Voice/CDR usage, and so on), and it is always available even when the Networking module is disabled. For example,
41 074 710bytes is shown as41.07 MBwhen set to 1000, and as39.17 MBwhen set to 1024. - Statistic usage unit - select a unit to display network statistics in, MB or GB;
- Decimal places - select the statistic usage decimals;
- Decimal separator - select a statistic usage decimal separator;
- Thousands separator - select a statistic usage thousands separator.
¶ PDF files names patterns
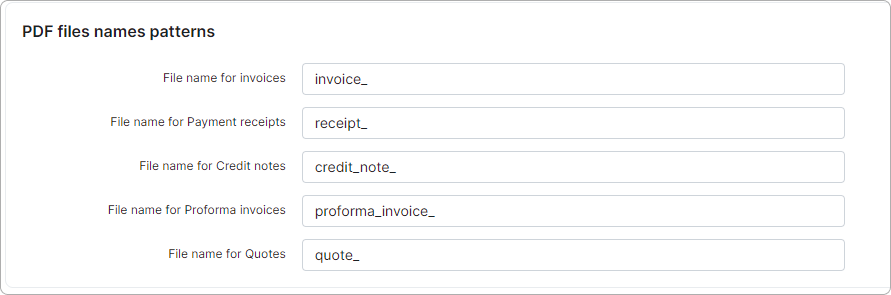
Here, you can specify file name patterns for invoices, payment receipts, credit notes, proforma invoices, and quotes issued in PDF format:
¶ Holiday list
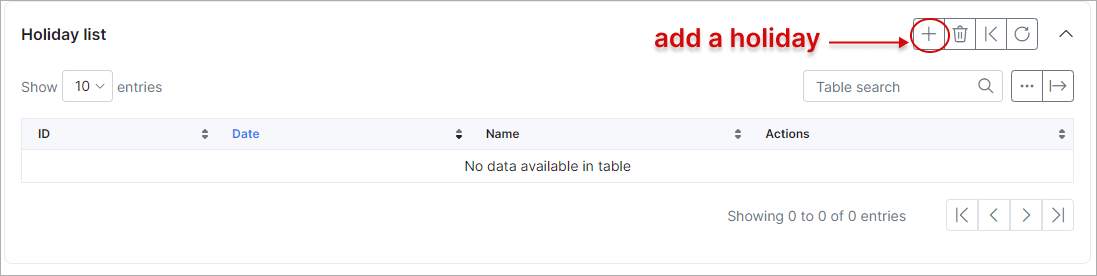
You can set up an individual holiday list in this section.
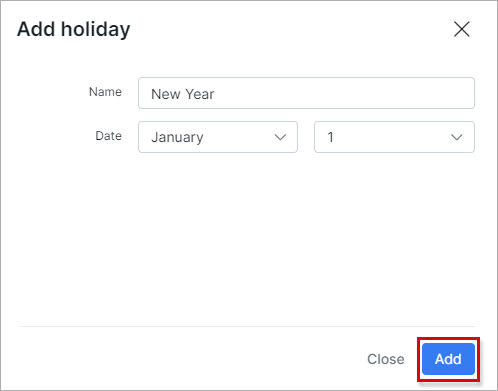
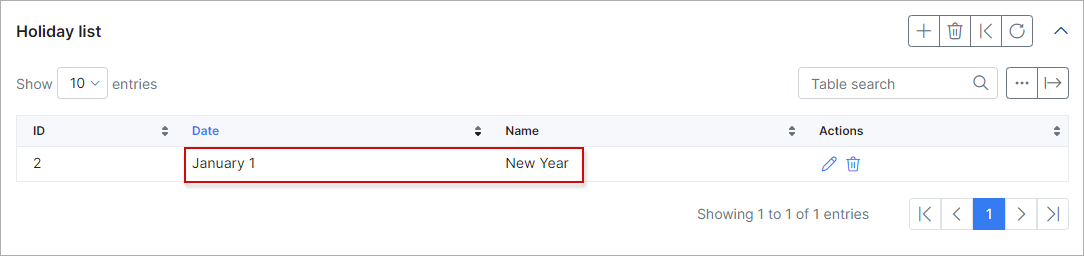
Then you will be able to consider the dates of these holidays in billing.
Please read Finance automation to learn more.

¶ States and provinces
Under this section, a list of your states or provinces will appear. You can add them to customer and lead information or use in placeholders.
To generate the list automatically, ensure that you have selected your ISO country under Config → System → Company Information.
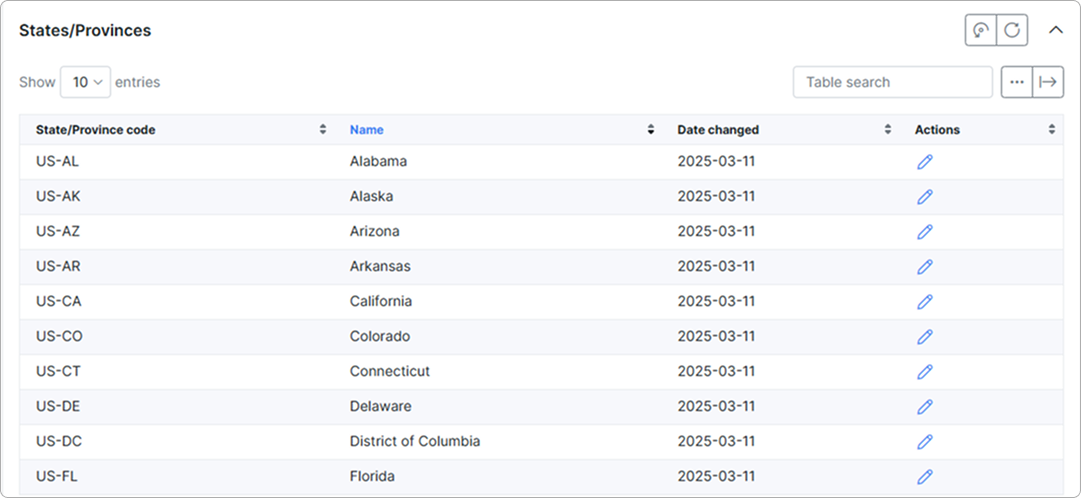
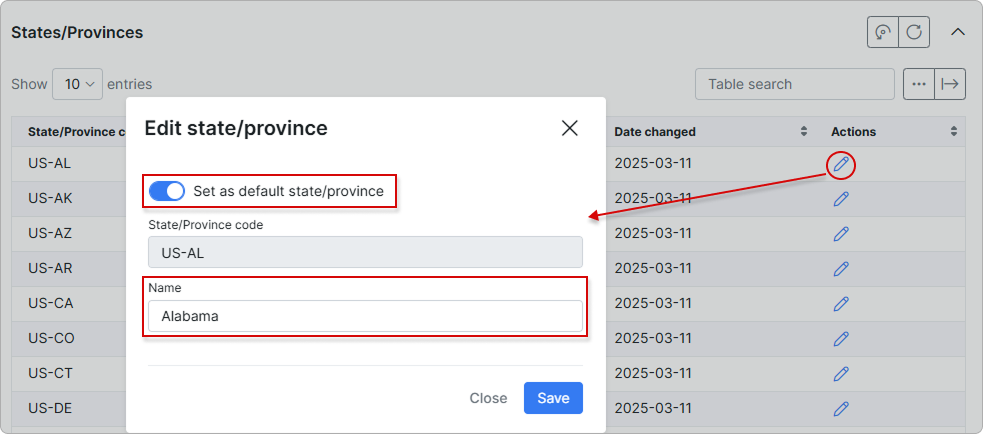
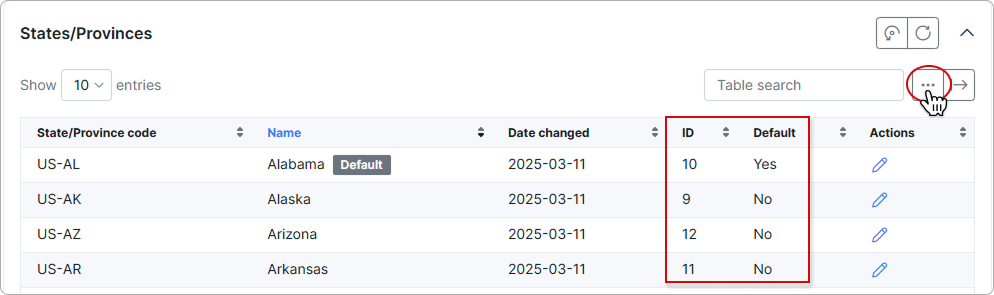
One state/province in the list is marked as the Default for the country. The default is set in one of two ways:
- Automatically — when a partner's State/Province value is chosen on Config → System → Company Information, the same entry is marked as Default in this table. Selecting a different state on Company information moves the Default flag to the new entry.
- Manually — open the Default column (via the breadcrumbs button described below) and switch the flag to another entry. When a new default is selected, the previous one is cleared.
You can also edit state or province names from this table.
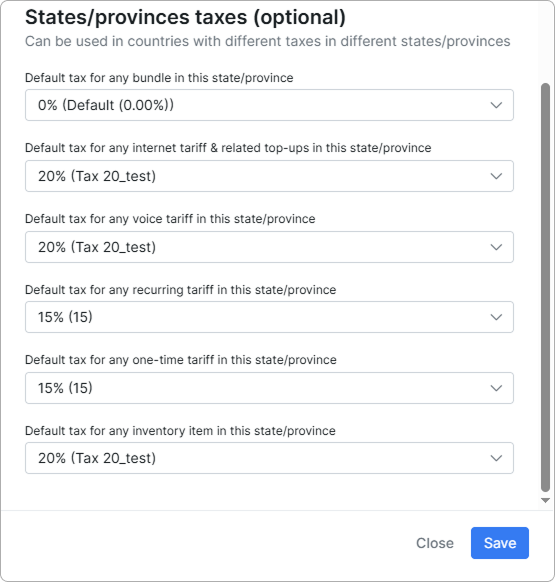
Optionally, you can configure default taxes for each state/province for any tariff plan (Internet, Recurring, Voice, One-time, or Bundle) or inventory item within that state/province. This is especially useful in countries where tax rates vary by state or province:

Use the breadcrumbs button to add the ID and Default columns:
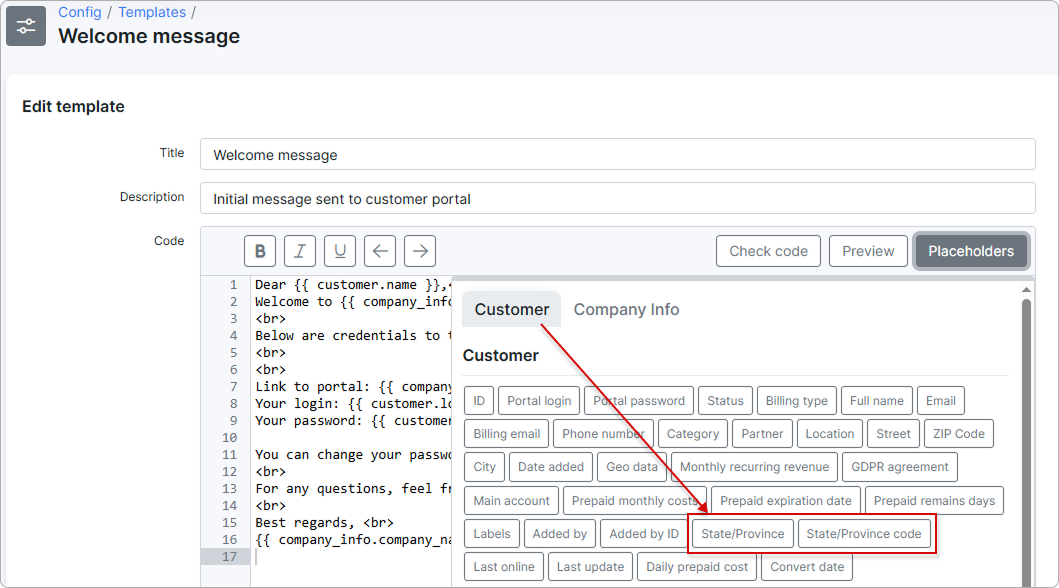
You can insert the province name and code into customer messages using the respective placeholders: