¶ General management
- Overview
- How to add a new customer
- Customer status
- Login and password configuration
- Additional fields
- Related pages
¶ Overview
General management covers the core actions for onboarding and maintaining a customer record in Splynx: creating a new customer, understanding how customer statuses affect billing and services, configuring how logins and passwords are generated, and extending the customer profile with additional fields.
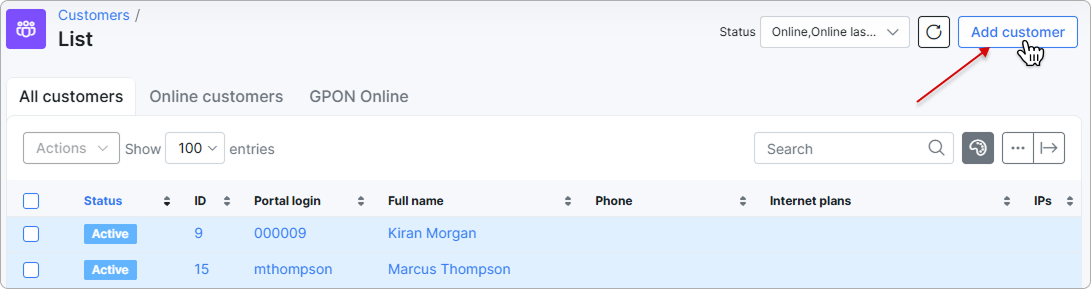
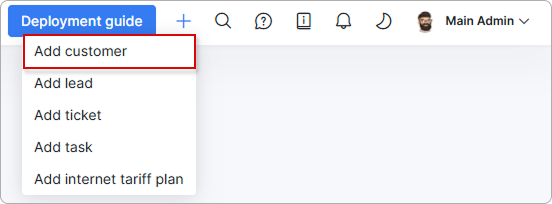
We are moving customer creation to modal windows so you can access this feature from any page without leaving it. You can now add a customer via the header or from the customers list.
¶ How to add a new customer
To add a new customer, click the Add customer button at the top right of the customer list, or use the quick-add option in the header to open the form from anywhere in Splynx:
A modal window will appear to fill in the client details in the provided fields:
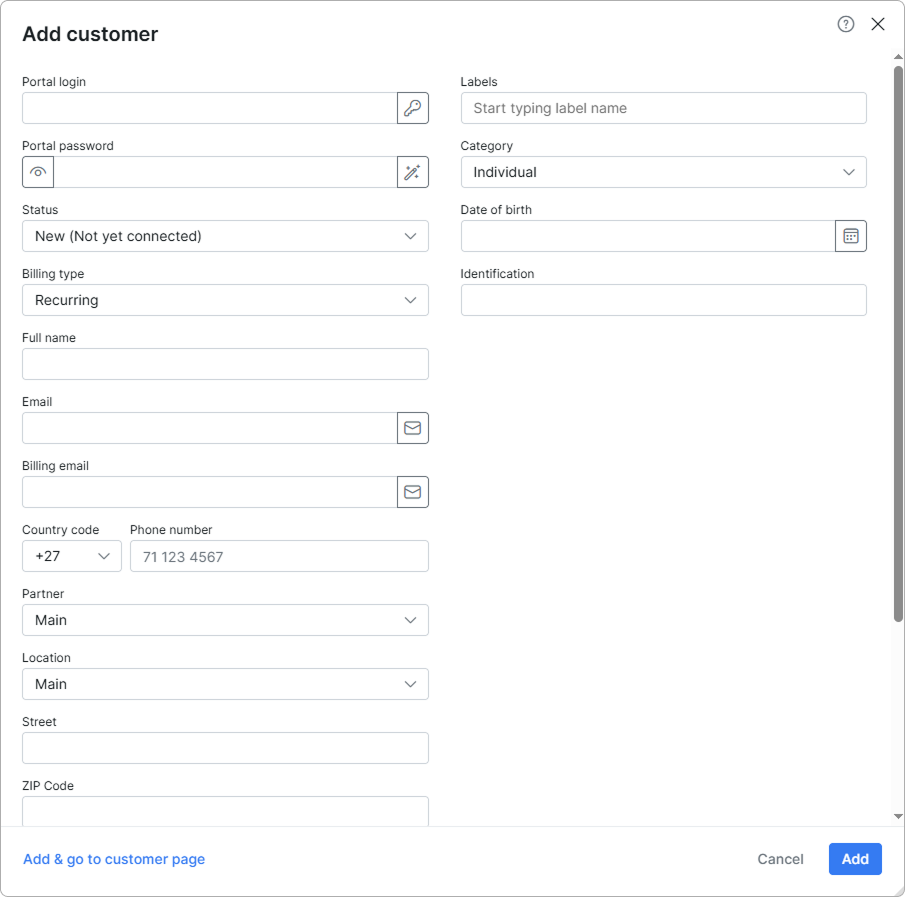
The field layout of this modal is personal: the order of the fields and the number of rows shown come from your own administrator profile, so the same form may look different to your colleagues. Click the options icon next to the fields, then 'Configure', to open My Profile → Customer fields and arrange the form — see Customer fields.
- Portal login and Portal password - login and password can either be automatically generated or you may choose to create them manually. The
 button is used to generate automatically a new login and
  - for a password.
 - Billing type - method with which you will bill the customer (prepaid or recurring).
- Full name - name and surname of the customer.
- Email - email address of the customer (several ones are separated by comma ",").
- Billing email - email address of the customer only for the billing correspondence (several ones are separated by comma ",").
This field has the next logic:
1) if the billing email field is empty - all emails are sending to email(-s) from main "Email" field;
2) if there is the email in the "Billing email" field - all billing notifications will be sent to this billing email and all other emails will be sent to email from main "Email" field. As a result, Splynx does not duplicate the billing notifications to email(-s) from the main "Email" field;
3) in case only the billing email was added ("Email" field is empty), customer receives only the billing related letters, all other letters will not be sent by Splynx. - Country code and Phone Number - country code and phone number of the customer.
- Partner - partner the customer belongs to.
- Location - location the customer belongs to.
- Street - the customer's street name.
- ZIP code - ZIP code of the customer's area.
- City - the city of customer's residence.
- State/Province - select a state or province preconfigured under Config → Main → Localization (State/Province).
- Date added - the date when the customer has been added.
- Labels - one or more tags you can assign to the customer to group, filter, and search customers across the system. Start typing to select from existing labels; labels are created and managed under Config → System → Labels.
- Category - if customer is a private person or a company.
- Date of birth - birthday of the customer.
- Identification - the passport number of the customer.
¶ Customer status
The status of your customers plays a significant role in the system with regards to services and accounting. The status of a customer influences whether the system will account for the customer's services in a billing perspective and whether the customers' services are active, suspended (blocked) or paused.
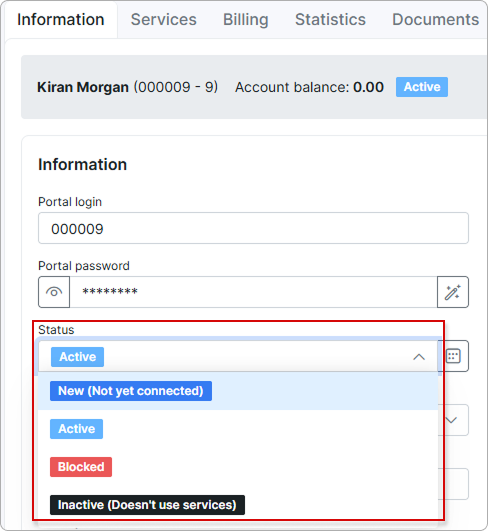
Here are descriptions of the different customer statuses for you to understand how this influences the system:
- New (Not yet connected) - This is the status given to newly added customers by default.
- Active - This status allows the customer to access their services, and the system accounts for their services based on their Billing settings.
- Blocked - This status suspends customers' services due to non-payment/failed to make payment on time, while system still accounts for customer's services in a billing perspective.
- Inactive (Doesn't use services) - This status stops customers services and the system from accounting. It is the status given to customers' automatically when they've reached the deactivation (grace) period. This status is given to customers who do not use your services for a long period. In case the customer's account has Inactive status it can be deleted.
¶ Login and password configuration
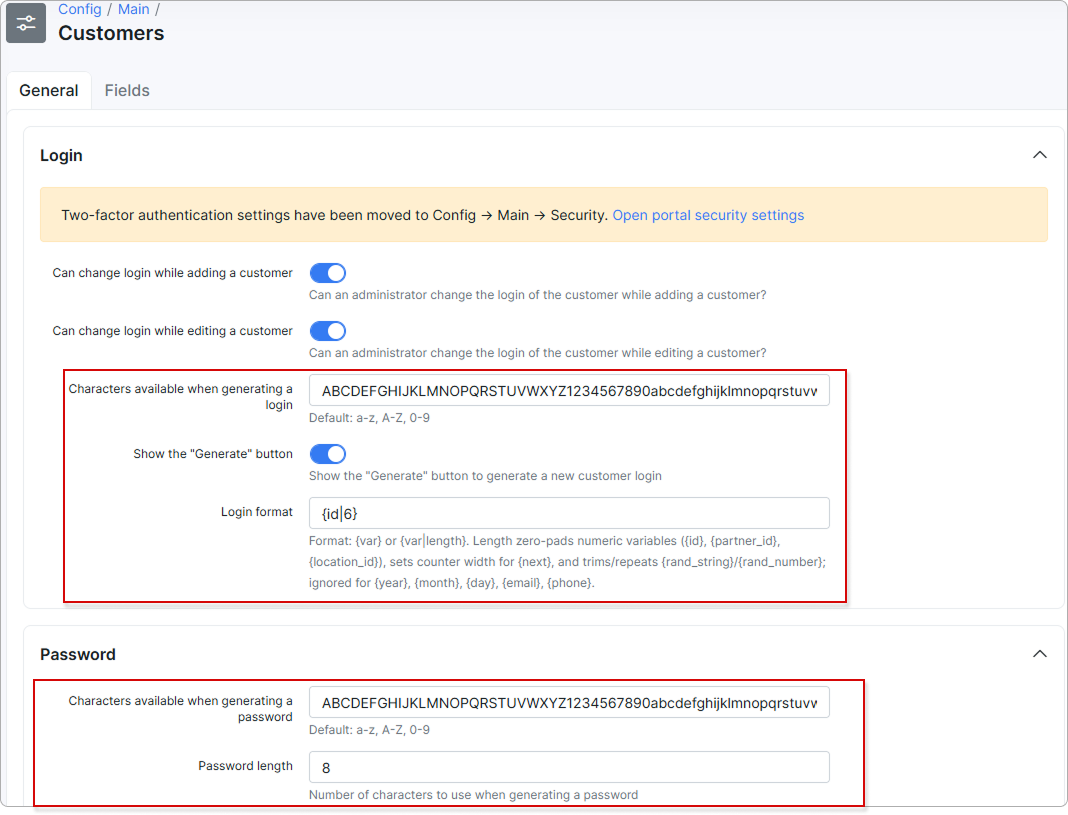
Automatically generated login and password are created based on the randomized characters. These characters and the format can be modified to your preferences.
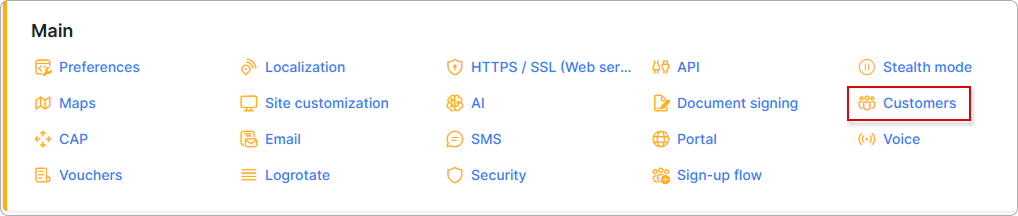
To define these characters and its format, click on Config → Main → Customers.
¶ Additional fields
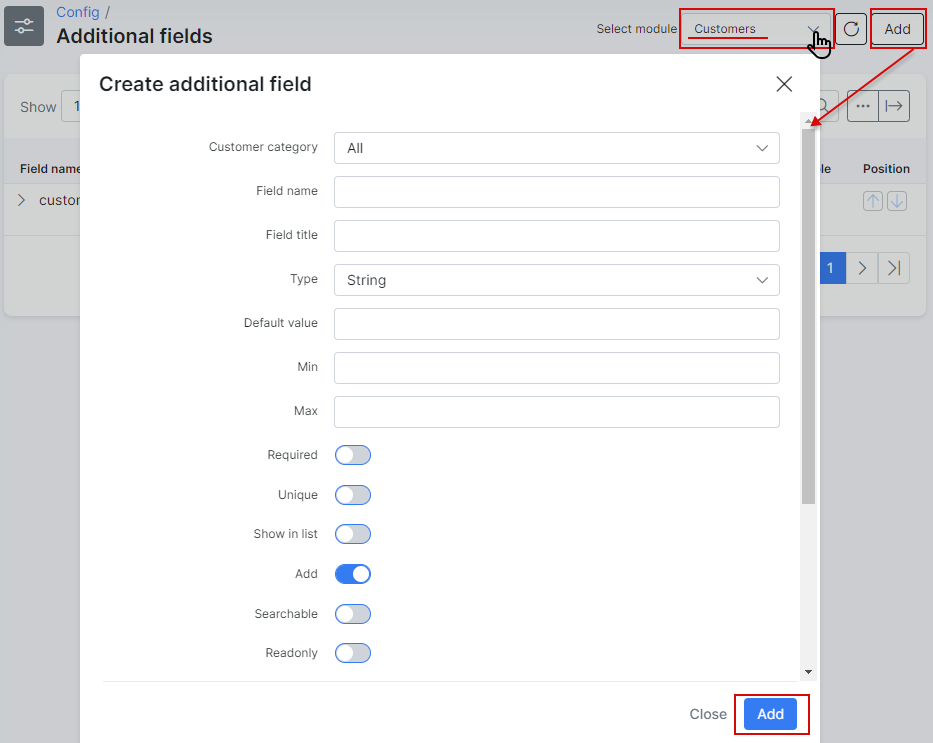
It is possible to personalize a customer's parameters with Additional field function in Config → System → Additional fields. These are custom fields you require for any given informational data within the system for your customers.
To create the additional field in the new customer form or on the information tab of the existing customer, click on Add and specify the necessary parameters: