¶ Orders
- Overview
- Configuration
- Selecting products
- Checkout
- Payment and ordering
- Order processing
- Managing orders by customers
- Managing order requests by admins
¶ Overview
Customers can order new products (Bundle, Internet, Voice, Recurring, or One-time plans) from available ones on this page, and pay upfront via the payment gateway or make a request for the admin's approval and pay later.
¶ Configuration
First, the admin should enable the option and make the necessary configurations in Config → Main → Portal → (Per partner settings → Order new products). Also, inside each tariff plan for ordering, the option Show tariff on Customer portal should be enabled and options below selected:
If the options are disabled, the customer will not be able to order new products using the Customer Portal.
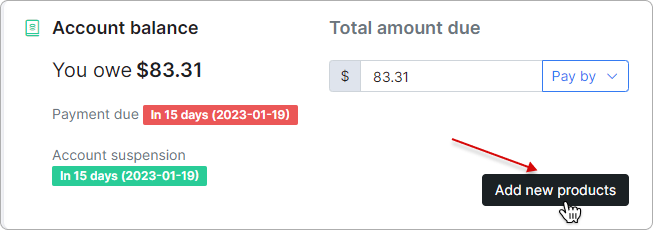
The customer can also navigate to Order new products from My services page by clicking on the Order new products button at the top right corner or from the Dashboard by clicking on the Add new products button:

¶ Selecting products
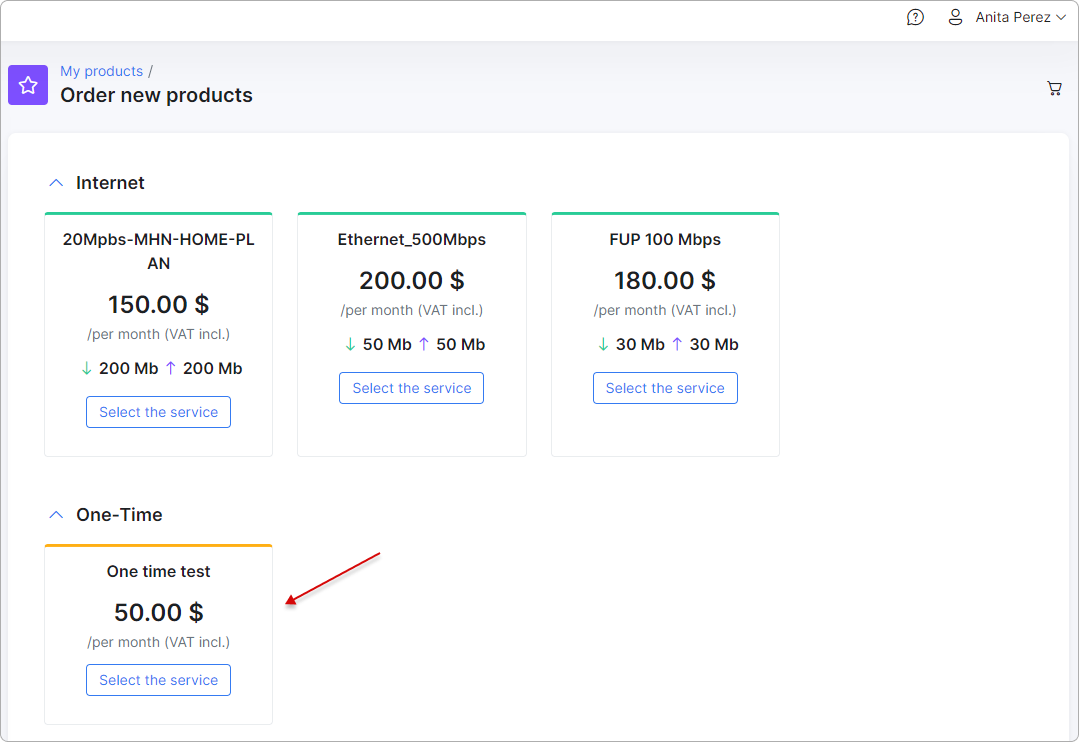
If product ordering is allowed, the customer will see all available products as cards grouped according to their types: Bundles, Internet, Voice, Recurring, or One-time.
To learn more details about odering one-time services, please read this article: Ordering a one-time service on the Customer portal.
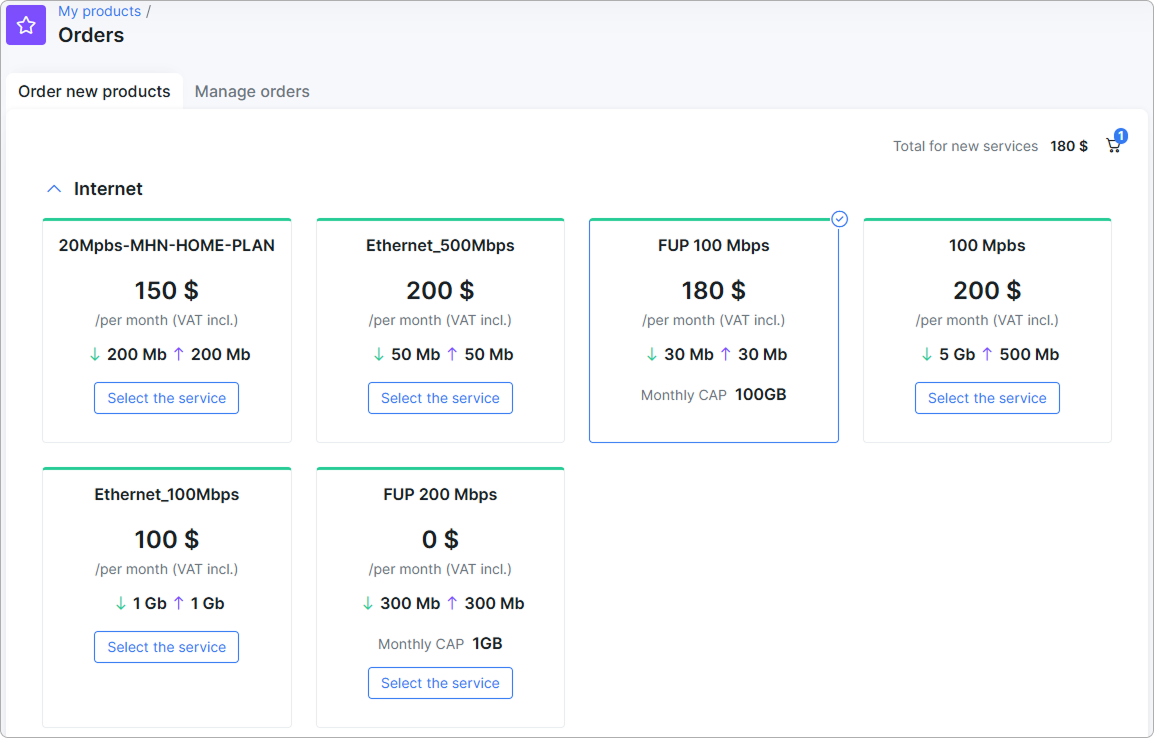
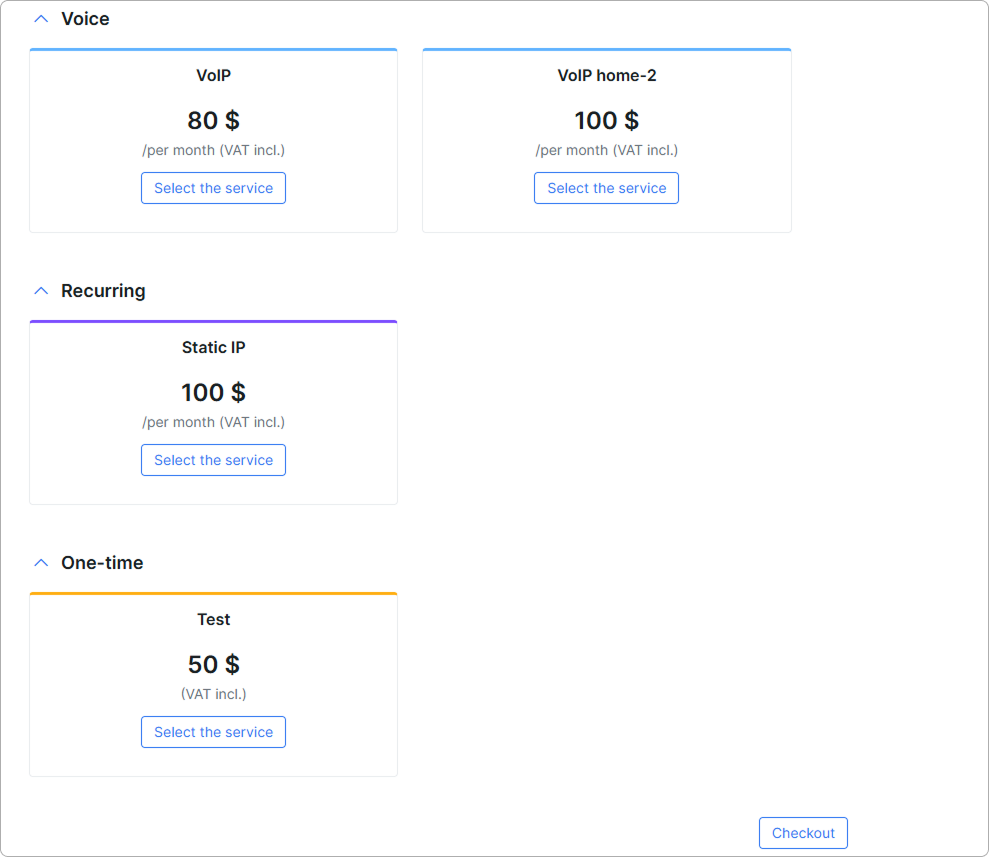
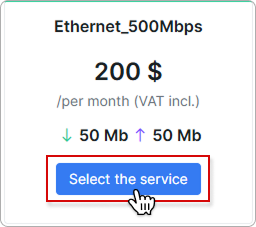
To select a service, click the Select the service button:
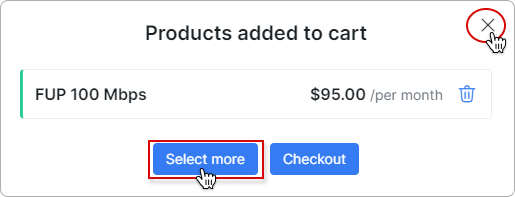
The customer will be presented with the following window:
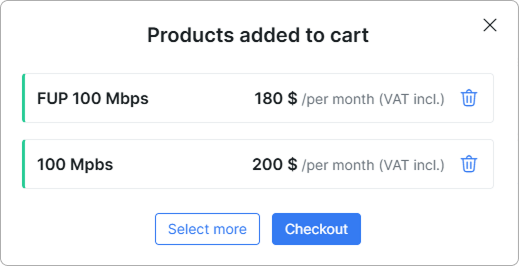
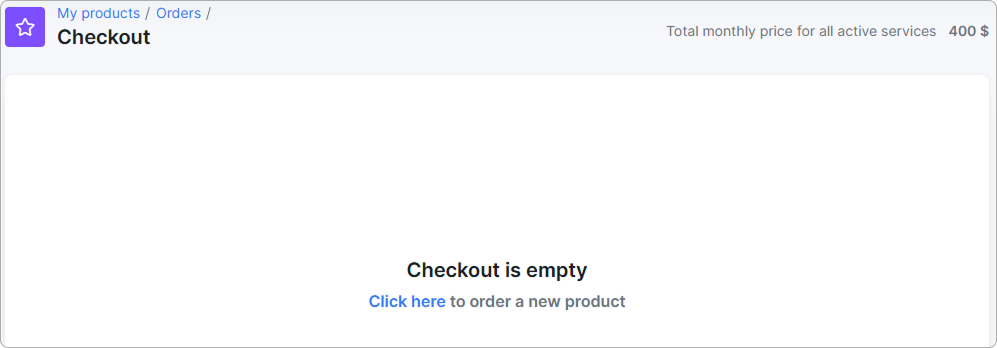
If the customer changes their mind, they can remove the product from the cart by clicking on the delete button ![]() next to the product. If there are no products left, the Product checkout window will be empty:
next to the product. If there are no products left, the Product checkout window will be empty:
¶ Checkout
If the customer wishes to select more services, they can do this by clicking on the Select more button or on the cross button and proceed with selecting additional services:
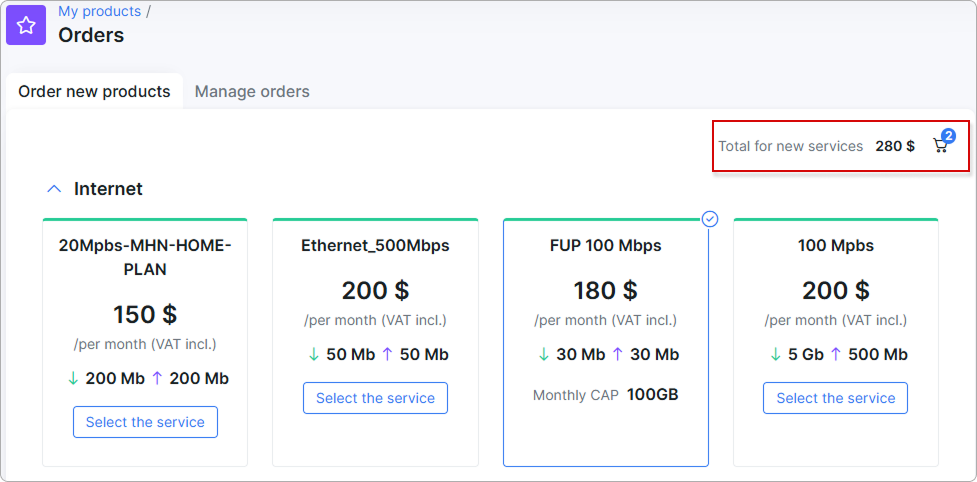
The previously selected services will remain in the cart with the total sum indicated at the top right corner of the page. The quantity of the selected services will be shown next to the cart icon as well:
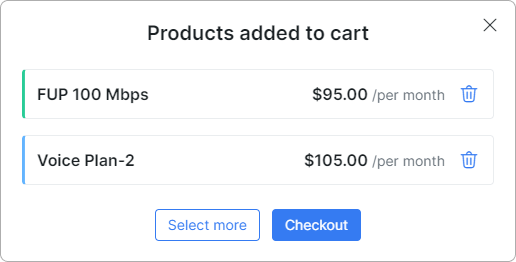
More services added:
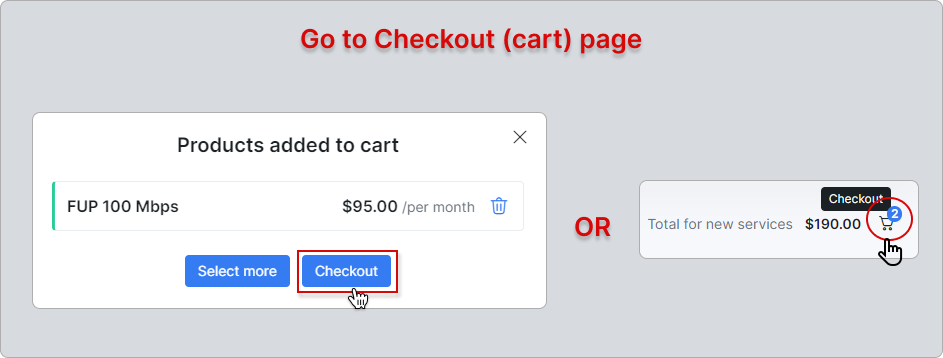
The customer can also proceed to the Checkout window (cart) to order the selected services by clicking on Checkout button when selecting services or on the cart icon at the top right corner of the page:
¶ Payment and ordering
To allow the customer to pay with the payment add-on linked to their account, the admin should enable the Accept payment via payment gateway option in Config → Main → Portal → (Per partner settings → Order new products):
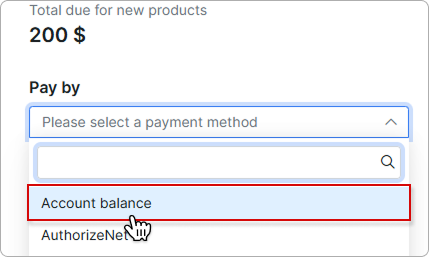
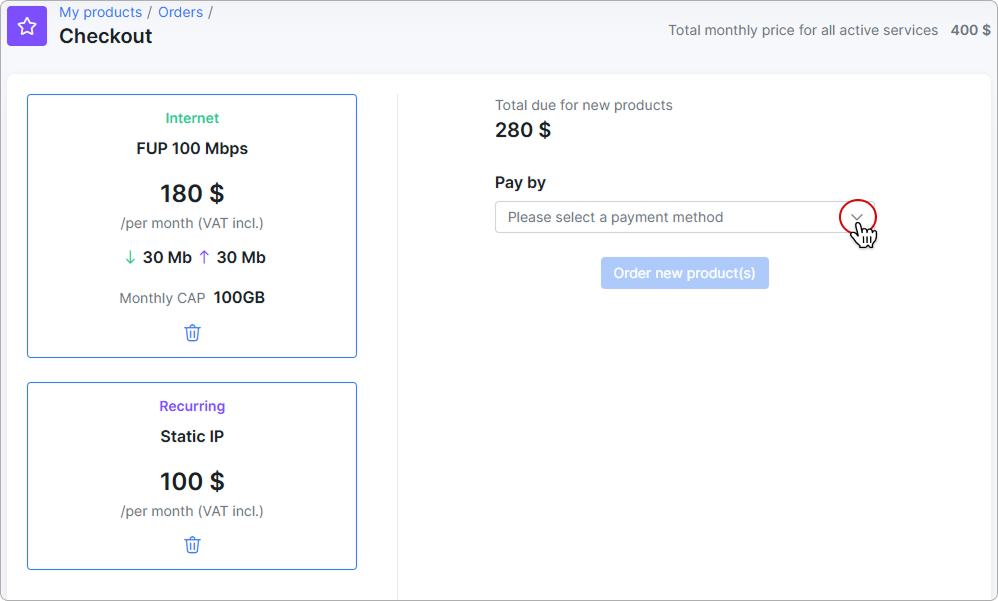
The customer will then be able to select the payment method to pay for the selected service(-s) in the Checkout (cart) window:
Likewise, if no payment method is connected to the customer and their balance is not less than the product total, they can pay using their account balance:
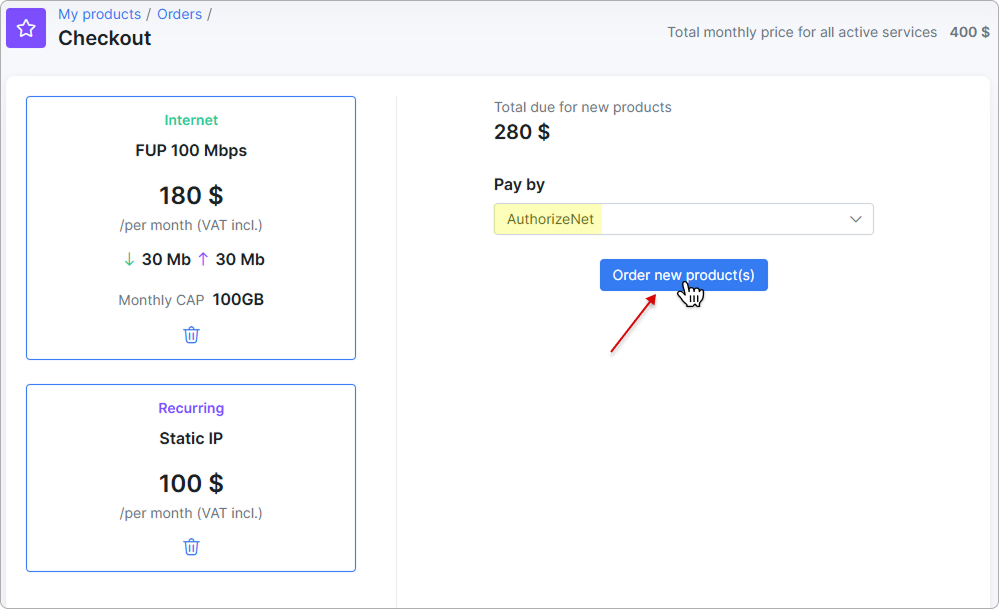
After clicking the Order new product(s) button, the customer will receive a message on the payment status (possible status include Successful, Pending or Failed):
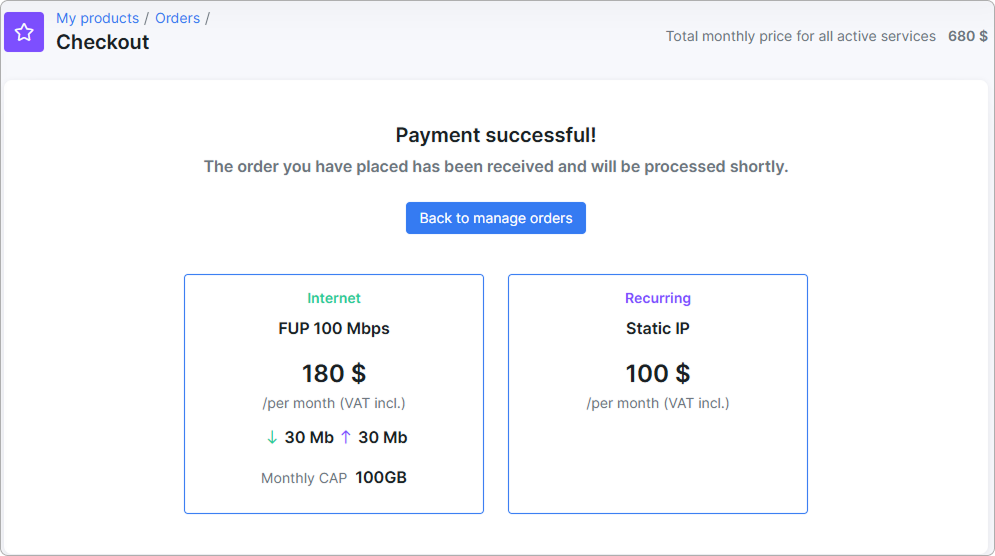
In case of a successful payment, the selected service(-s) will be activated immediately.
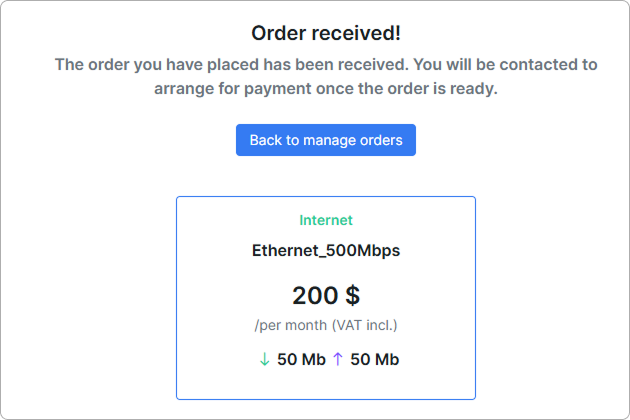
If the payment gateway is not enabled for the Customer Portal, the customer can still order the selected product(-s) in the form of a request, and wait for the admin's approval:
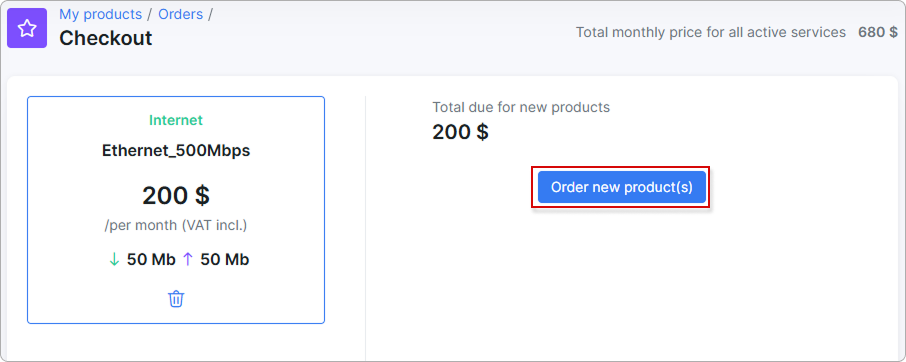
After clicking the Order new product(s) button, the customer should receive the following message:
¶ Order processing
The admin can choose how to receive the customer's order (Tickets or Email) in Config → Main → Portal → (Per partner settings → Order new products).
In the example below, we've chosen Tickets as a channel for receiving orders:
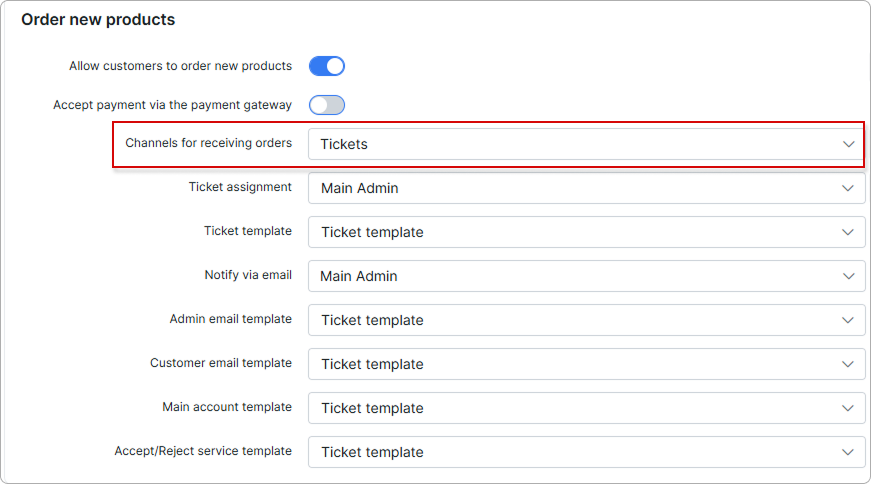
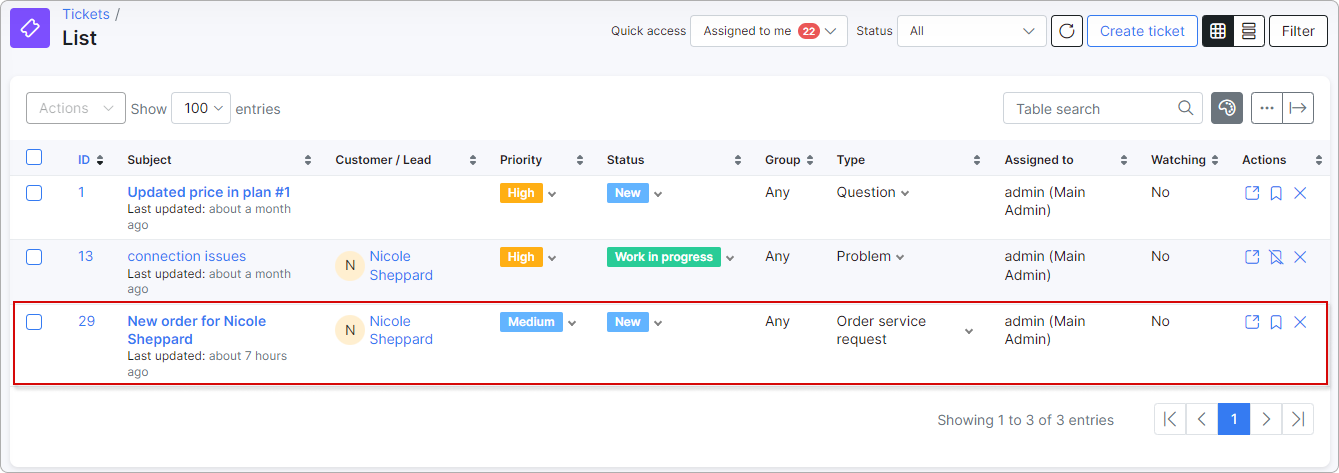
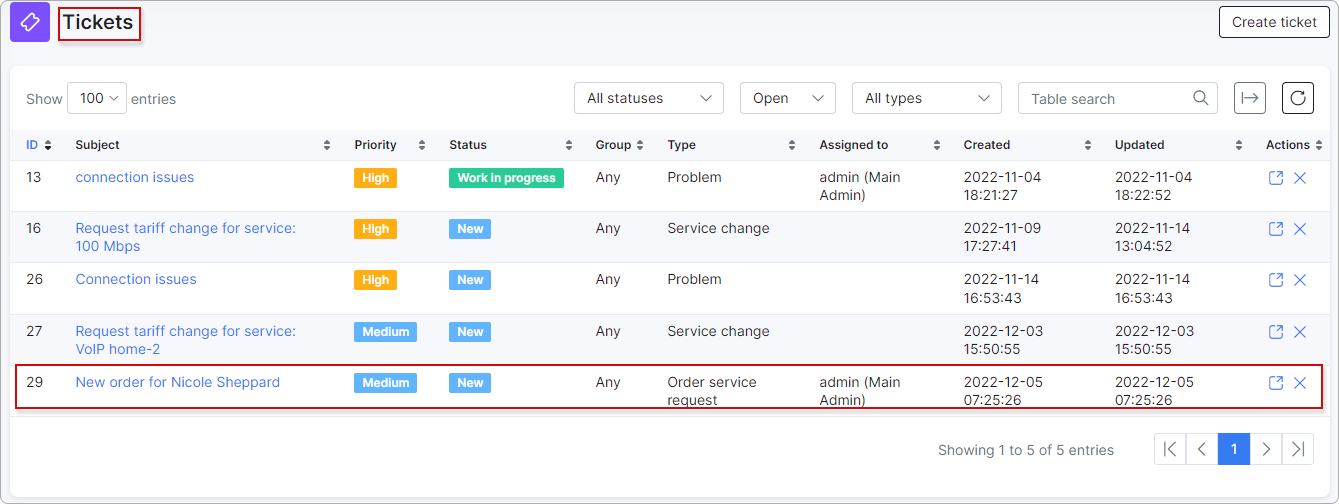
With such configuration, the admin will automatically receive the customer's order as a ticket:
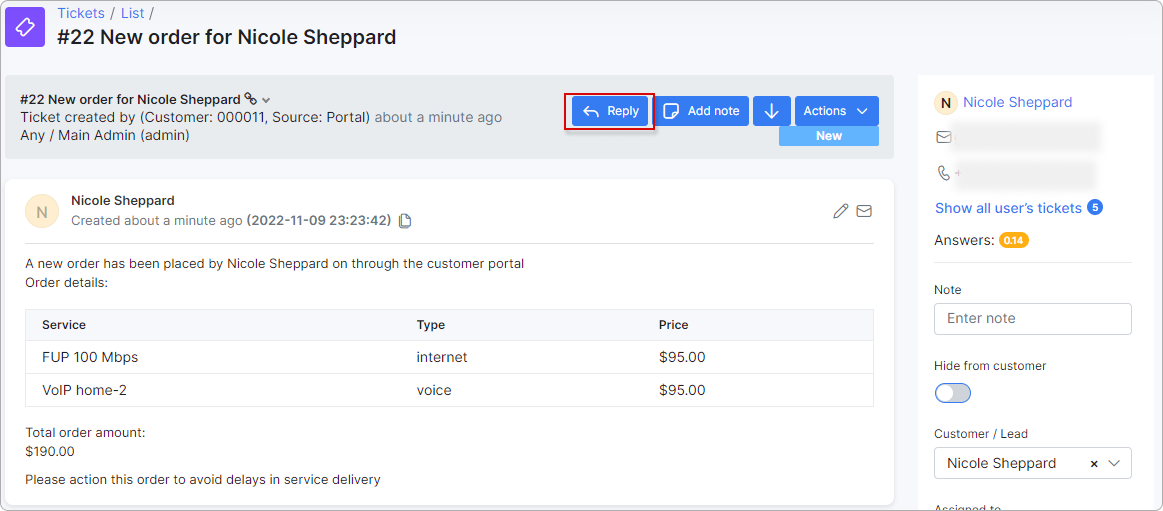
The admin can reply to it:
The customer can also view the ticket on Tickets page of Customer Portal:
¶ Managing orders by customers
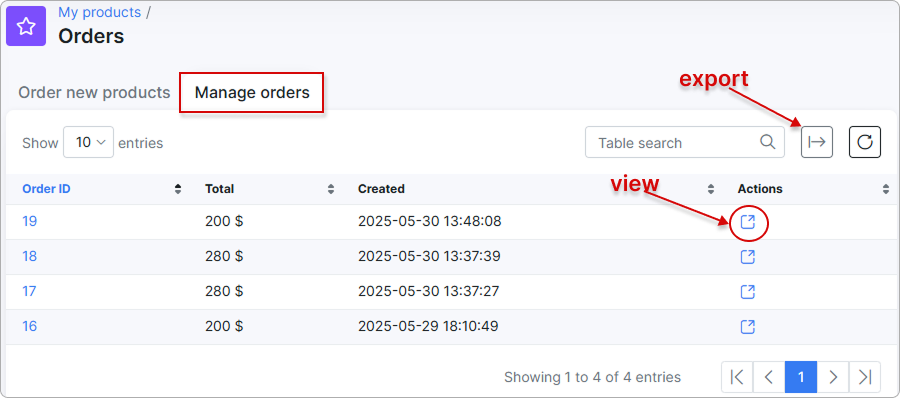
Under the Manage orders tab, customers can view their order summary and export orders in their preferred format.
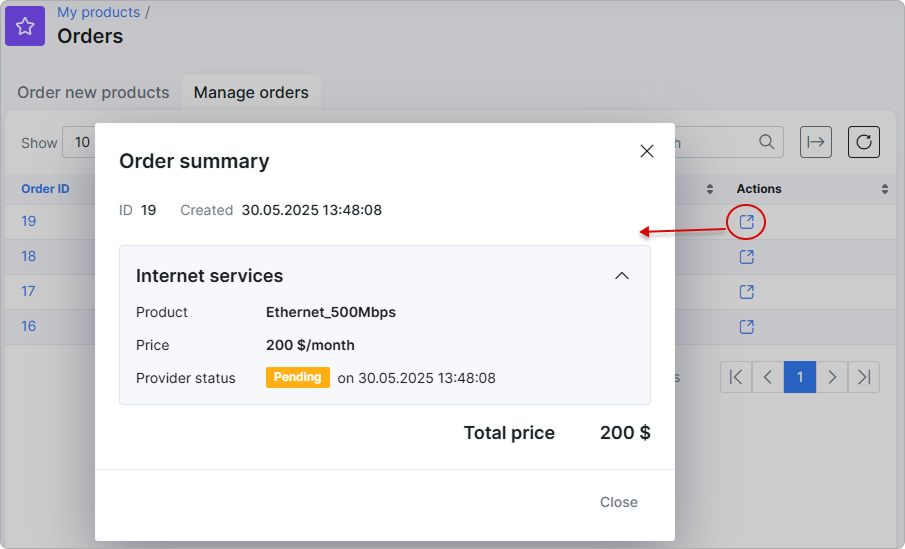
The order summary provides essential information about the order, including the provider status: Pending or Accepted.
¶ Managing order requests by admins
When a customer orders a service, the admin can approve or reject it in the customer's Services tab on Admin Portal.
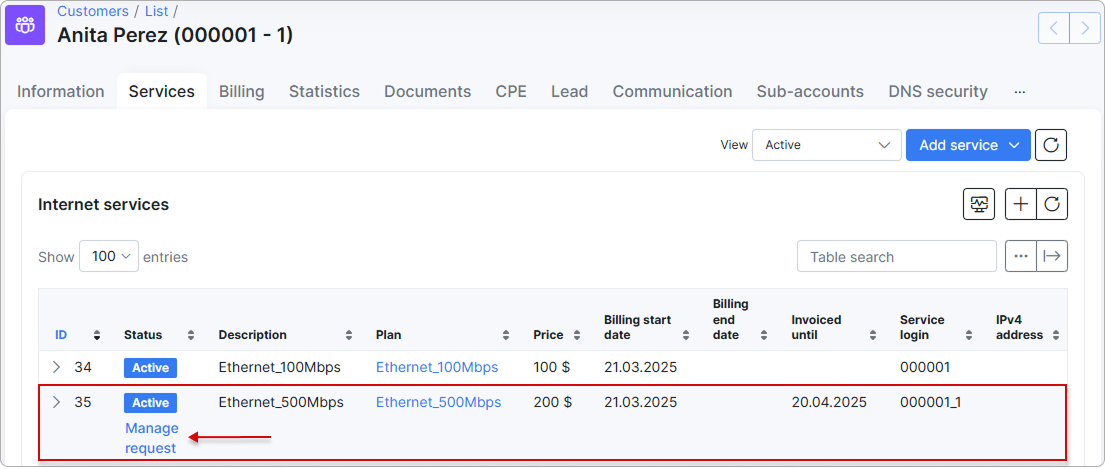
The admin should indicate the actual start date of the service usage and click on Approve:
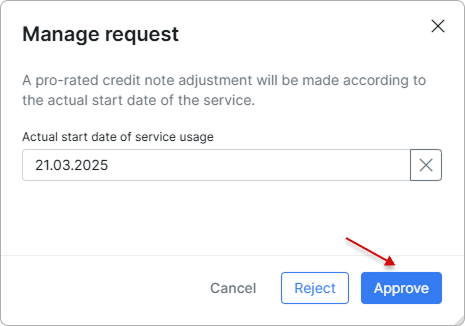
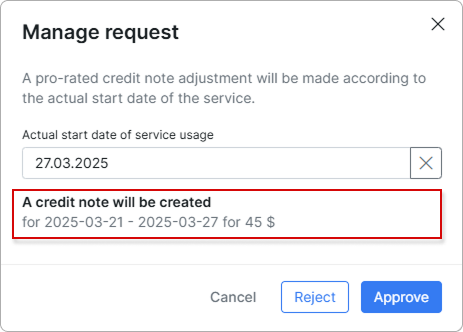
The service status will already be Active from the payment date. If the predefined start date (the date the service was created from payment) and the date of the actual service usage is not the same, the approval date can be changed by the admin, and a credit note will be created automatically for the unused period.
Example: If the user paid for their service on 21/03/2025 but only started using the service on 27/03/2025 (approval date) - then the system will create a credit note for 6 days of unused service.

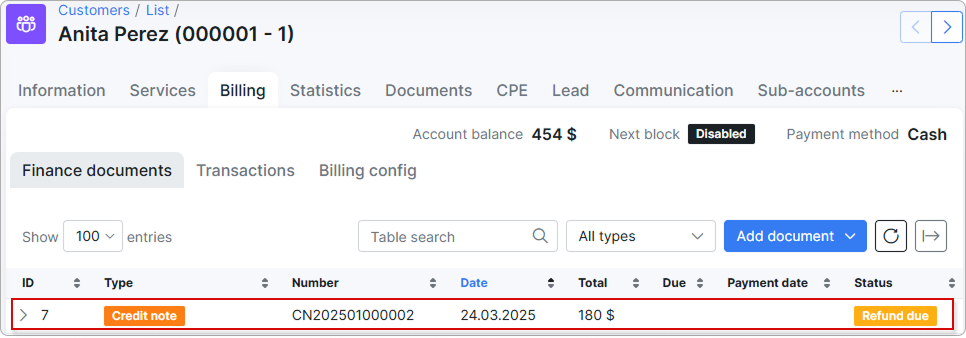
If the admin rejects a paid order, a credit note will be issued for the total amount of the ordered service:
However, if the service was not paid for and the admin rejects it, it will be removed without any changes.
If the manage request is pending, you cannot cancel the service.

