¶ Payment statement processing
¶ Processing
The payment statement processing feature allows you to reconcile payments receivable with issued invoices by paring them, processing of multiple payments simultaneously is supported.
Payment transactions are automatically processed by Splynx handlers – small modules created for each bank file format.
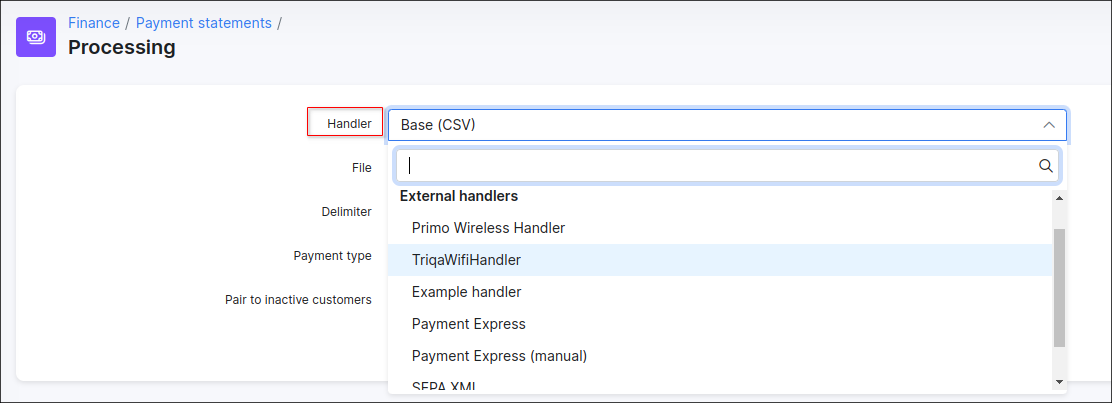
Payment statement processing starts with importing statement format file into Splynx, e.g. csv file. For each payments list, a different external handler can be used.
 Our development team, on a paid basis, can create an external handler to process your bank statements if the Base handler doesn't correspond your needs. Please, create a ticket for more details.
When the file is loaded, the next step is to set up matching criteria for the statement processing fields and click on Preview.
For example, we have the file with the next content:
So, we select the necessary fields according to our data:
 The file does not have to contain all of these fields, for example, the file can include only the
 Customer full name and Amount fields.
After the Process button is pressed, a new table with paired data will appear where we can check all matches with payments, invoices etc. To finish the processing of multiple payments click on the Process button below the table.
A notification about successful payment processing will appear:
¶ History
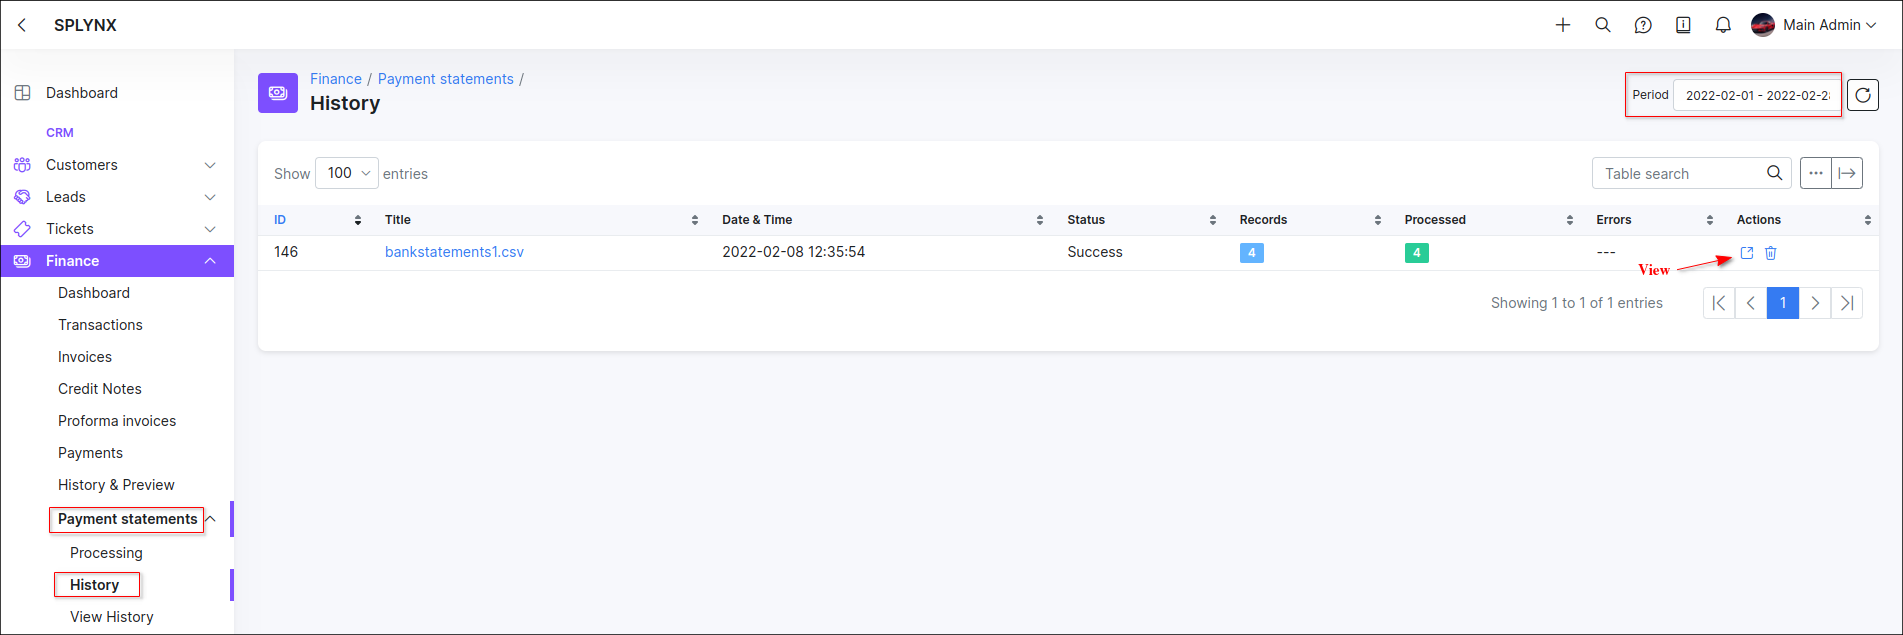
Navigate to Payment statements → History to check if the document records were successfully processed and what errors may have occurred:
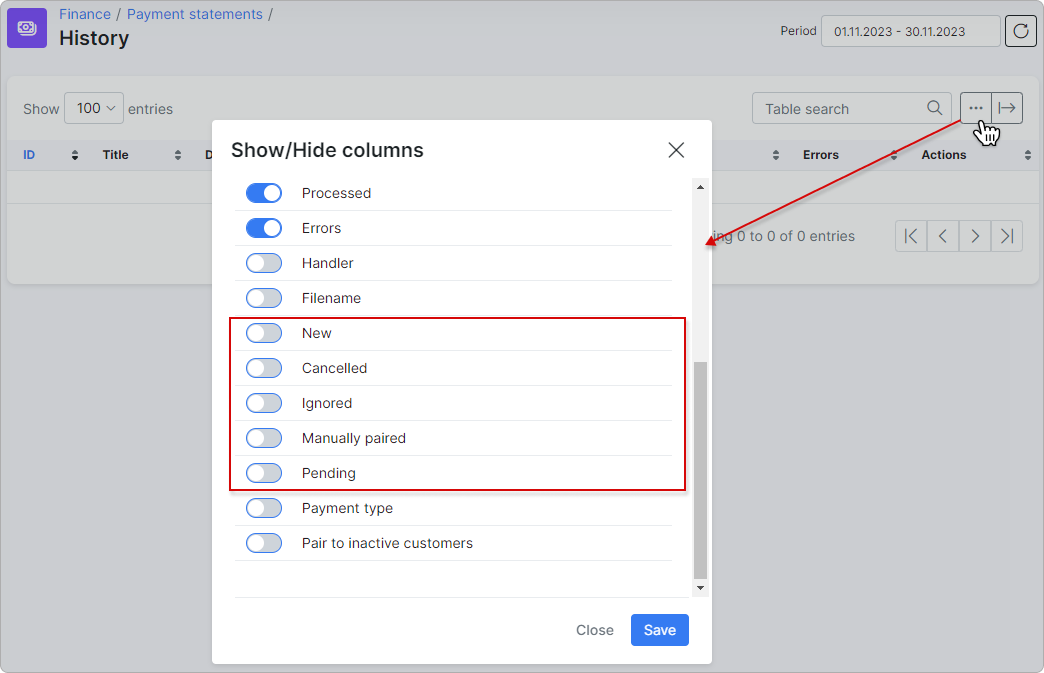
¶ Adding Extra Columns to Payment Statement Records
You can add extra columns to track payment statement records with the following statuses: New, Cancelled, Ignored, Manually Paired, and Pending. To enable these columns, click the Show/hide columns button and select the columns you want to display in the table:

¶ View payment statement details
You can view processed payments from a particular statement more detailed. If you click on the View option ![]() in the Actions column or on a title of each file in the Title column, a window will appear with a description of every status of processed payment.
in the Actions column or on a title of each file in the Title column, a window will appear with a description of every status of processed payment.
¶ Manual pairing
Payments with the Error or Ignored status can be checked and paired manually by clicking on the ![]() (Manual pair) icon in the Actions column.
(Manual pair) icon in the Actions column.
 Payments will be marked with an
 Ignored status when they've already been paid, but you can always double-check the payments and pair them manually.
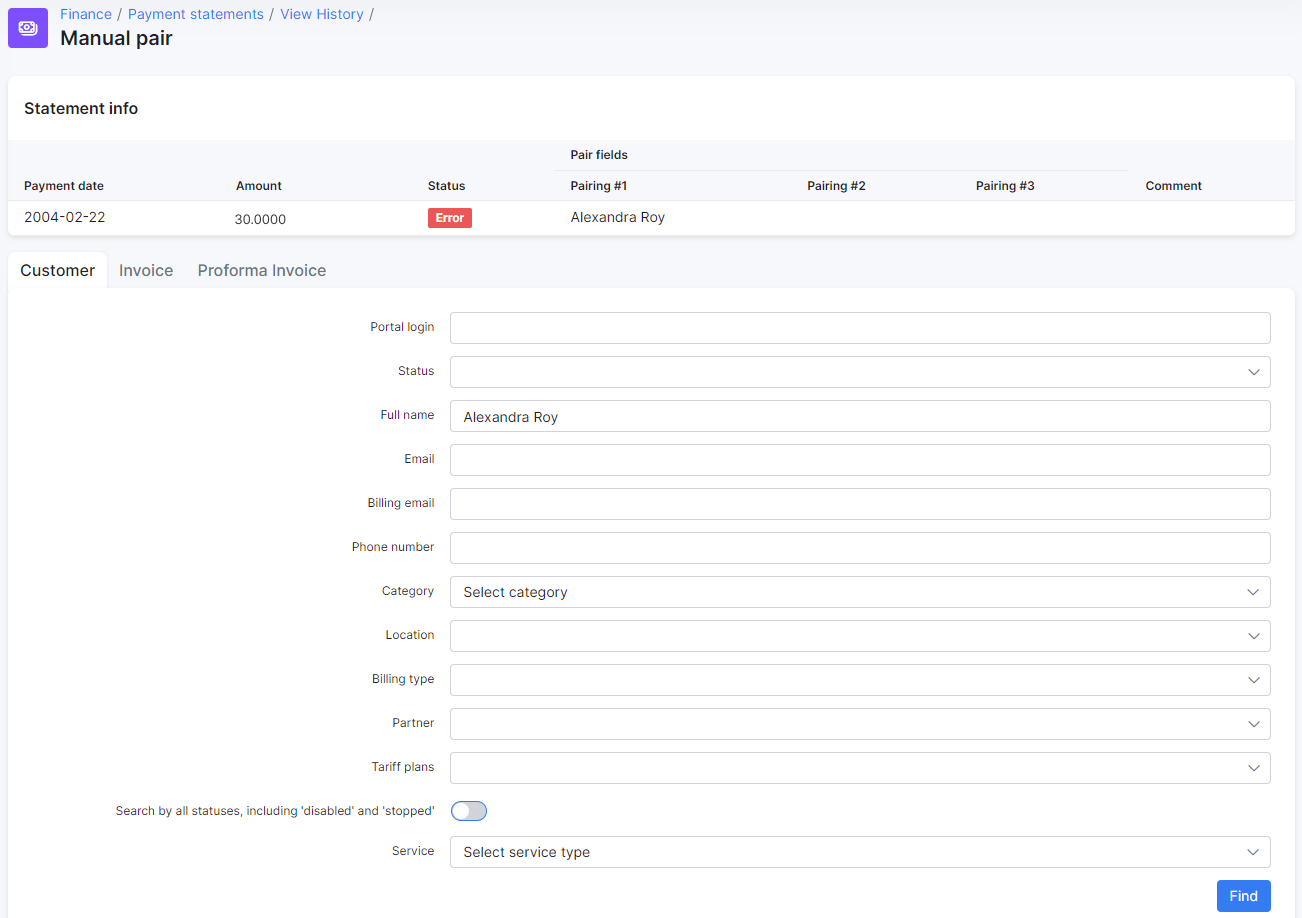
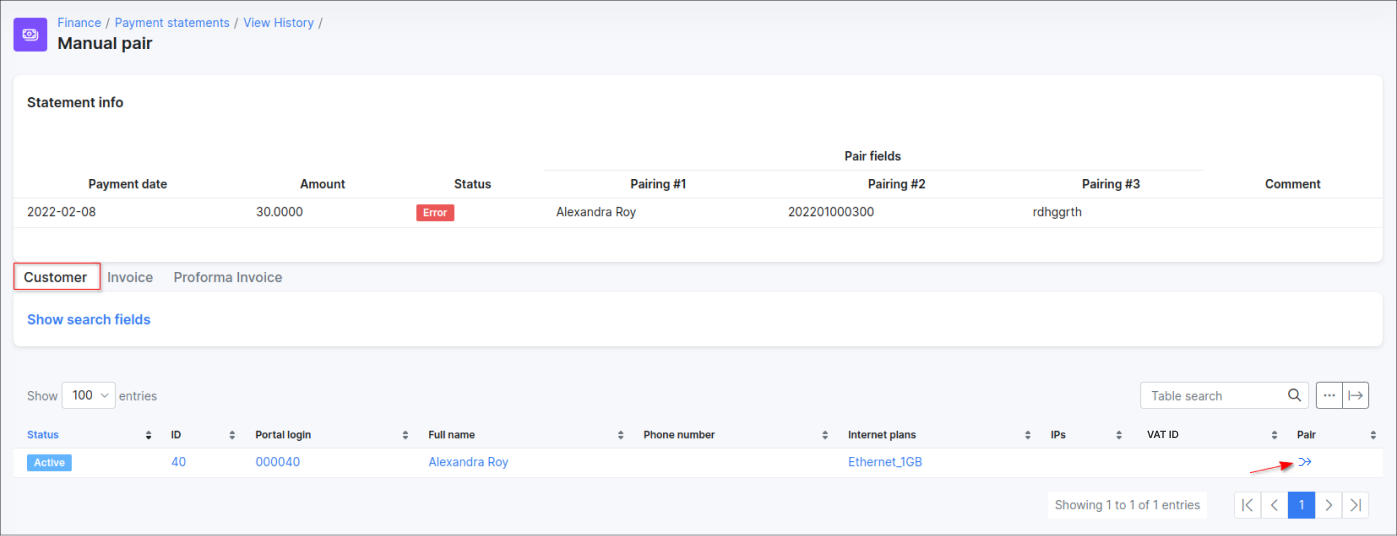
When you click on the ![]() (Manual pair) icon, a new window will appear, where you can search for a customer by entering their details, such as portal login, full name, email, phone number etc.
(Manual pair) icon, a new window will appear, where you can search for a customer by entering their details, such as portal login, full name, email, phone number etc.
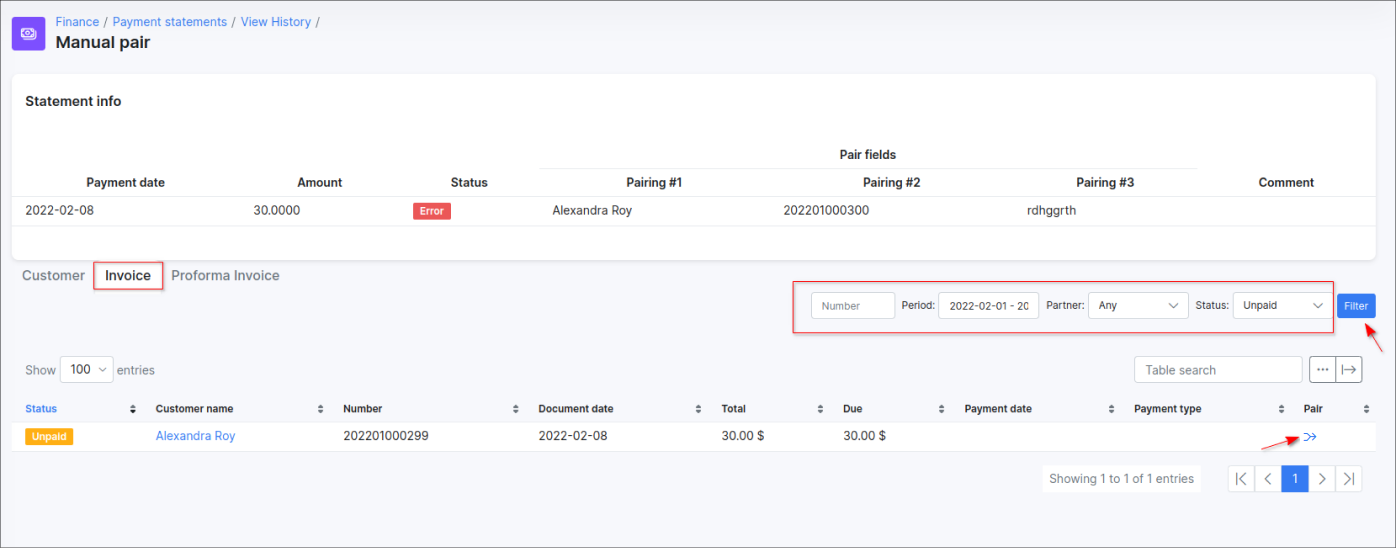
You can also search by entering the Invoice or Proforma Invoice number in the Invoice or Proforma Invoice section of the table or filter all invoices/proforma invoices for a particular period.
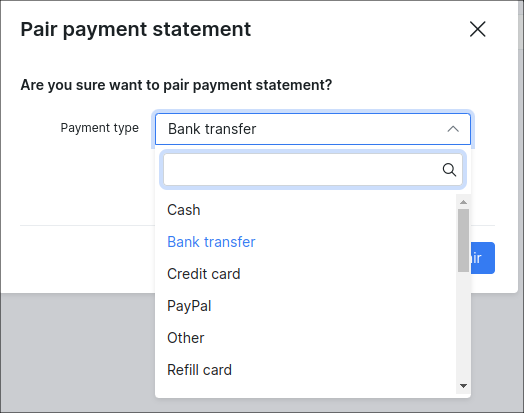
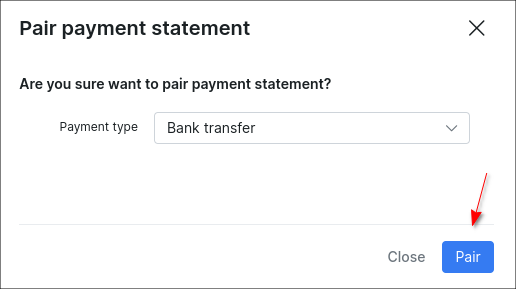
When you find the customer whose payment need to be paired, click on the ![]() (Pair) icon in the Pair column of the table. In new window select the Payment type and press the Pair button to confirm.
(Pair) icon in the Pair column of the table. In new window select the Payment type and press the Pair button to confirm.
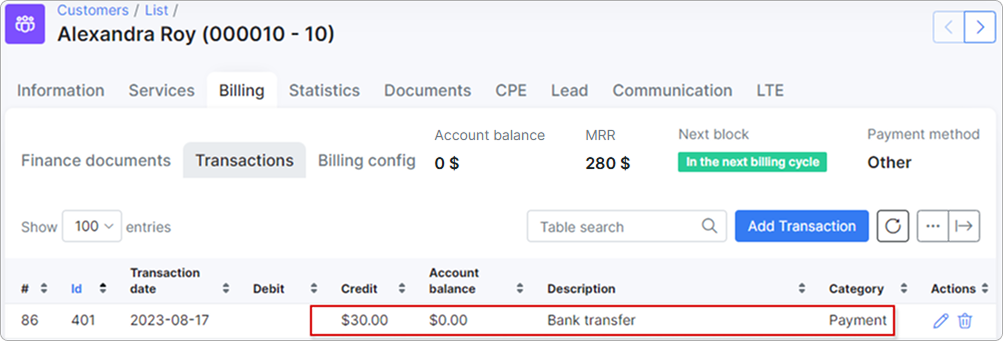
Once the manual paring is done, the status of the payment in the Payment statements history view (Finance → Payment statements → View History) will be marked as Manually paired and payment will be added on customer's account balance.
