¶ Calendar
¶ Overview
In this section, the calendar provides a user-friendly interface for task scheduling. Create a new task directly within the calendar, and once scheduled, it will be displayed on the timeline. Tasks that have not been allocated a specific time will be listed in the Backlog. You have the ability to view team allocations and individual assignees associated with each task.
The calendar offers the flexibility of daily or weekly views. Additionally, tasks can be filtered by various parameters to streamline your search for specific items.
Additionally, you can choose to hide non-working days from view for a clearer overview of your tasks.
Navigational buttons are conveniently placed to advance through the calendar one day at a time or to jump to a particular date within the panel. For ease of use, a single click can bring you back to the current day's schedule.

¶ Adding tasks
To create a new task, simply click the Add task button:
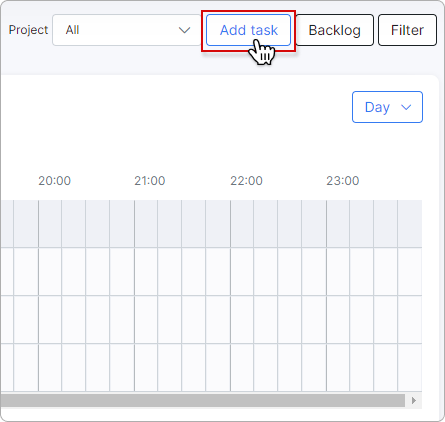
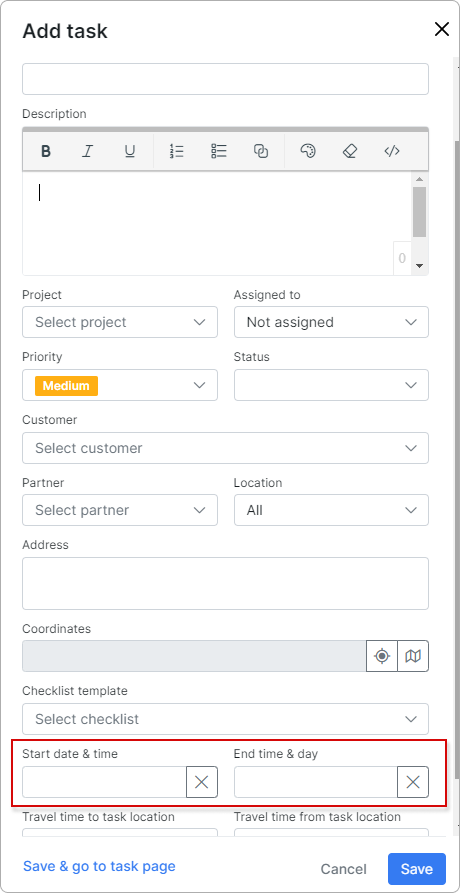
This action will reveal a side panel where you can input the task's specifics. Once the task is scheduled, it will automatically populate the calendar upon saving. If any scheduling fields are left blank, the task will be placed in the Backlog.
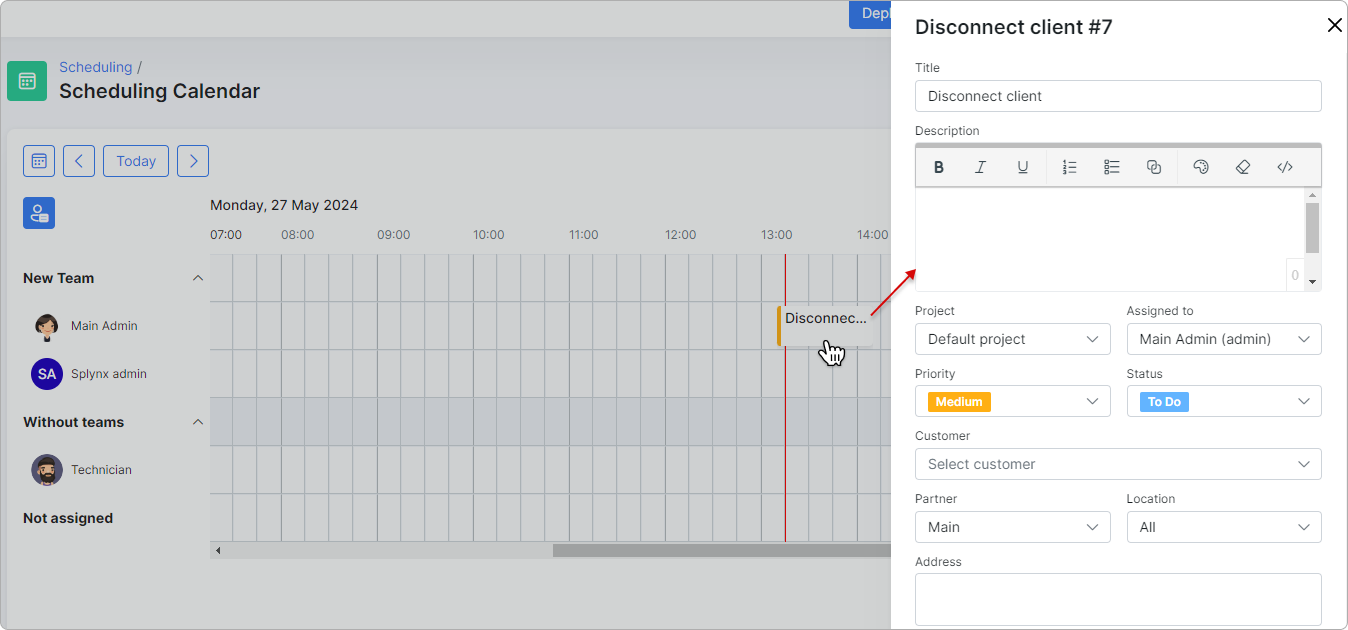
Once saved, the scheduled task will appear on the calendar timeline according to the designated date and time for completion. To access task details, simply click on it within the calendar, which will trigger the side panel to open, allowing you to make any necessary adjustments to the task information.
To learn more about tasks within Scheduling, please read this article:
Tasks
¶ Calendar display options
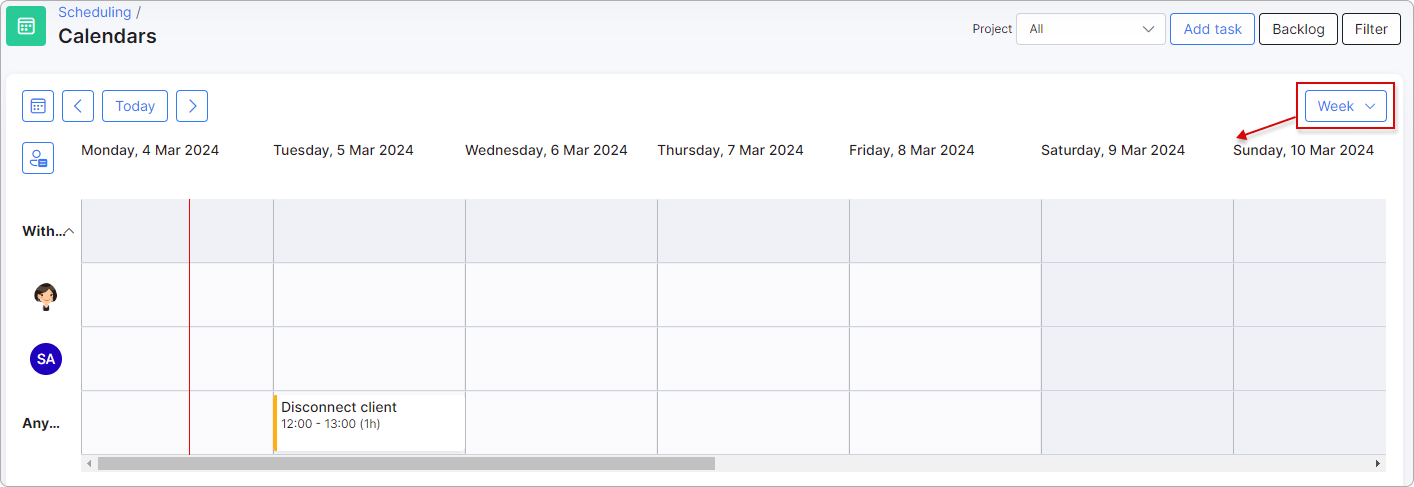
To switch between daily or weekly display modes on the calendar, simply select Day or Week from the drop-down menu located at the top right corner of the calendar timeline.
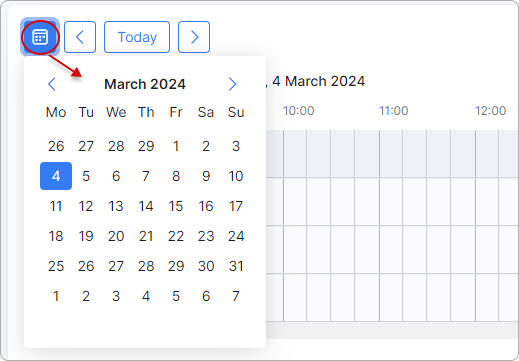
You can also go to the specific date by choosing it on the left calendar panel, which opens with one click on the calendar icon:
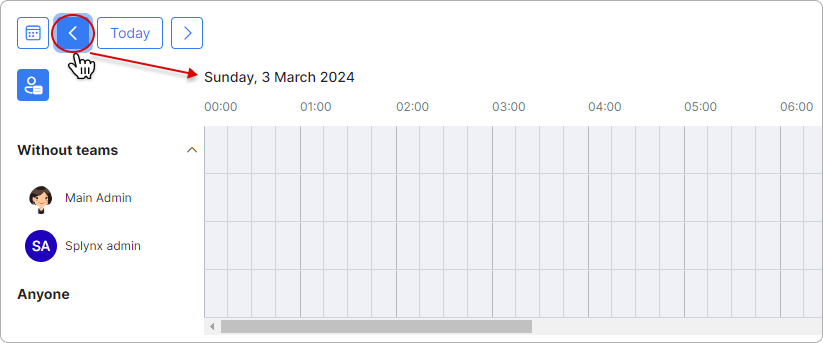
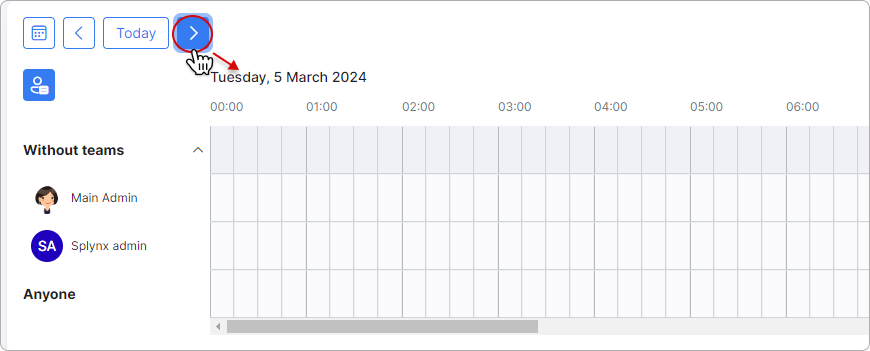
The left and right navigation arrows will respectively show the previous or next day from the one currently displayed on the calendar:
To return to the current date, just click the Today button:

In the Day view, you also have the option to display only working hours on the calendar:

To set your preferred working hours, go to Config → Main → Localization.
¶ Teams and Assignees
By clicking on the profile icon located on the left side of the calendar, you can expand and collapse the information about teams and assignees for the tasks:

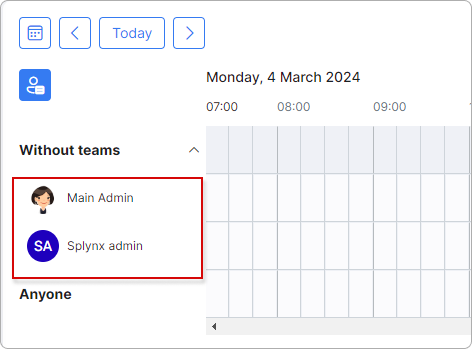
If there is a team of assignees, the team's name will be displayed alongside its members:
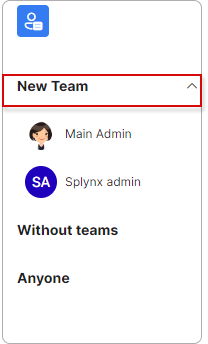
Teams can be created under Config → Scheduling → Teams
¶ Backlog and Filters
The task display can be filtered by the project:

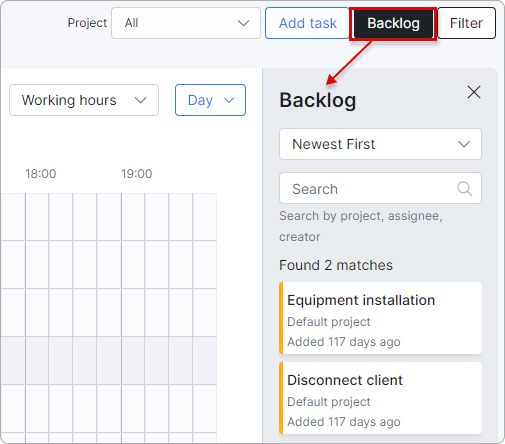
Clicking on Backlog allows you to view a list of unscheduled tasks.
With the Filter button, you can filter tasks by Partners, Locations, Assignees (Team, Team member/Admin), Status (New, In progress, or Done), Priority (Low, Medium, or High), and Condition (Open or Closed):

