¶ Company information
¶ Overview
In this section, you can configure your company's information along with details for each partner on the system. This information is utilized within the system's templates.
Furthermore, you can select templates for various finance documents such as invoices, proforma invoices, quotes, payment receipts, and credit notes.
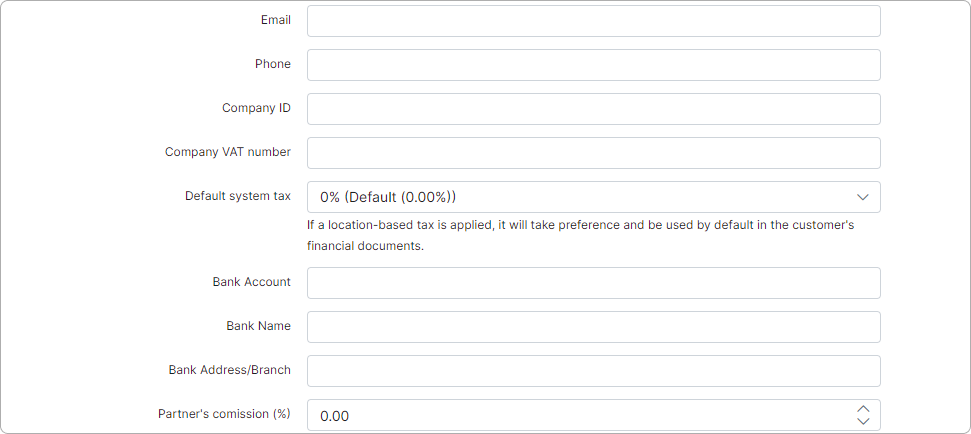
Additionally, you can set up partner commissions and the default system tax within this section.
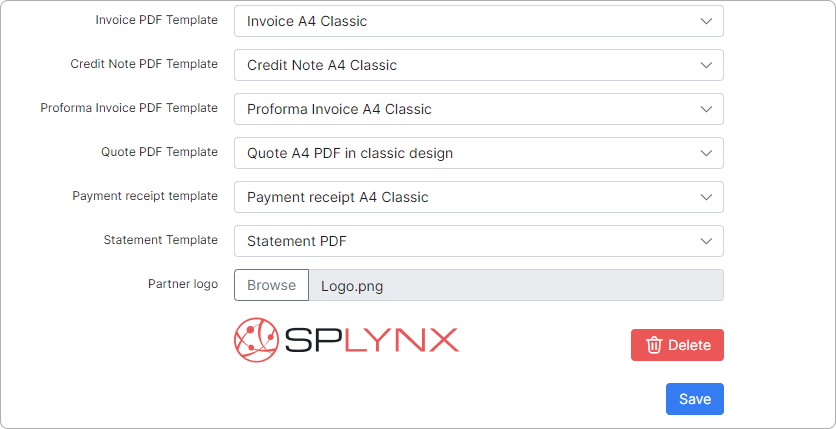
Moreover, you have the option to add your company's logo to the system here.

¶ Selecting the partner
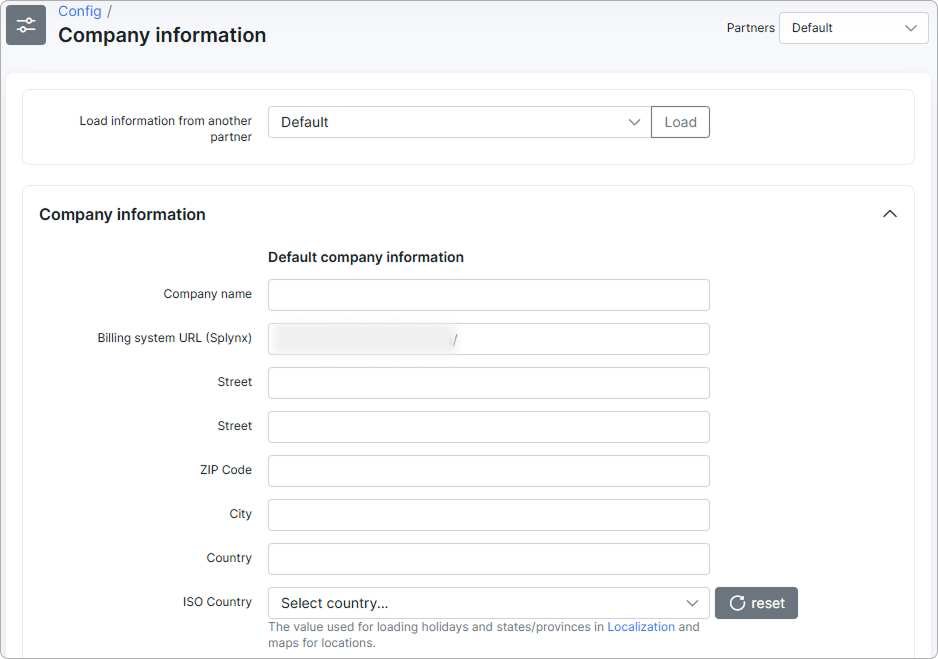
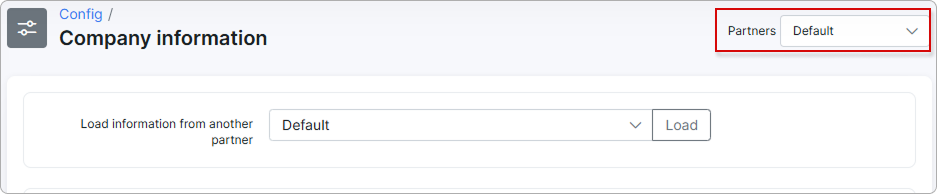
On the top right corner of the page, select the partner you would like to make changes to, then you can edit the desired details to apply the changes. Company information values can be different for each partner on the system.
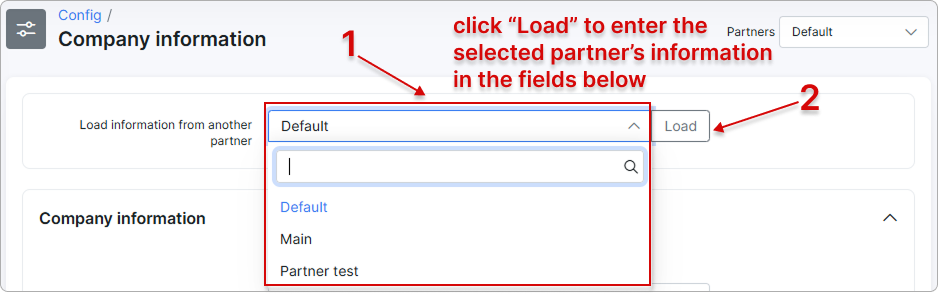
- Load information from another partner - if the current/selected partner will use the same values as another partner on the system, you can load the information automatically by selecting the partner you wish to load/duplicate the data from and simply click on the
Loadbutton.
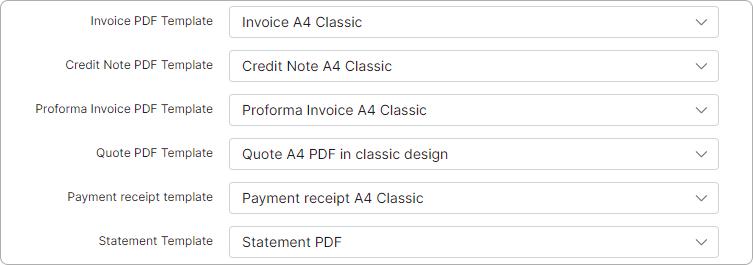
After specifying or loading the company information in all the fields, please remember to select the templates to be used for each financial document. All templates used by the system can be configured and customized to your preferences in Config → System → Templates
 Click the eye icon to preview the template.
¶ State/Province
The State/Province field stores the state, province, or region where the company (or its partner) is registered. It is shown after the ISO country field in the company details form and is used in finance documents, contracts, and notification templates that reference the company's registration location.
Like other fields in this section, State/Province is set per partner — each partner can have its own value.
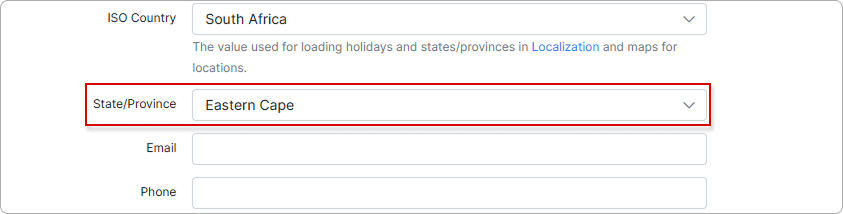
To set the field:
- In the ISO country field, select the country where the partner is registered. The State/Province field stays disabled until a country is chosen — the hint
Set ISO country firstis displayed on hover. - Open the State/Province drop-down and start typing to search. The list shows all states and provinces defined for the selected country in the States/Provinces table on Config → Main → Localization.
- Pick the required entry and click
Save.
Template placeholders. The State/Province value is exposed in templates through two placeholders, both available in all template types (Email, SMS, Invoice PDF, Documents) and listed in the Placeholders dialog on Config → System → Templates under the Company Info section:
{{ company_info.state_province }}— the state or province name (for example, California).{{ company_info.state_province_code }}— the ISO 3166-2 code (for example,US-CA).
Selecting a state here automatically marks the same entry as Default in the States/Provinces table on Config → Main → Localization. The default can be changed manually later — see Localization.
¶ Login logo per partner
If you have multiple domains permitted in the HTTPS/SSl settings, you can specify individual logins for each partner in Config → System → Company Information and load distinct logos for them:
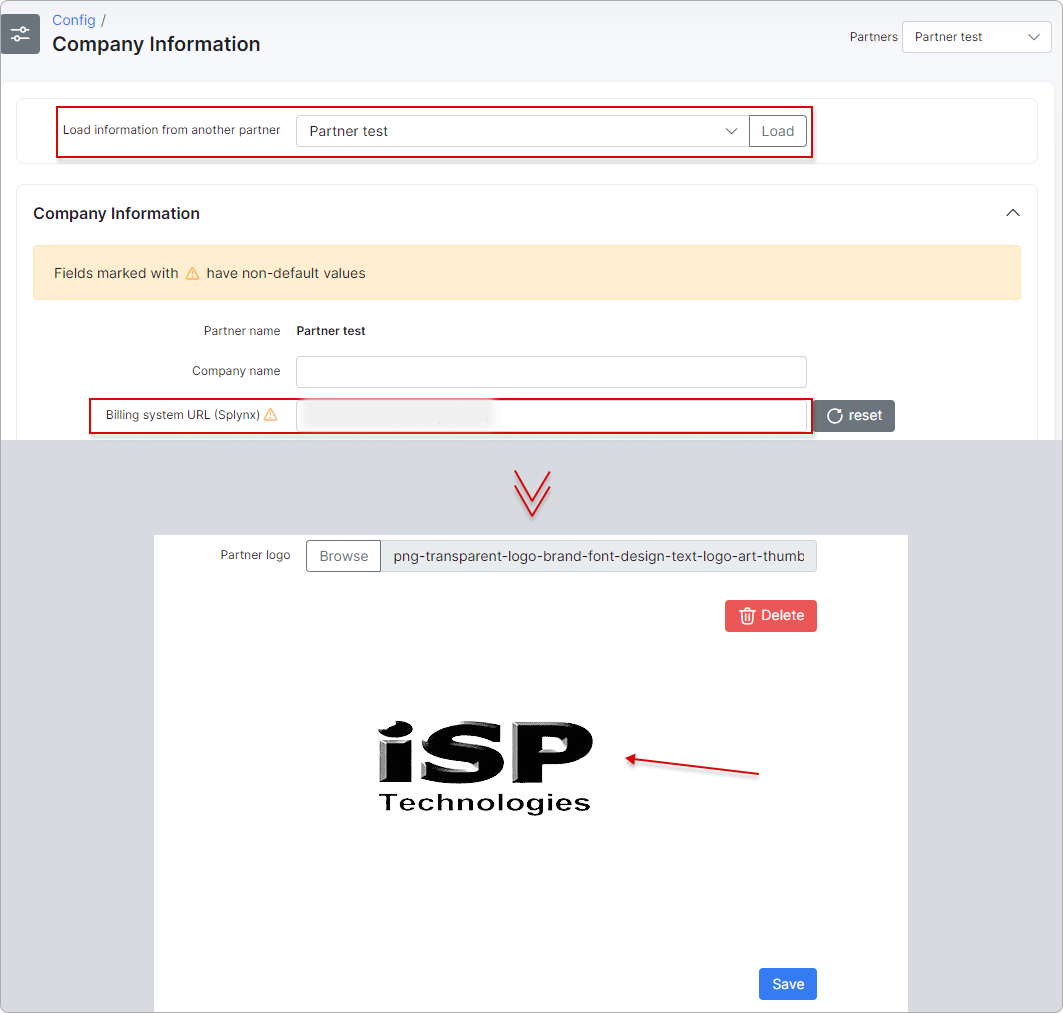
After completing this step, the specific logo will be visible when accessing the system under the URL of the respective partner, for both the Admin portal and the Customer portal: