¶ Login generator add-on
- Overview
- Installation
- Login format
- Generating logins for existing customers
- Important notes
- Related pages
¶ Overview
The Login generator add-on builds customer logins from the customer's name using a fixed pattern, for example Alphonso Chadvic → ALP001. It assigns the login automatically when a customer is created or a lead is converted to a customer, and it can regenerate logins in bulk for customers who already exist in Splynx.
The customer login is also the Customer portal login, so the bulk tool always shows a preview first and asks for confirmation before it changes anything.
¶ Installation
The add-on can be installed in two ways: through the Splynx Web UI or from the command line on the Splynx server.
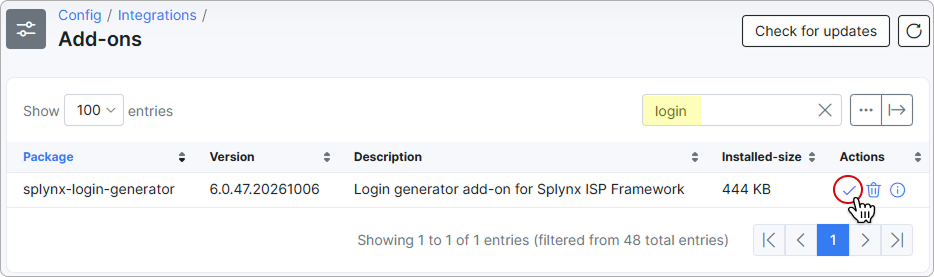
To install the add-on from the Web UI, navigate to Config → Integrations → Add-ons, type login in the search field, then click the Install icon in the Actions column next to splynx-login-generator:
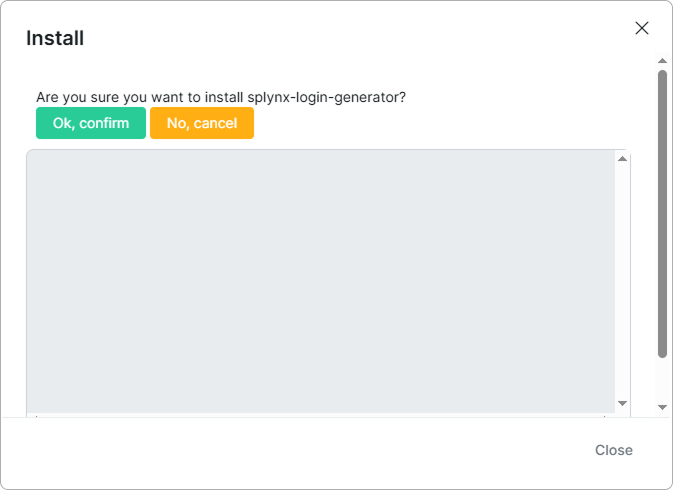
Confirm the installation by clicking the Ok, confirm button in the dialog:
To install the add-on via CLI on the Splynx server, run:
apt-get update
apt-get install splynx-login-generator
¶ Login format
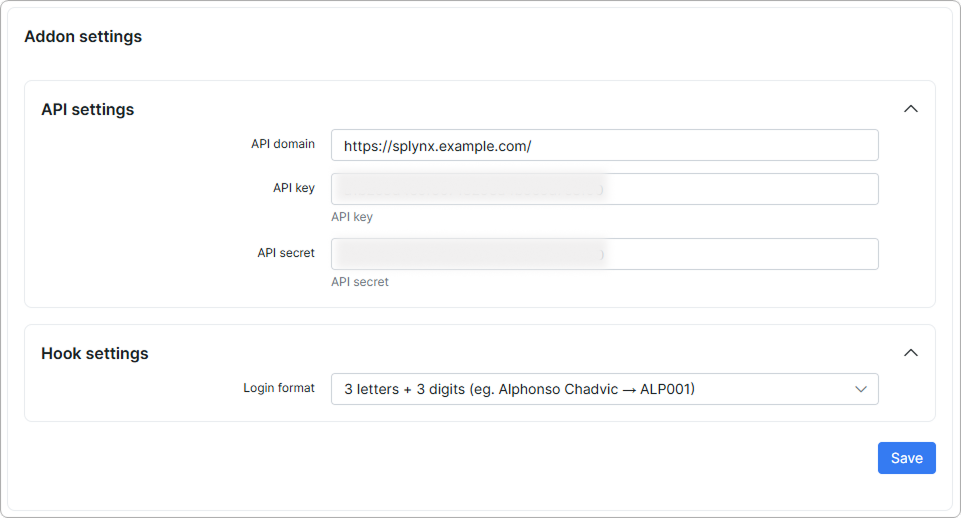
After installation, the add-on appears in Config → Integrations → Modules list as splynx_login_generator with the title Splynx Add-on Login Generator and the Enabled entry-point status. To change its settings, click the Edit icon in the Actions column.
Under Hook settings, select the Login format that the add-on applies to every new customer:
| Option | How the login is built | Example |
|---|---|---|
| 3 letters + 3 digits | The first three letters of the first name, followed by a 3-digit number | Alphonso Chadvic → ALP001 |
| 4 letters + 4 digits | The first two letters of the first name and of the last name, followed by a 4-digit number | Charmaine Pillay → CHPI1000 |
| 1 letter + 4 digits | The first letter of the first name, followed by a 4-digit number | Harry Robson → H0001 |
The number continues from the highest number already used with the same letters, so the second Alphonso gets ALP002. Click Save to apply the setting.
¶ Generating logins for existing customers
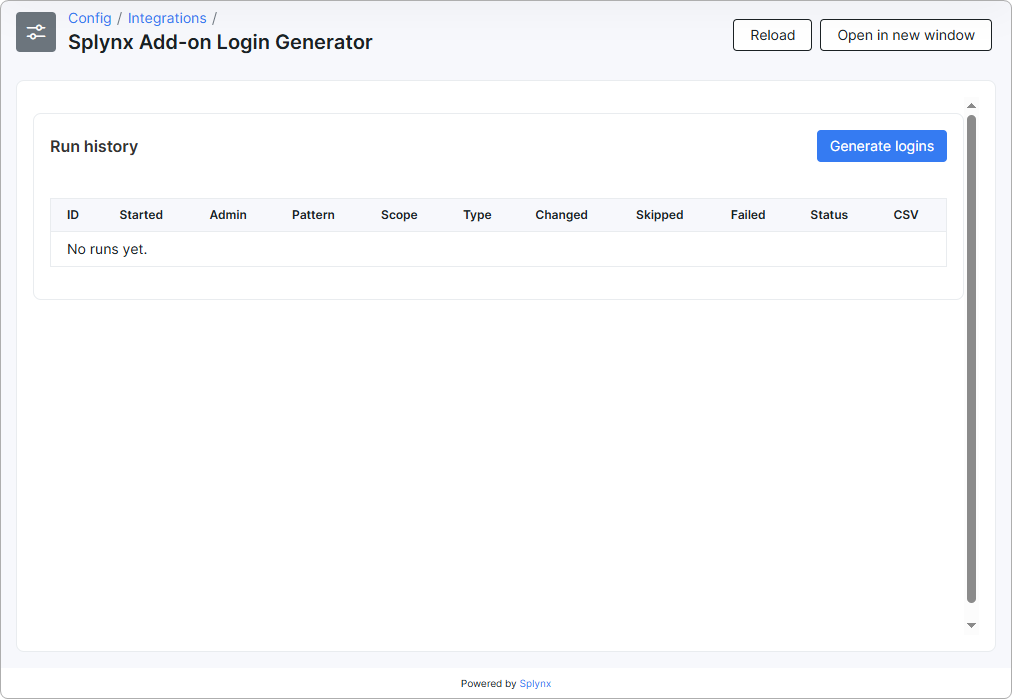
The login format applies only to customers created after the add-on is installed. To bring the logins of existing customers to the same format, use the bulk generation page under Config → Integrations → Splynx Add-on Login Generator:
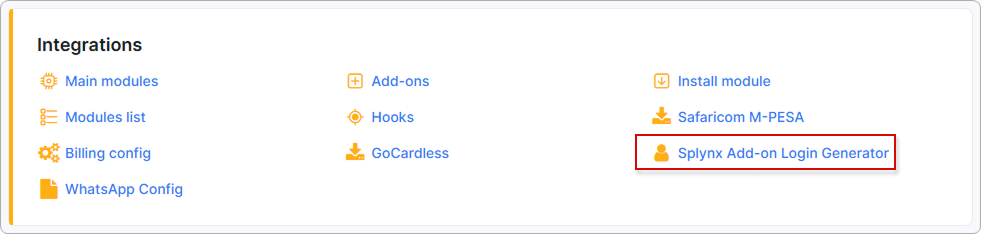
The page lists previous runs under Run history. To start a new run, click Generate logins:
Fill in the form:
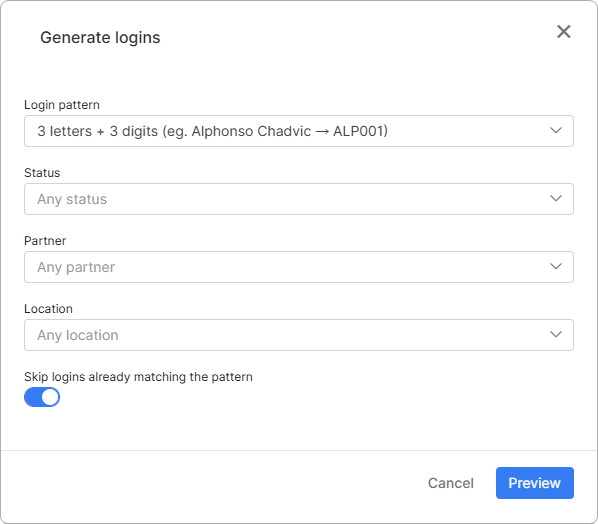
- Login pattern — one of the three formats from Login format. The format currently selected in the add-on settings is preselected.
- Status — process only customers with the selected status: New, Active, Blocked or Disabled. Leave the field empty (Any status) to include all statuses.
- Partner — process only the customers of the selected partner, or leave Any partner.
- Location — process only the customers of the selected location, or leave Any location.
- Skip logins already matching the pattern — on by default. Customers whose login already follows the selected pattern, for example
ALP001, keep it, so running the tool again does not renumber customers it has already processed. Turn it off to give every customer in the selection a new login.
¶ Previewing the changes
Click Preview to see what the run would do. The preview changes nothing — it only calculates the new logins and shows them in the Result block:
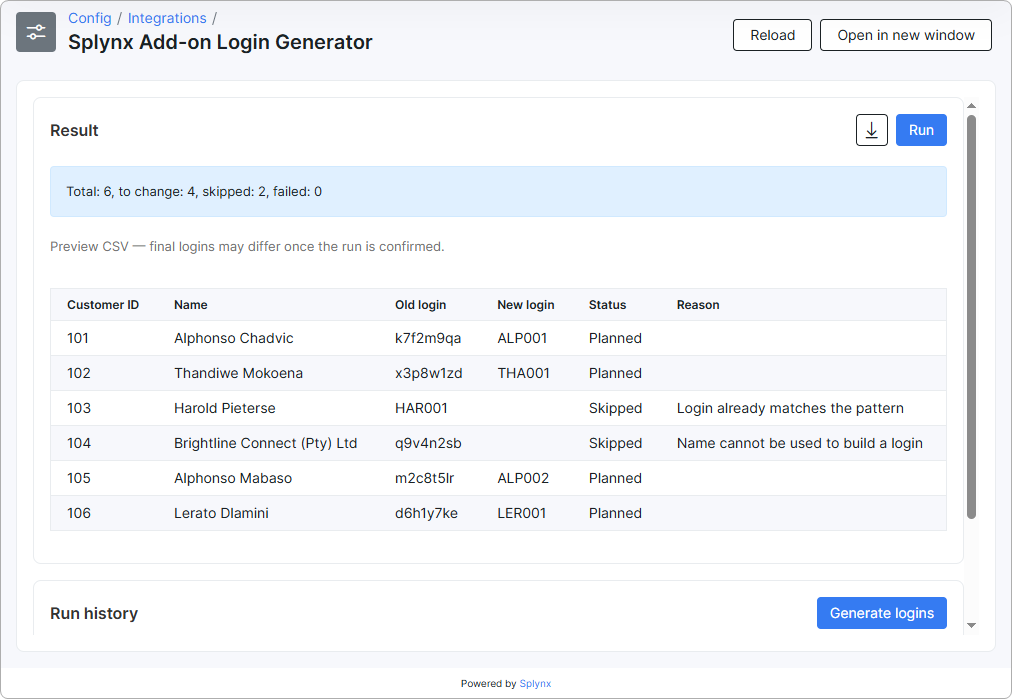
The summary line shows how many customers were checked (Total), how many will get a new login (to change), and how many were skipped or failed. The table below lists every customer:
| Column | Description |
|---|---|
| Customer ID | The ID of the customer |
| Name | The customer's name |
| Old login | The login the customer has now |
| New login | The login the run will assign. Empty for skipped customers |
| Status | Planned — the login will be changed. Skipped — the customer keeps the current login |
| Reason | Why the customer is skipped |
Click the download icon next to Run to save the preview as a CSV file. The final logins may differ from the preview once the run is confirmed.
¶ Running the generation
When the preview looks right, click Run. A confirmation window shows how many customers will get a new login:
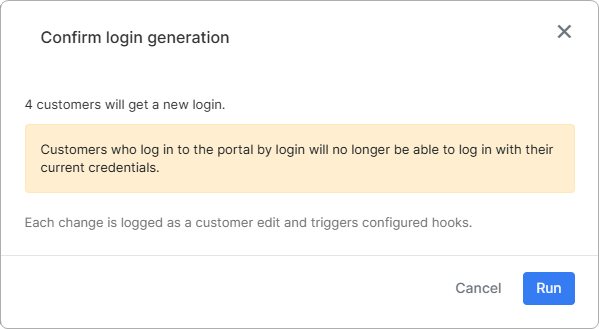
Click Run in the window to start. The run is processed in the background: the page shows a progress bar and, when the run finishes, a summary of how many logins were changed, skipped and failed, with the same table of customers.
Customers who log in to the Customer portal by login can no longer log in with their current credentials once the run changes their login.
After the run, click the download icon to save the CSV with the old and new login of every customer.
Download and keep the CSV after every run. It is the only record of the logins customers had before the change.
The Run button stays inactive until you run a preview with the same parameters. If you change any field in the form, run the preview again.
¶ Run history
Every preview and run is listed in the Run history table:
| Column | Description |
|---|---|
| ID | The number of the run |
| Started | The date and time the run started |
| Admin | The administrator who started the run |
| Pattern | The login pattern used |
| Scope | The status, partner and location filters used |
| Type | Whether the entry is a preview or an actual run |
| Changed | How many logins were changed |
| Skipped | How many customers were skipped |
| Failed | How many changes failed |
| Status | The state of the run |
| CSV | A link to download the CSV of the run |
¶ Important notes
- Only the customer login changes. Service logins, such as PPPoE or RADIUS logins of internet services, stay as they are.
- A login is built only from Latin letters. Customers whose name contains other characters — company names, apostrophes, hyphens, letters with diacritics — are skipped and keep their current login.
- Every generated login is unique across the whole system, including customers outside the selected scope.
- Each change is logged as a customer edit and triggers the hooks configured in Splynx.
- To run the generation, an administrator needs permission to edit customers, and Can change login while editing a customer must be enabled in Config → Main → Customers. Access to the page itself is controlled by the add-on permission in Administrators.