¶ Customer fields
¶ Overview
The Customer fields tab controls how the customer creation and edit forms look for you. The layout is personal — each administrator arranges the customer form to suit their own work, and your changes are not visible to your colleagues.
To open the tab, navigate to My Profile → Customer fields:
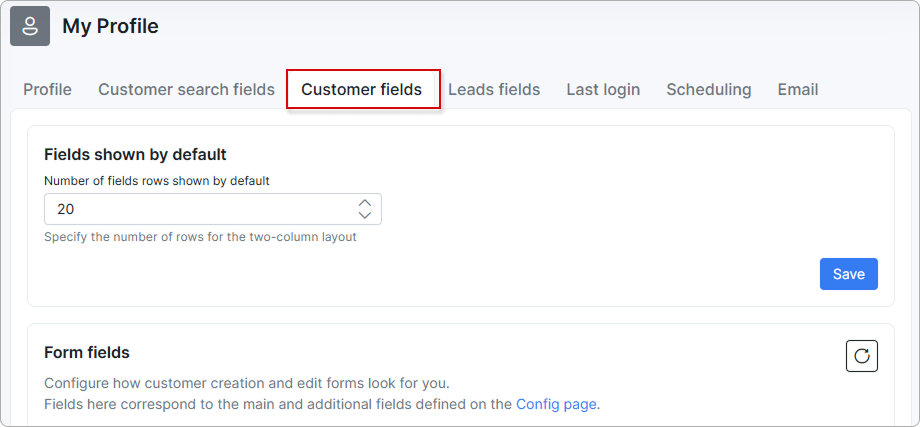
The tab is split into two blocks: Default fields and Form fields.
Until Splynx 6.0 these settings were located in Config → Main → Customers (Fields). (v6.0) They are now part of your administrator profile: no permission is needed to use them, every administrator can arrange their own customer form, and the layout you set up before the move is kept as it was.
The system-wide Default layout is applied to every administrator who has no personal setup. It comes from the base server settings and cannot be edited from the interface.
¶ Default fields
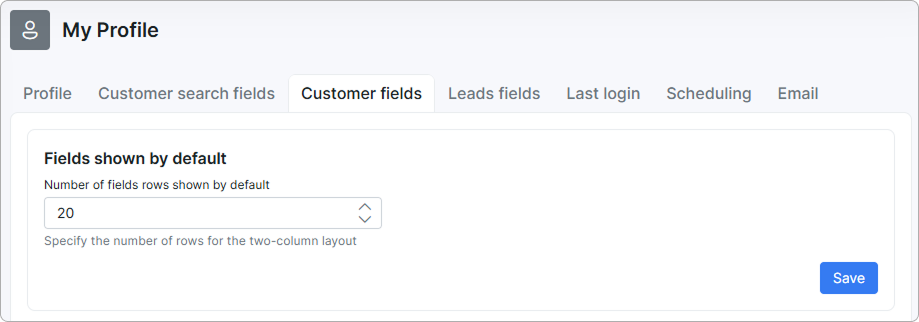
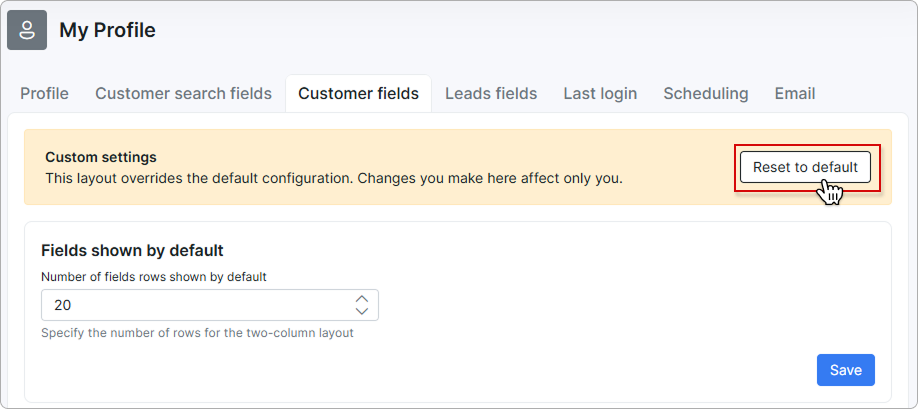
- Number of fields rows shown by default — specifies the number of rows shown for the two-column layout before the rest of the fields are hidden. The default value is 20. Click
Saveto apply.
The value is saved for your own account only and sets the number of rows you see on the customer profile.
¶ Form fields
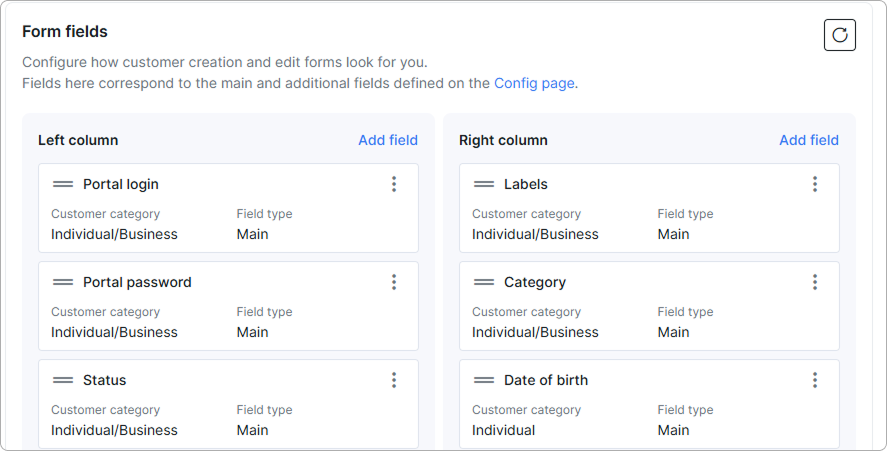
The form is arranged as two columns — Left column and Right column — using the same drag-and-drop layout as leads. Fields here correspond to the main and additional fields defined on the Additional fields page.
-
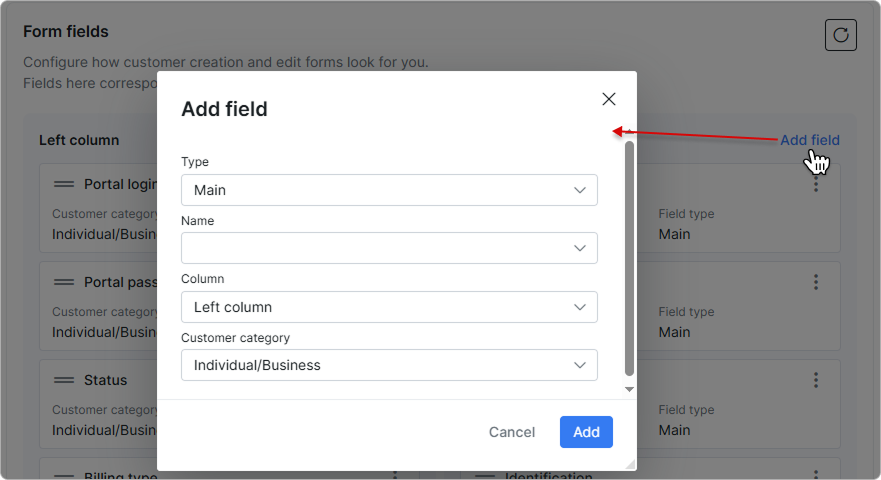
Add field - each column has its own
Add fieldbutton. Clicking it opens the Add field dialog:- Type - the field type, Main or Additional.
- Name - select the field to add.
- Column - the column the field is placed in (Left column or Right column).
- Customer category - the customer type the field applies to (e.g. Individual/Business or Individual).
Click
Addto place the field, orCancelto close the dialog.
-
Drag and drop - use the handle on a field to reorder it within a column, or move it between the Left column and Right column.
-
Each field shows its Customer category (the customer type the field applies to) and its Field type (Main or Additional). The
⋮menu on a field opens its actions. -
Use the refresh button to reset the layout to its current saved state.
The order you build here belongs to your own account. Administrators who have not arranged their own form follow the Default layout.
¶ Reset to default
Click Reset to default to discard your personal layout. It discards both the field order and the number of rows, and returns them to Default.
¶ Related pages
- General management
- Customer information
- Leads fields — the same settings for lead forms
- Additional fields
- My Profile